
 Pin it
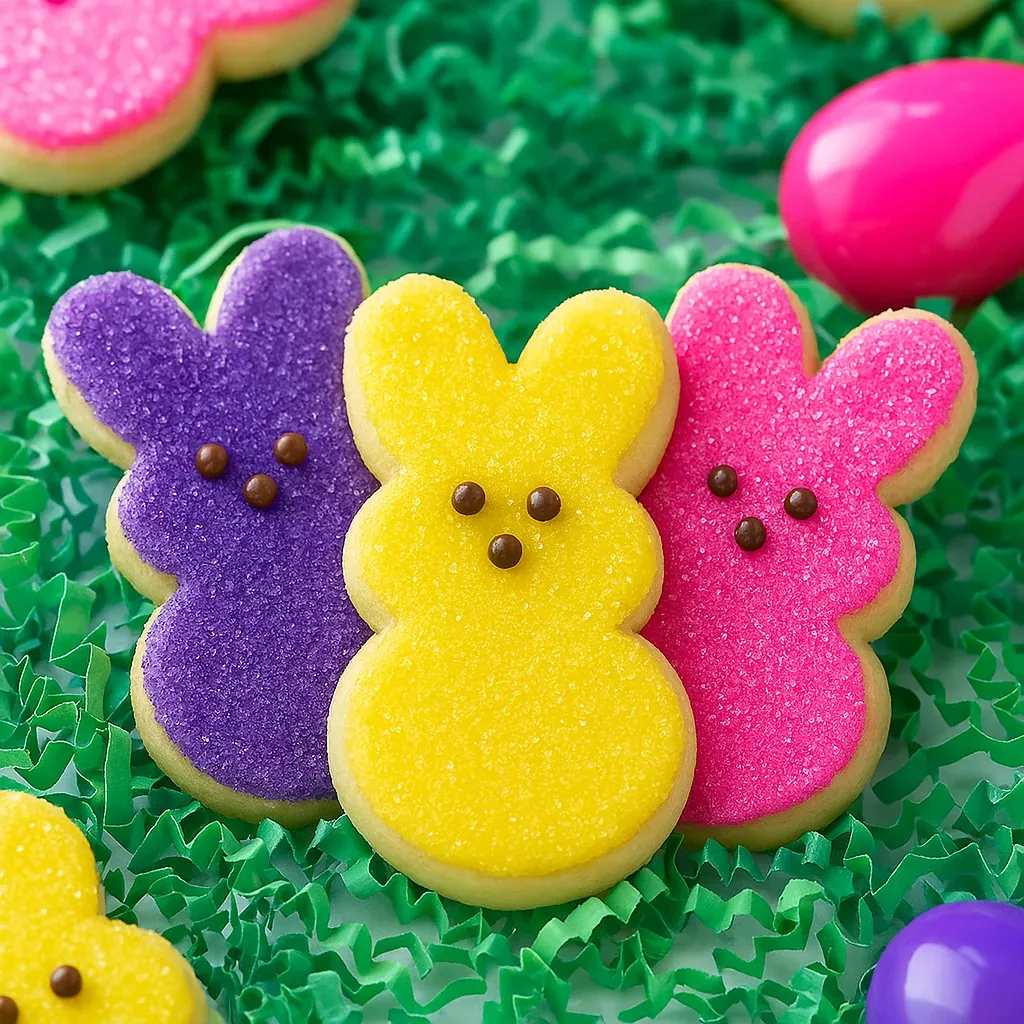
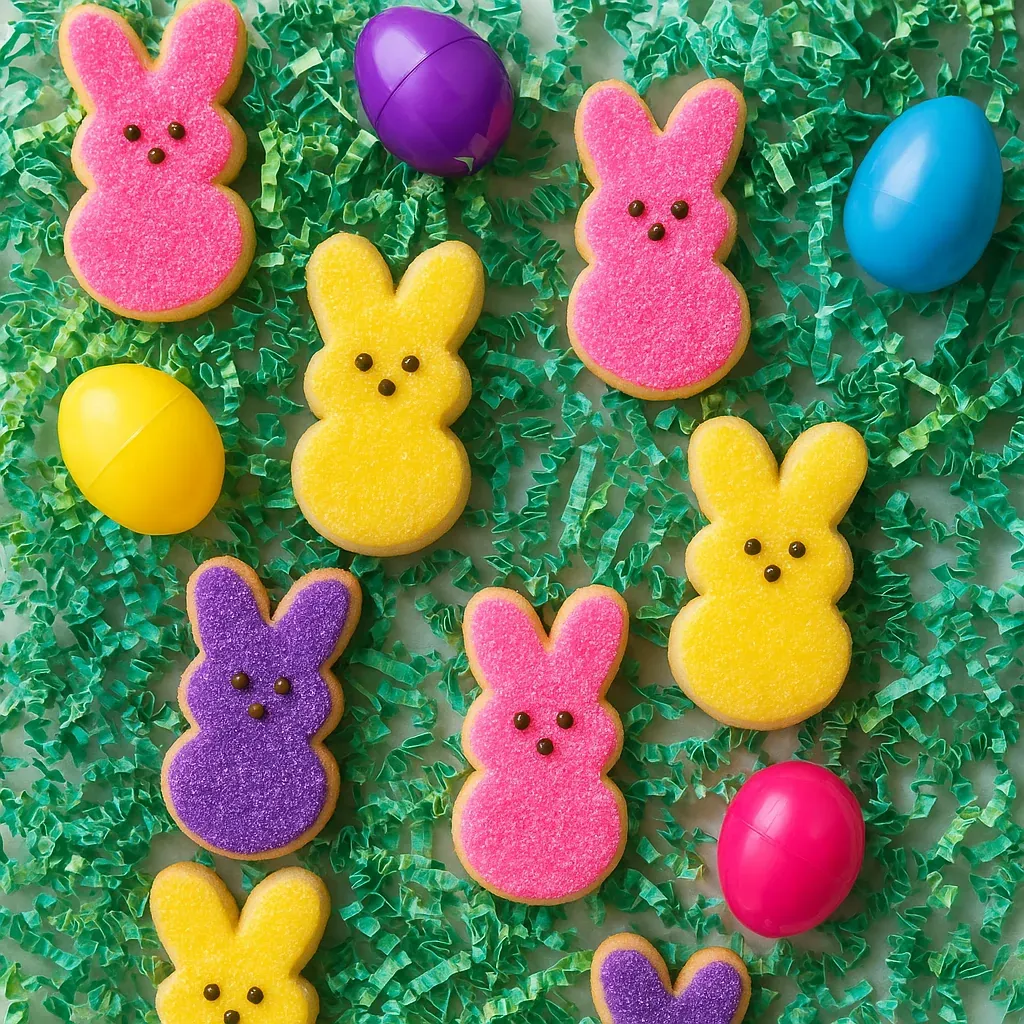
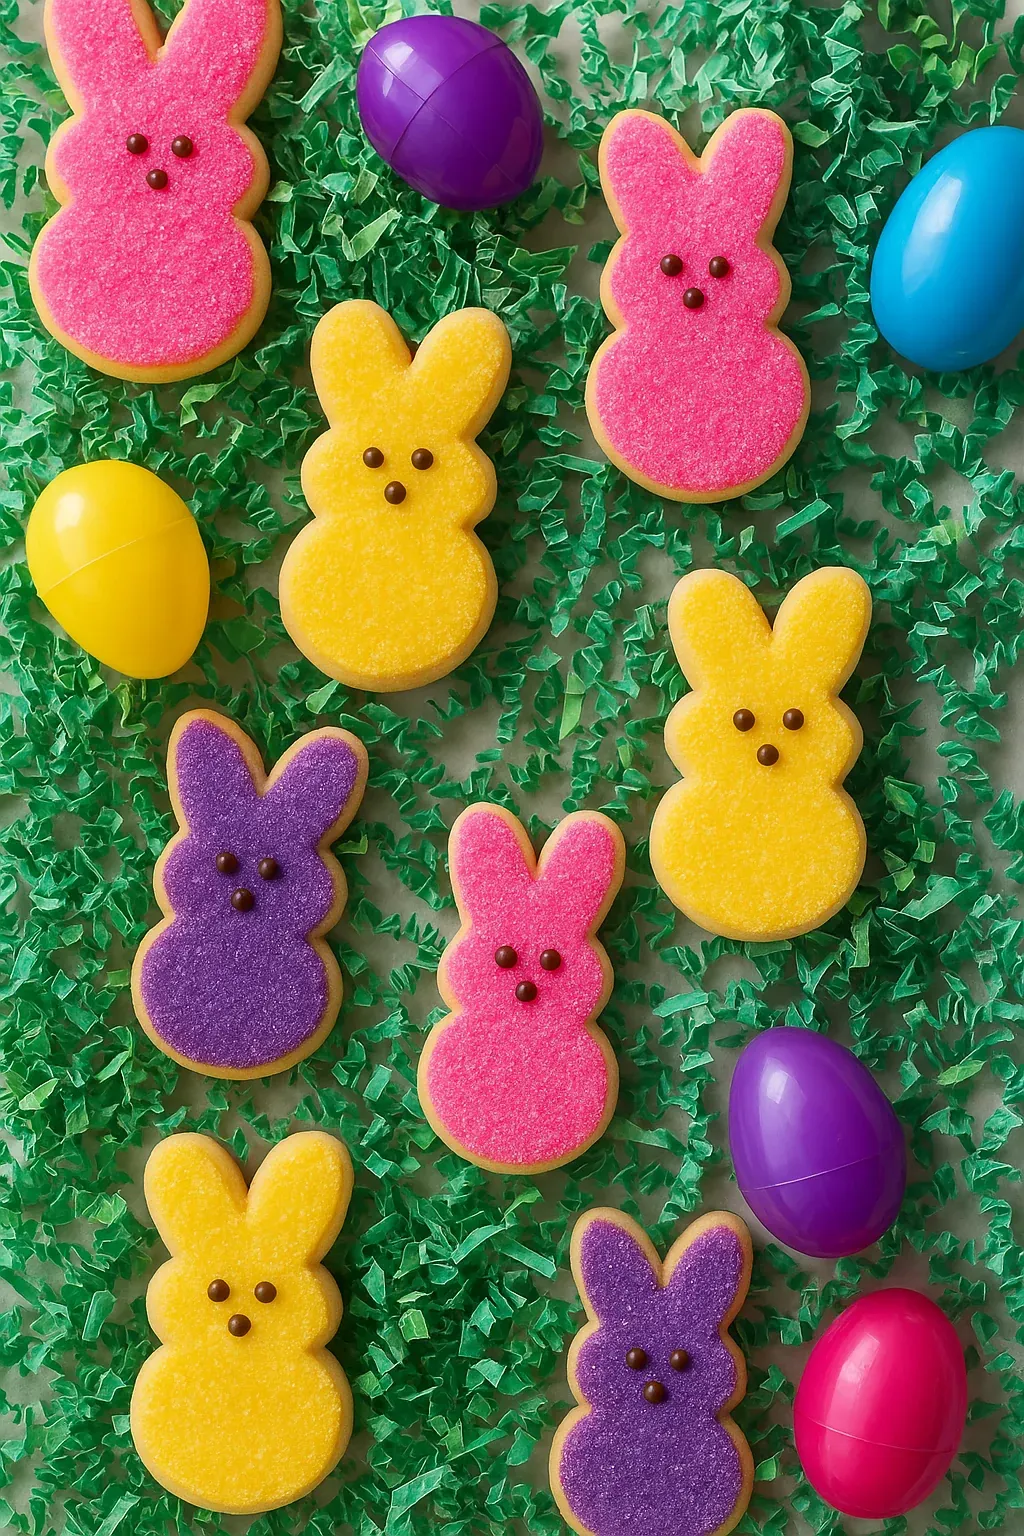
This buttery bunny-shaped Easter cookie formula turns basic items into cute spring-themed treats. They don't lose their shape while baking, which makes them perfect for adding colorful decorations that look like those famous marshmallow Peeps, but without all that stickiness inside.
I started making these with my nieces one Easter when rain ruined our outdoor egg hunt plans. Now the kids can't wait for spring to come around so they can pick their favorite colors for our yearly cookie-making session.
What You'll Need
- Unsalted butter: gives these cookies their yummy richness and that wonderful melt-away feeling
- Granulated sugar: adds just enough sweetness that works well with the vanilla
- Large egg: make sure it's not cold to help everything mix properly and stick together
- Vanilla extract: brings a cozy flavor to both the cookies and their topping
- All-purpose flour: getting the amount right leads to the best cookie feel
- Baking powder: makes them puff just a tiny bit without spreading out
- Table salt: brings out all the good tastes and cuts the sweetness
- Powdered sugar: makes a super smooth topping for your bunny art
- Whole milk: thins the frosting just right and tastes better than low-fat kinds
- Light corn syrup: helps your frosting dry with a pretty shine
- Colored sanding sugars: add the bright peep-like finish in spring shades like pink, yellow or purple
- Brown food coloring: lets you add those tiny faces that make each bunny come alive
How To Make Them
- Mix Butter With Sugar:
- Whip the soft butter and sugar for a full 3 minutes until it's puffy and pale. Don't cut this short as it puts air in your dough for the right cookie feel.
- Pour In Wet Stuff:
- Add your egg and vanilla, mixing until you can't see any streaks. Everything should look smooth and well blended.
- Blend Dry Parts:
- In another bowl, stir flour, baking powder and salt together. This spreads the rising agents evenly so all cookies bake the same way.
- Put Everything Together:
- Add the flour mix to your butter mixture bit by bit on low speed. Stop and scrape down the sides now and then. Your dough is ready when it stops sticking to the bowl.
- Cool Down The Dough:
- Split the dough in half, wrap each piece in plastic, and stick them in the fridge for at least 3 hours. This firms up the butter so your bunnies won't spread out flat.
- Shape Your Bunnies:
- Work with just one piece of dough at a time on a slightly floured counter. Roll it about ¼ inch thick and cut out bunnies as close to each other as you can. Move them to baking sheets with parchment paper.
- Bake Them Up:
- Cook in a 350°F oven for 10-12 minutes until the edges just start turning golden. They might seem a bit soft in the middle but will firm up as they cool.
- Whip Up The Frosting:
- Mix powdered sugar, milk, corn syrup and vanilla until it's smooth. You'll know it's right when it drips off the whisk and leaves a trail that quickly disappears.
- Dress Up Your Bunnies:
- Put white frosting around the edge of each cooled cookie then fill in the middle. Right away, dip into your colored sugar. Use brown frosting with a tiny tip to add eyes and nose.
 Pin it
I really love watching kids get excited when plain cookies turn into colorful bunnies. There's something special about seeing them pick their favorite colors and then add those little faces that bring their creations to life.
Prep Them Early
These sweet Easter bunnies are great for making ahead of time. You can keep the dough in your fridge for 3 days or wrap it tight and freeze it for three months. The frosting works for early prep too, just put plastic wrap right on its surface so it doesn't get crusty. This helps a lot when Easter gets busy and you don't have much time.
 Pin it
Fixing Common Problems
If your dough starts cracking while you roll it out, it's too cold. Let it sit for 15-20 minutes before trying again. If it gets too sticky and hard to work with, pop it back in the fridge for a bit. The frosting needs to be just right too - if it runs off the cookies, add more powdered sugar, and if it won't spread well, add tiny drops of milk until it does.
Other Fun Ideas
These cute bunnies are great for Easter, but you can use this same cookie mix all year long. Just grab different cookie cutters and sugar colors to make Halloween ghosts, Christmas trees or Valentine hearts instead. You can even play with the flavor by adding a bit of almond or lemon to the dough. These cookies can fit any holiday or party you've got coming up.
Frequently Asked Questions
- → What helps the cookies keep their shape while baking?
Give your dough a good chill—3 hours is ideal. This stops it from spreading too much. Use a sharp cutter and roll evenly for clean shapes.
- → Can I make them crispy or soft?
Totally! Roll the dough thinner for crispier cookies or go thicker for a soft bite. Bake for less or more time based on what you prefer.
- → What tools work best for decorations?
Piping bags with smaller tips like Wilton #3 and #5 are great. A toothpick or tool helps add clean details and smooth icing.
- → Can I try other shapes besides bunnies?
For sure! Go ahead and use egg, carrot, or other festive cookie cutters. It’s fun to mix and match for variety.
- → How do I get those bright cookie colors?
Pick quality food coloring and sanding sugars for bold hues. Colors like yellow, pink, and purple work great for Easter vibes.
- → Can I make the frosting ahead?
Yep, you can! Keep it in an airtight container with plastic wrap pressed on top. Give it a stir if it’s been sitting for more than a day.
- → What if the dough cracks when rolling?
If it’s too cold, let it warm up for 15–20 minutes. A spatula can help fix cracks and smooth things out as you roll.