 Pin it
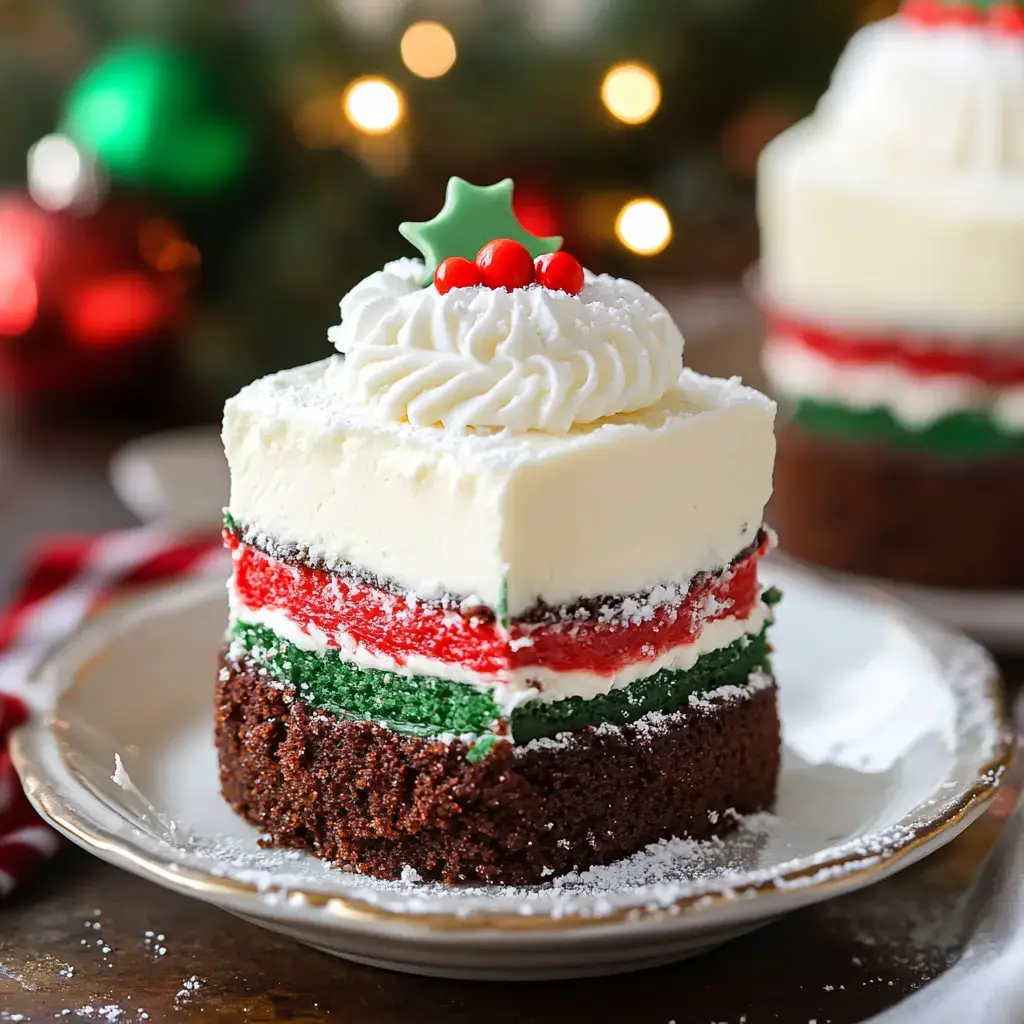
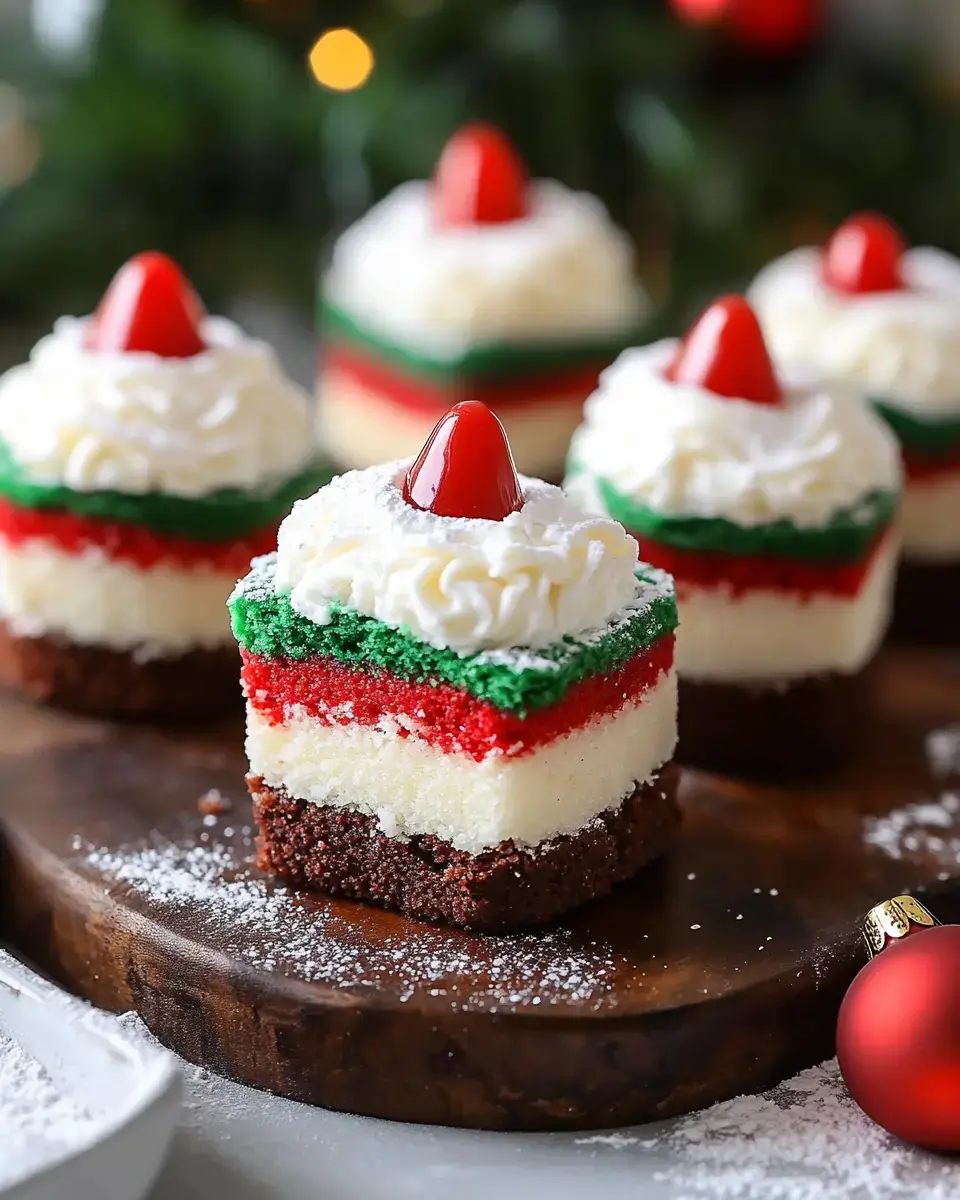
These DIY Festive Holiday Bites (Mini Christmas Snack Cakes) are a simple way to make bright, fun treats that'll wow guests at any winter gathering. With alternating bright cake layers, smooth buttercream inside, and shiny chocolate outside, these little goodies look amazing and taste even better – making them the star of your holiday dessert spread.
What Makes These Seasonal Treats Special
You'll adore these cute mini cakes with their eye-catching looks and yummy flavor combo. The bright red and green insides really pop when sliced, while you'll enjoy how the soft cake, creamy center, and crunchy chocolate shell feel in your mouth. They're perfect for Christmas get-togethers, handmade presents, or just making the holidays extra memorable with your loved ones.
What You'll Need for Holiday Bites
- Cake Base Ingredients:
- 1 package vanilla or white cake mix
- 1-ounce green food coloring
- 1-ounce red food coloring
- 1 teaspoon vanilla extract
- Eggs, oil, and water (follow box instructions)
- Inside Filling:
- 2 cups buttercream frosting
- 1/4 teaspoon peppermint extract (if you want)
- Outer Shell:
- 16 ounces Candyquick Chocolate
- 2 tablespoons shortening (when using regular chocolate)
- Tools You'll Want:
- Two 9x13 baking pans
- Parchment paper
- Round cookie cutter (2 1/2-inch)
- Wire cooling rack
- Offset spatula
How To Make Your Holiday Bites
- Mix Your Colored Cake Batters
- Heat oven to 350°F. Put parchment in pans and spray with baker's spray. Make cake mix as directed on box. Split it into two bowls. Mix red color into one and green into the other.
- Cook Your Colorful Layers
- Pour each colored mix into its own pan. Bake for 12-15 minutes, giving pans a gentle tap at 6 minutes. Let cool totally on racks.
- Build Your Cake Sandwich
- Smooth buttercream all over the green cake. Place red cake on top. Cool in fridge until solid, about 30 minutes.
- Shape Your Mini Cakes
- Take your round cutter and punch out little cakes. Set them on a wire rack with parchment underneath.
- Cover With Chocolate
- Melt your chocolate following package tips. Pour it over each cake so they're fully covered. Wait until chocolate hardens.
Smart Tricks for Better Results
Go with gel food coloring for brighter colors that won't mess up your batter. Don't rush the cooling step before you stack your cakes. Make sure to chill them well before cutting for clean edges. Keep your chocolate at just the right warmth for a smooth finish. Work fast when dipping so your chocolate doesn't get too thick.
 Pin it
Ways to Show Off Your Treats
Arrange them on a Christmas-themed plate with some fresh mint for a pop of color. Make them the star of your dessert table by displaying at different heights. They go perfectly with warm cocoa or coffee during holiday parties. Wrap them individually in clear boxes for charming homemade gifts. Try adding holiday sprinkles before the chocolate sets for extra flair.
Keeping Your Treats Fresh
Keep your finished treats in a sealed container at room temp for up to 3 days. They'll stay good in the fridge for about a week. You can make your cake layers ahead and freeze them for up to a month. Just let them thaw completely before putting everything together. Don't keep them somewhere too hot or the chocolate might get soft.
Frequently Asked Questions
- → How long should I mix the topping?
- Mix it on high for a minimum of 3 minutes. If you want it extra airy, go up to 7 minutes.
- → Is it okay to make this early?
- Sure! Pop the topping in the fridge for up to 2 weeks. Just whip it again before using.
- → What do I do if my filling's too thick?
- Slowly add a splash of milk while mixing till it's easy to spread.
- → What's the best cake for this?
- Use their white cake recipe if you're baking, but it works great with any base you like.
- → Why should I sift the sugar?
- This step smoothens the sugar, making the whipped topping extra creamy and lump-free.
