
 Pin it
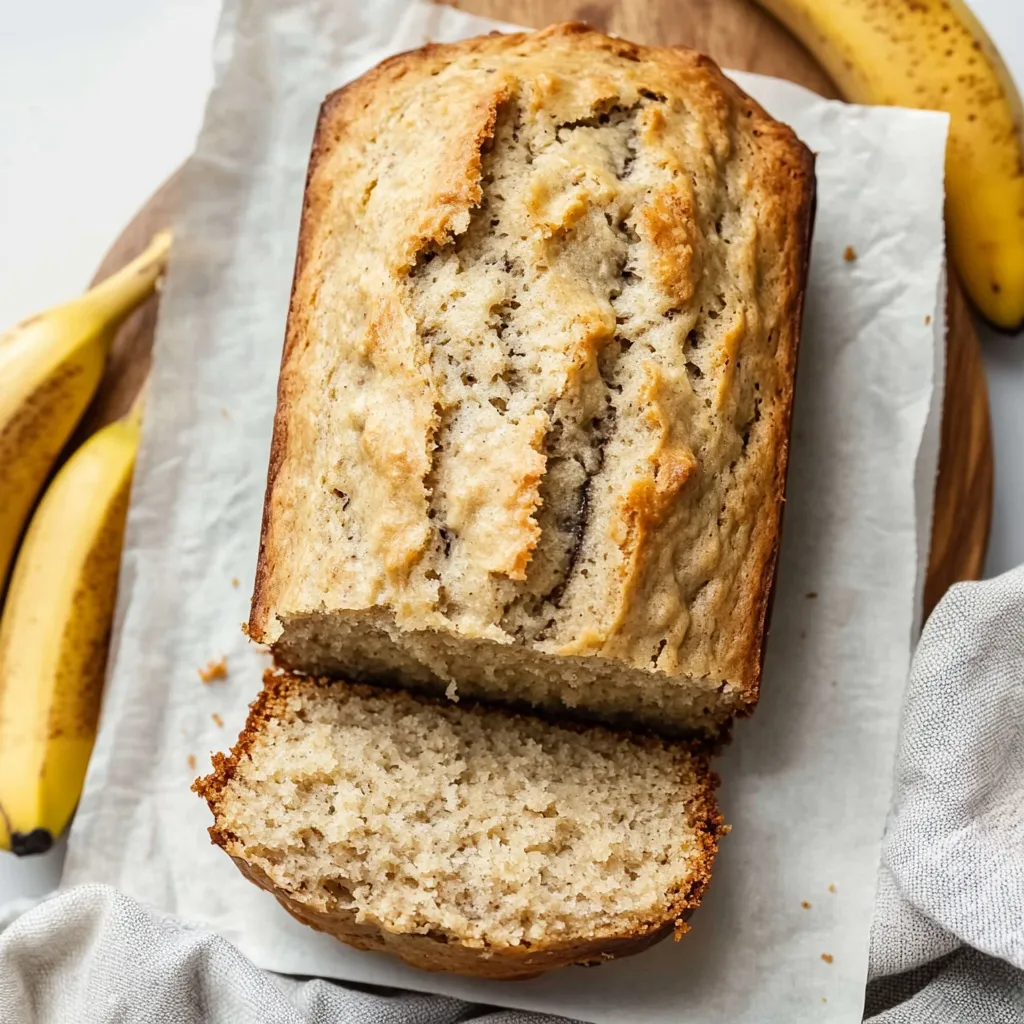
There's a quick way to whip up amazing banana bread using DIY Bisquick mix. This smart twist makes a soft, juicy loaf that's ready in no time while keeping all the homey goodness of old-school banana bread. Since stumbling on this time-cutting trick, it's become what I reach for on hectic mornings when I want something freshly baked without all the hassle.
I made this for family staying over last weekend, and they were shocked at how fast it all came together. The smell of banana bread baking had everyone drifting into the kitchen before they'd even finished their morning brew.
Key Components
- Brown-Spotted Bananas: Three big ones with plenty of dark speckles
- DIY Bisquick: Delivers that perfect soft texture without measuring separate dry stuff
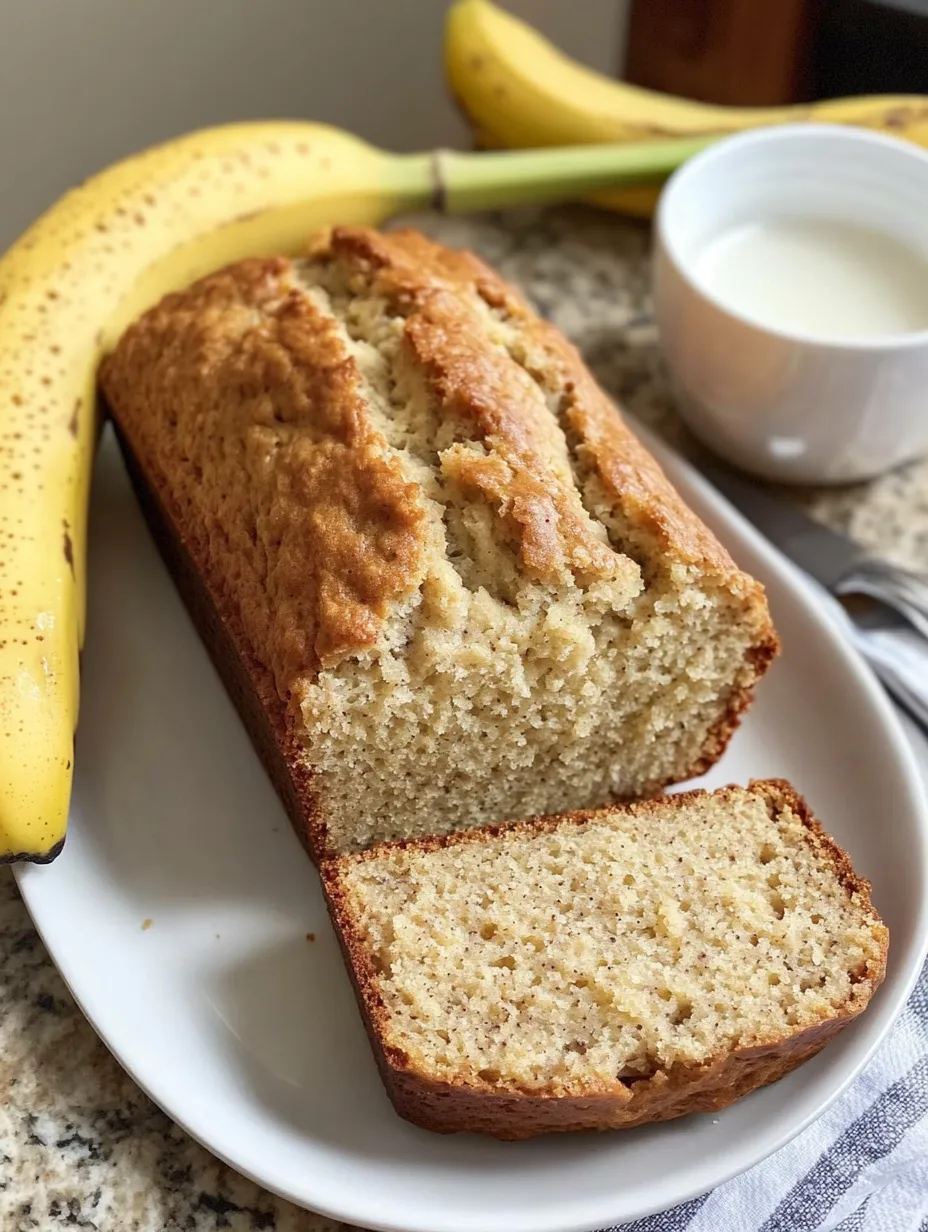
- Full-Fat Milk: Adds a lovely richness and moisture
- Cooking Oil: Keeps your bread juicy for several days
- Eggs at Room Temp: A must for good mixing
- Real Vanilla: Makes the banana taste even better
Step-by-Step Baking Guide
- Mixing Your Base:
- Begin with super ripe bananas and mash them until they're mostly smooth but keep some tiny lumps for texture. Combine with sugar, milk, oil, vanilla, and eggs that aren't cold. Make sure everything wet is well mixed before the dry stuff goes in.
- Adding Bisquick:
- Pour your homemade Bisquick into the wet mixture, stirring just enough to combine. This is the clever part - the mix already has the right amounts of flour, rising agents, and salt, so it's super easy. Stop stirring once you don't see any dry patches.
- Getting the Pan Ready:
- Dump your mix into a well-oiled 9x5 inch bread pan. The mix should be thick but still pour out. Use a spatula to level the top for even cooking. A properly greased pan means your bread will slide out easily.
- Baking to Perfection:
- Cook in a 350°F oven that's already hot for about 63-65 minutes. This timing gives you a perfectly done loaf - juicy inside with a golden outside. Check with a toothpick; you want a few sticky crumbs but no raw batter.
 Pin it
I first tried this when I wanted to make my morning baking simpler. Having DIY Bisquick ready to go turned banana bread into something I could easily handle even on the busiest days.
Tasty Add-ins
The basic version is just the start. Try throwing in chopped nuts for some crunch, chocolate bits for something sweet, or dried fruits for chewy bites. Sometimes I mix in shredded coconut for a beach vibe, or oats to make it heartier.
 Pin it
Keeping It Fresh
Store your bread at room temp in a sealed container for 2-3 days. To keep it longer, wrap it in plastic and then foil before putting it in the fridge for up to a week. You can also freeze it for three months, which is great when you've made several loaves from extra bananas.
Temperature Matters
Ingredients that aren't cold mix better. Put your eggs out an hour early, and don't use milk straight from the fridge. Paying attention to these little temperature things gives you a perfectly mixed batter and bread that cooks evenly.
 Pin it
Wrapping Up
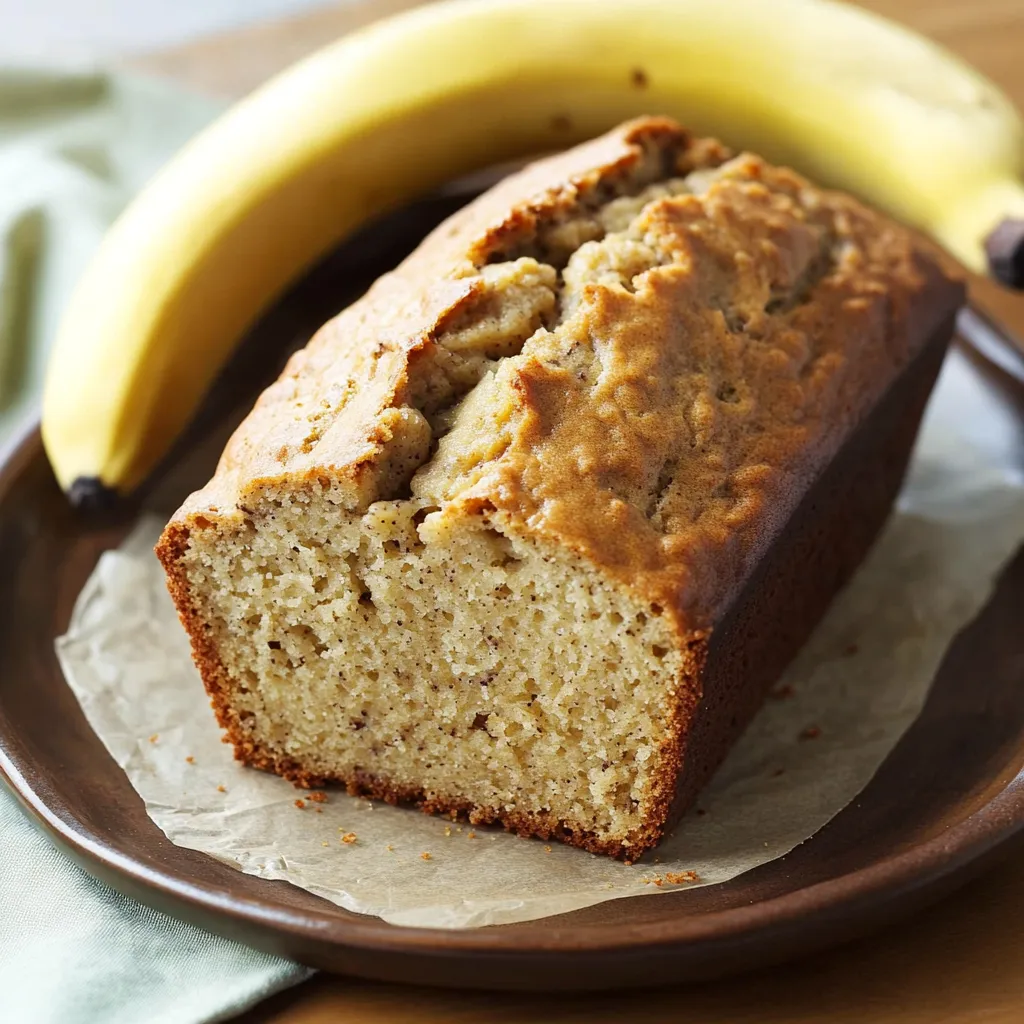
This Bisquick™ Banana Bread shows that taking shortcuts doesn't mean settling for less. Every bite gives you that same moist, tender comfort as traditional banana bread but takes half the work. Whether you're a baking pro or just starting out, this proves that sometimes the easiest methods create the tastiest treats. It's become more than just quick bread, it's a reminder that good baking doesn't always need fancy techniques.
Frequently Asked Questions
- → Can I swap homemade for store-bought Bisquick?
- Absolutely, use store-bought Bisquick just like homemade—same amounts.
- → How ripe should the bananas get?
- Go for bananas with brown spots—they’re sweet and flavorful.
- → Is freezing an option for this bread?
- Totally! Once cooled, wrap it up securely and freeze for 3 months max.
- → Why wait 2 hours to slice it?
- Slicing too early can get messy. Cooling fully keeps slices neat.
- → Can I mix in extras like nuts or chocolate?
- Sure! Stir in half a cup of nuts or chocolate chips before baking.