
 Pin it
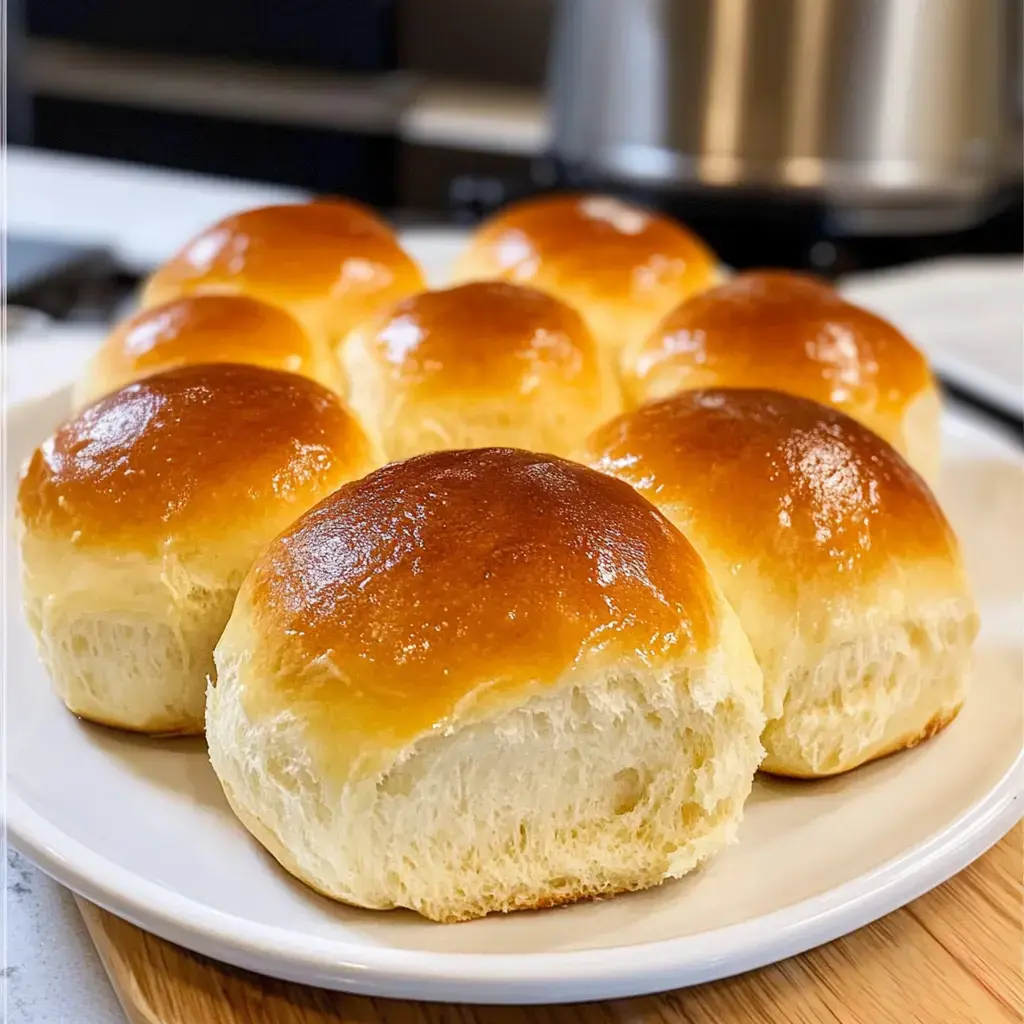
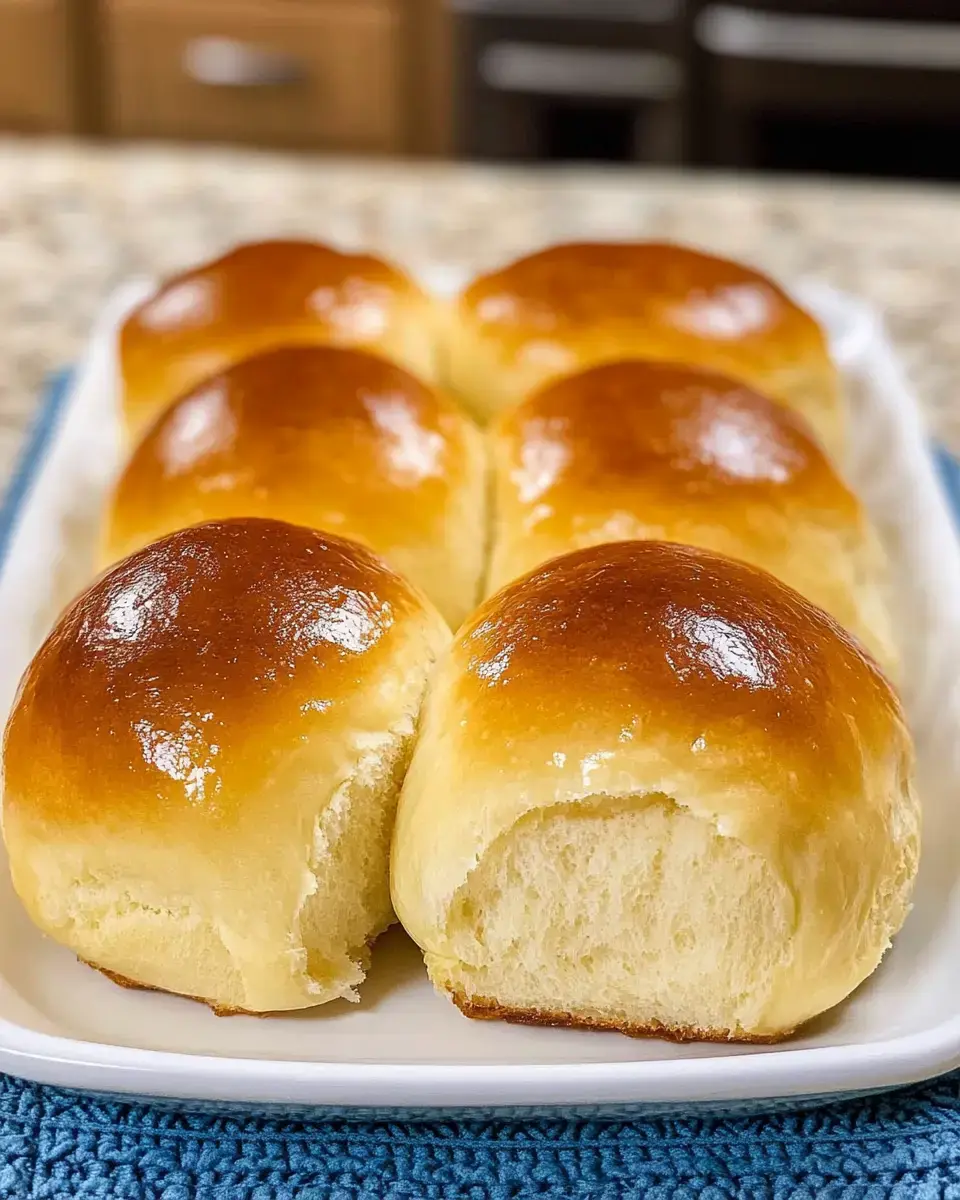
Making these homemade dinner rolls fills my kitchen with the most incredible aroma of freshly baked bread. After years of perfecting this recipe I've found that patience and attention to detail create rolls that are irresistibly soft and buttery. That moment when you pull apart a warm roll and see the tender flaky layers inside it's pure baking magic.
Why You'll Love These Rolls
There's something special about serving homemade rolls that just brings everyone to the table. That perfect balance between golden crust and pillowy center makes these irresistible. I love how versatile they are from simple dinner rolls to the base for mini sandwiches. And being able to make them ahead is such a lifesaver during busy times.
Ingredients You'll Need
- Active Dry Yeast: 2¼ teaspoons, for a perfect rise.
- Whole Milk: ½ cup, warmed to 110°F.
- Granulated Sugar: 2 tablespoons, divided for yeast activation and sweetness.
- Unsalted Butter: 5 tablespoons, melted and cooled.
- All-Purpose Flour: 3 cups, measured carefully.
- Salt: 1 teaspoon, for flavor balance.
- Olive Oil: For greasing the bowl and pan.
- Optional Toppings: Melted butter and flaky sea salt for garnish.
Step-by-Step Instructions
- Activate Yeast:
- Mix warm milk, 1 tablespoon sugar, and yeast. Let sit until foamy (about 8 minutes).
- Mix Dough:
- Add remaining sugar, melted butter, and salt to the yeast mixture. Gradually incorporate flour until dough forms. Knead until smooth (8-10 minutes by hand or 5 minutes in a stand mixer).
- First Rise:
- Place dough in a greased bowl, cover, and let rise in a warm place for 60-90 minutes or until doubled in size.
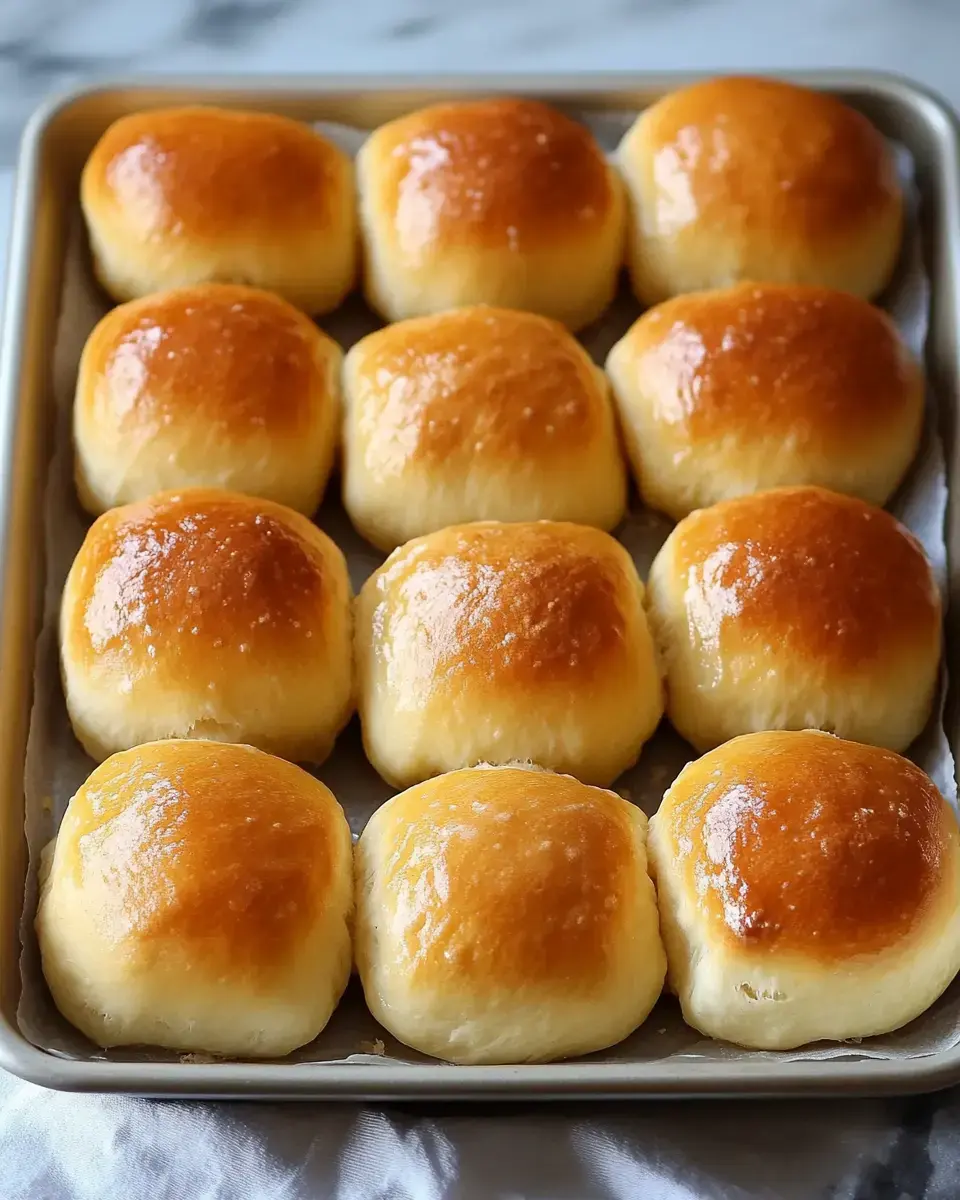
- Shape Rolls:
- Divide dough into 15 equal pieces, roll into balls, and arrange in a greased 9x13-inch pan. Cover and let rise again for 45-60 minutes.
- Bake:
- Bake at 350°F for 22-25 minutes until golden brown. Brush with melted butter while hot.
 Pin it
Storage and Reheating
These rolls keep beautifully in an airtight container and I actually think they taste even better the next day warmed up with a pat of butter. When I'm planning ahead I'll make extra batches to freeze it's like having little pillows of joy waiting in the freezer.
Common Troubleshooting
Through years of making these rolls I've learned that getting the milk temperature just right is crucial for happy yeast. If your rolls come out dense it usually means they needed more rising time or you might have added too much flour. Don't worry though practice makes perfect.
Make-Ahead Tips
Being able to prepare these rolls ahead of time has saved many holiday gatherings. I love making the dough the day before and letting it take its first rise in the fridge overnight. The slow rise actually develops even more flavor making them extra delicious.
Recipe Variations
Sometimes I'll add fresh herbs or garlic for a savory twist or drizzle them with honey butter for something sweet. During the holidays I love sprinkling the tops with sea salt flakes it makes them look extra special. The possibilities are endless once you master the basic recipe.
Tips for Best Results
My stand mixer with the dough hook has become my best friend for making these rolls but they're just as wonderful made by hand. That trick of using the oven light for rising works like magic creating the perfect warm environment. And never skip that final brush of melted butter it's what gives them their irresistible finish.
 Pin it
Frequently Asked Questions
- → Why didn't my rolls rise?
- If the yeast doesn't foam in the first step, it may be inactive. Make sure your milk is warm but not hot, and check that your yeast isn't expired.
- → Can I make these ahead?
- Yes, shape the rolls and refrigerate overnight. Let them come to room temperature before baking. You can also freeze baked rolls and reheat later.
- → Why measure flour in grams?
- Weight measurements are more precise than volume. If using cups, spoon flour into the cup and level off rather than scooping directly from the bag.
- → How do I know when they're done?
- Rolls should be golden brown on top and sound hollow when tapped. An instant-read thermometer should register 190°F in the center.
- → Can I knead by hand?
- While a stand mixer is easier, you can knead by hand for 8-10 minutes until the dough is smooth and elastic.