 Pin it
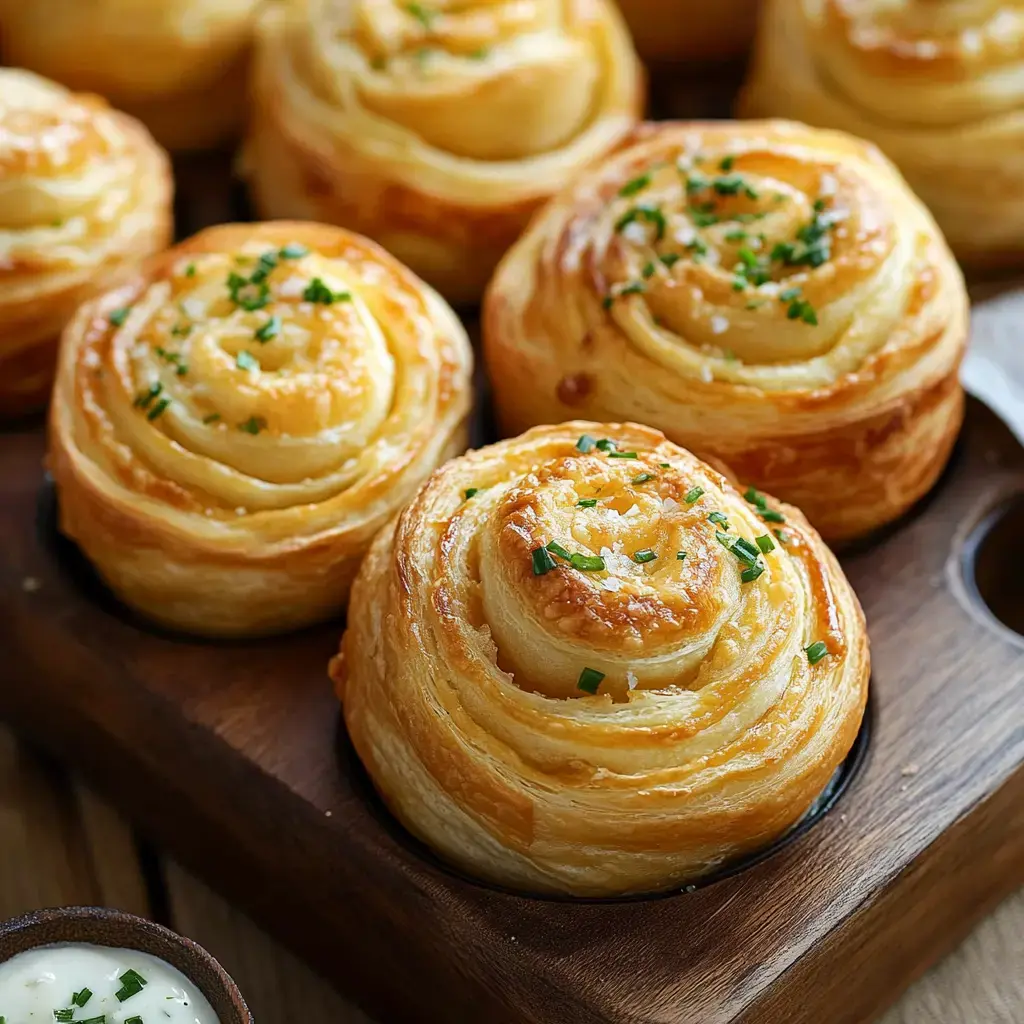
I stumbled upon these buttery garlic spirals while trying to upgrade our standard dinner bread. Who'd have thought using store-bought crescent dough would make something so impressive! They're what you'd get if a croissant and muffin had a baby, all twisted up with buttery garlic and melty cheese. My little ones now ask for these instead of plain bread at mealtimes. They've got a crisp exterior but pull apart with the softest, most tender insides. The coolest thing? They seem bakery-fancy but they're actually dead simple to whip up.
What Makes These Total Crowd-Pleasers
Let me share why these spirals have become my favorite side. They're pretty much foolproof, which works great on hectic evenings. While they're cooking, this amazing cheesy garlic aroma fills your house and brings everyone running. I served them last Christmas and my husband's mom wanted to know how I made them – that's a real win! They're impressive enough for guests but quick enough that I make them on random Tuesdays too.
What You'll Need
- Crescent Dough: Grab the unperforated sheets to make your life way easier
- Butter: Use half a cup completely softened for smooth spreading
- Garlic Powder: About a teaspoon works great but toss in more if you're crazy about garlic
- Fresh Chives: I've got some growing in my windowsill but green onions work in a pinch
- Cheese: Try a cup of mild cheddar though honestly any cheese does the trick
- More Butter: For that final warm topping – seriously don't leave this step out
Creating Your Spirals
- Prepping Your Base
- Unfold the crescent sheets onto a floured surface. Smear that soft butter all across evenly. Then scatter your garlic powder chives and cheese over everything – my favorite moment!
- Getting That Shape
- Tightly roll each sheet up similar to making cinnamon buns. Now for the fun part – cut it halfway then slice each portion down the center. You'll spot all those gorgeous layers!
- Shaping The Spirals
- Twist those cut pieces together like you're making a rope then coil them into a spiral. Place each finished spiral into your muffin pan.
- Baking To Perfection
- They'll need around 18 minutes until they turn golden. Your kitchen will smell incredible! Remember to swipe more garlic butter on top while they're still hot.
Switch Things Up
You can customize these in countless ways. Sometimes I swap in extra-sharp cheddar for more flavor, or throw in some stretchy mozzarella for those irresistible cheese pulls. Last month I tried fresh minced garlic instead of the powder and boy what a game changer! When I want some kick I add a pinch of red pepper flakes. My neighbor used puff pastry instead of crescent dough once and said they turned out incredibly flaky.
 Pin it
Create Your Own Version
For get-togethers I create tiny ones in my small muffin tray and they look adorable! Everyone gobbles up these bite-sized treats. Just cut smaller portions and watch the cooking time. My kids love to help make them and say it feels like playing with dough toys. Just keep that butter-garlic mixture nearby for brushing – it's what makes them extra yummy.
Tricks For Perfect Results
Roll your dough super tight or it'll unravel during baking. I found out that mistake firsthand! Good kitchen scissors work better than knives when cutting the rolled dough. And don't forget to really grease your muffin tin because these little guys stick like crazy. I always add cooking spray even on my non-stick pans just to be safe.
Assembly Secrets
When you're putting these together go slow with the twisting part as that's what creates their beautiful look. Don't stress if they aren't magazine-perfect – they'll taste amazing anyway. I usually fold the end bit underneath when placing them in the tin for a neater finish. Make sure they fit snugly but give them a bit of space to grow while baking.
Nailing The Perfect Spiral
If your house is warm stick the dough in the fridge for a bit before cutting to get cleaner slices. That final butter brush isn't just tasty – it gives them a gorgeous shine too. I always cook one batch at a time right in the middle rack for the most even browning. Let them sit in the pan about five minutes after baking so they can set up properly.
Storing Your Treats
These tasty spirals taste best right after baking but will stay good a couple days in a container on your countertop. Just warm them briefly in the oven to bring back their crispness. I wouldn't try freezing them as they just aren't the same afterward. But truthfully we never have any left – they vanish too quickly! If you want to plan ahead just get everything ready and bake them right before you eat.
Frequently Asked Questions
- → What exactly is a cruffin?
A mashup of a croissant and muffin. Muffin-shaped but flaky like a croissant. Crescent dough makes it easier to prepare.
- → Can I use regular crescent rolls?
Sure, just press the seams together tightly to avoid gaps. Sheets are simpler, but rolls work fine too.
- → How to roll the dough tightly?
Make sure the buttery layers face outward while shaping the spirals. Tighter rolls lead to fluffier layers.
- → Can these be made ahead?
They're best straight from the oven, but you can reheat briefly. Add the finishing butter just before serving.
- → Can I switch up the cheese?
Absolutely! Any melting cheese works. Sharp cheddar gives a punch of flavor, while milder cheeses melt smoothly.
Conclusion
Soft, cheesy cruffins are baked from crescent dough, blending croissant texture with a muffin-like shape. Quick and simple, they're ideal for snacks or dinner sides, even for beginners.
