
 Pin it
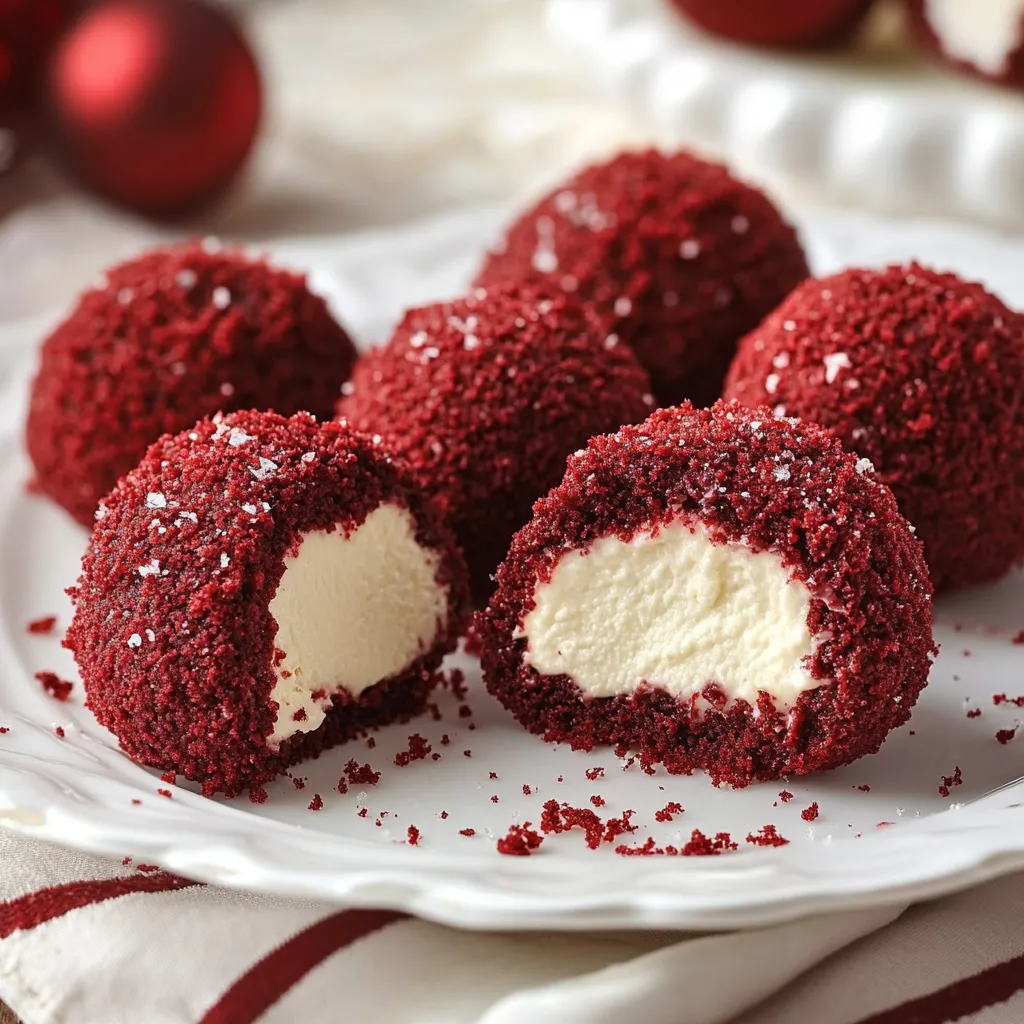
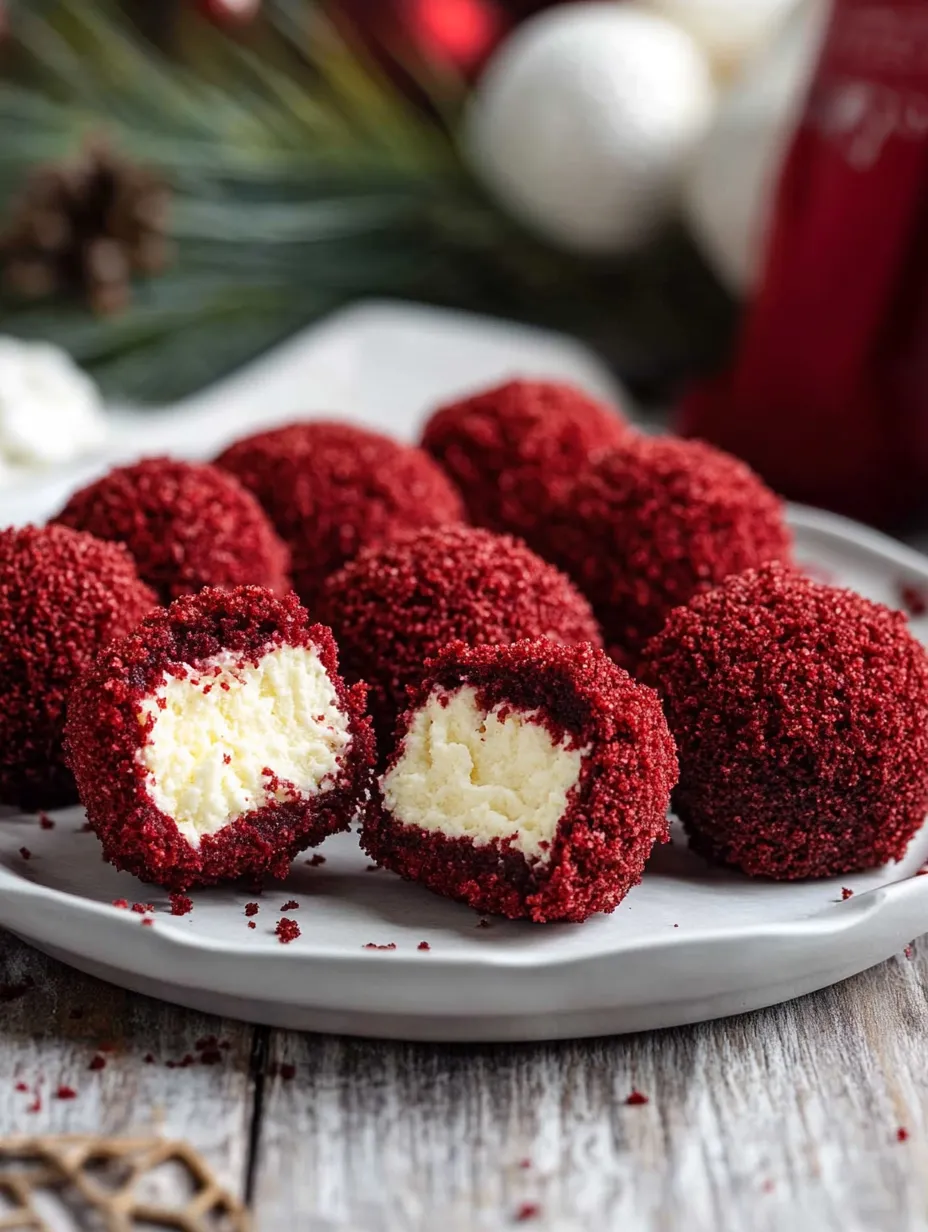
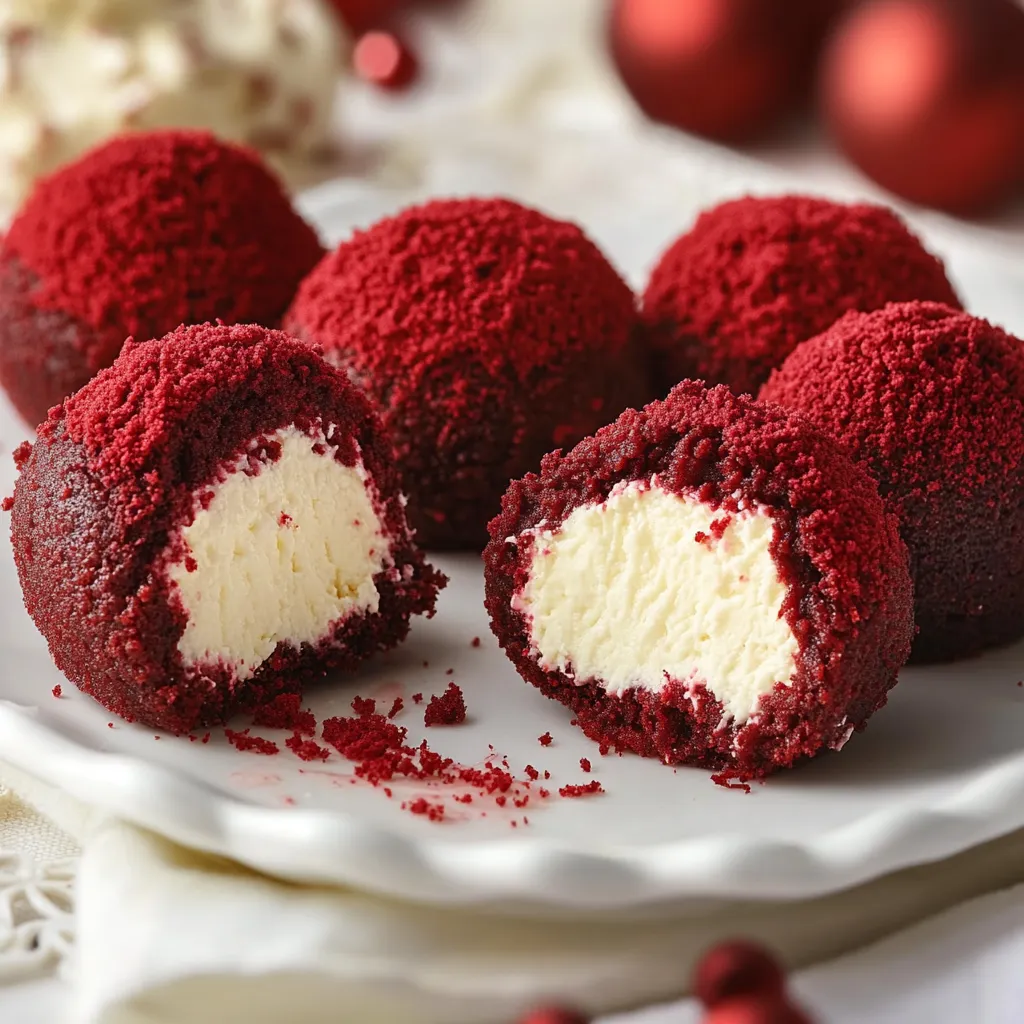
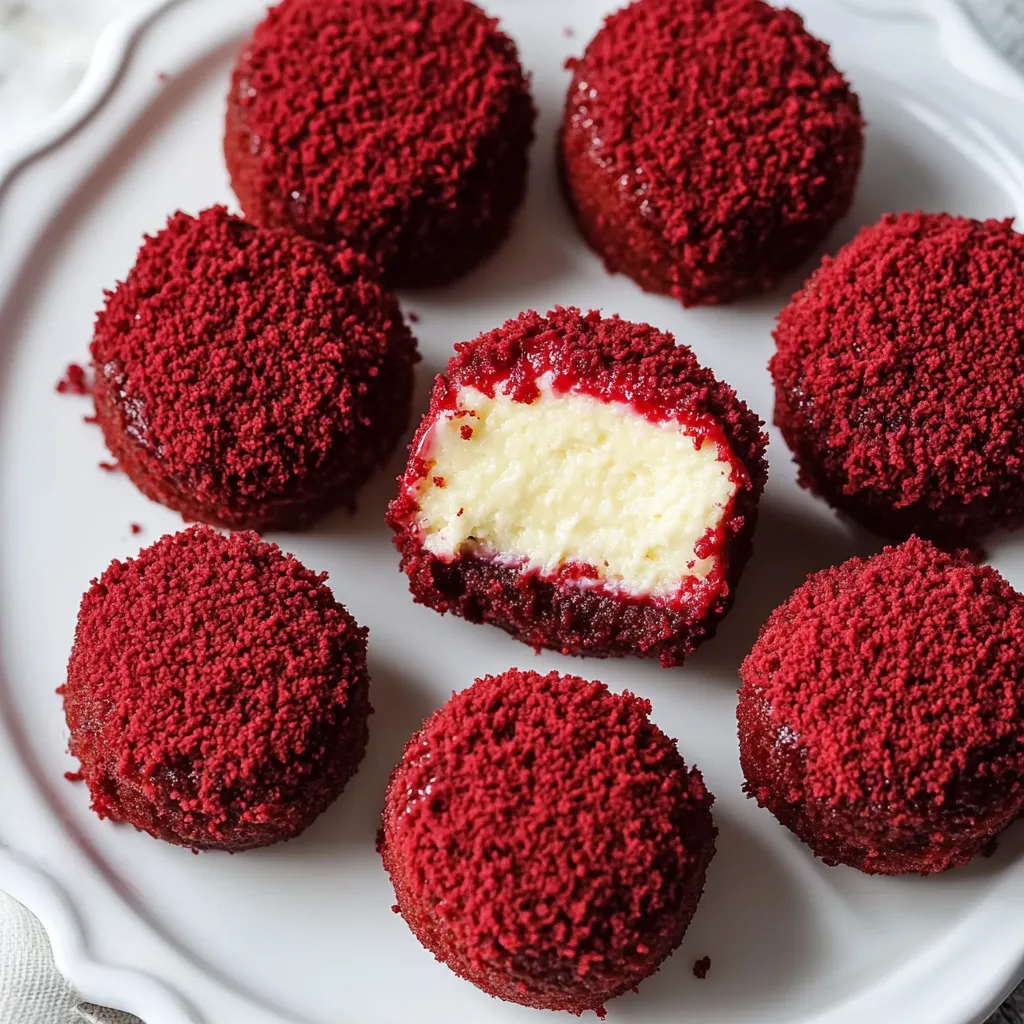
These tiny Red Velvet Cheesecake Bites blend the rich charm of red velvet cake with smooth cheesecake in bite-sized treats. Their stunning deep red color and soft feel make them stand out on any dessert spread, and the no-bake process keeps everything quick and hassle-free.
I was making these for a Valentine's party once and found out that cooling the mix before shaping it gave me perfect little balls that didn't fall apart. Now I always do this trick for the best results every time.
Must-Have Ingredients Breakdown
- Cream Cheese: Go with the full-fat kind at room temp for the creamiest results
- Red Velvet Cake Mix: Pick a good brand to get that nice color and taste
- Graham Crackers: They need to be fresh and crunchy for the right bite
- Butter: Grab the unsalted type so you can control how sweet everything is
 Pin it
Step-by-Step Cooking Guide
- Getting the Base Just Right
- Wait till the cake is totally cool before crumbling it
- Smash any big chunks for an even texture
- Feel the crumbs with your hands to check they're all about the same size
- Making the Smooth Center
- Mix the cream cheese until there's not a lump to be found
- Add the graham cracker bits little by little
- Test how thick it is before putting in all the powdered sugar
- Putting It All Together
- Try a small ice cream scoop to make same-sized pieces
- Form balls by rolling them lightly between your hands
- Pop them in the fridge between steps so they're easier to work with
 Pin it
My grandma made the best red velvet cake when I was a kid. These little treats bring back that same awesome flavor but in a fun, grab-and-go way.
You can serve these at just about anything, from backyard cookouts to fancy dinner parties.
The way the cake part meets the cheesecake part creates just the right amount of sweetness that folks can't stop eating.
Every bite gives you the exact right mix of cake and creamy filling, so it tastes the same all the way through.
After making batch after batch for many happy friends, these red velvet cheesecake bites have turned into one of my most asked-for treats, showing that sometimes the easiest desserts leave the biggest impression.
Stunning Serving Suggestions
Turn these simple treats into wow-worthy displays:
- Set them up in circles on a shiny plate
- Stack them on cake stands of different heights
- Put each one in a tiny cupcake wrapper for grab-and-go ease
- Add white chocolate zigzags over the tops once they're arranged
 Pin it
Prep-Ahead and Keeping Fresh
These treats actually improve with time:
- Form them up to 3 days before you need them
- Put parchment paper between layers so they don't stick together
- Keep them in sealed containers away from foods with strong smells
- Take them out 5-10 minutes before serving
Fixing Common Problems
If your mix is too wet:
- Sprinkle in more cake crumbs bit by bit
- Stick the mixture in the fridge for 30 minutes before shaping
- Put finished balls in the freezer briefly between steps
If your mix is too crumbly:
- Mix in cream cheese one spoonful at a time
- Warm your hands slightly before rolling
- Add a touch of melted butter
Holiday Special Versions
Valentine's Day: Top with heart-shaped sprinkles
Christmas: Mix in some peppermint extract and crushed candy canes
Easter: Cover in pastel-colored white chocolate
Halloween: Decorate with orange white chocolate drizzles
These red velvet cheesecake bites have shown me that you don't need fancy cooking skills to make impressive desserts. Whether I'm bringing them to a family picnic or a fancy dinner party, people always love the perfect mix of flavors and the soft, creamy texture.
Just take your time and pay attention to the little things. You'll end up with treats that look and taste like they came from a bakery. Good luck making them, and I hope these little red bites bring as much happiness to your parties as they've brought to mine!
Frequently Asked Questions
- → How long will they stay fresh?
- When kept in the fridge, they last up to five days.
- → Can these be frozen?
- Absolutely, they’ll keep in the freezer for three months if sealed well.
- → Why should I dry the cake crumbs?
- It stops them from being too damp and makes the coating stick better.
- → Can I skip the graham crackers?
- Sure, swap in crushed cookies or even extra cake crumbs.
- → Why do the ingredients need to be room temp?
- It makes blending easier and prevents lumps in the mixture.