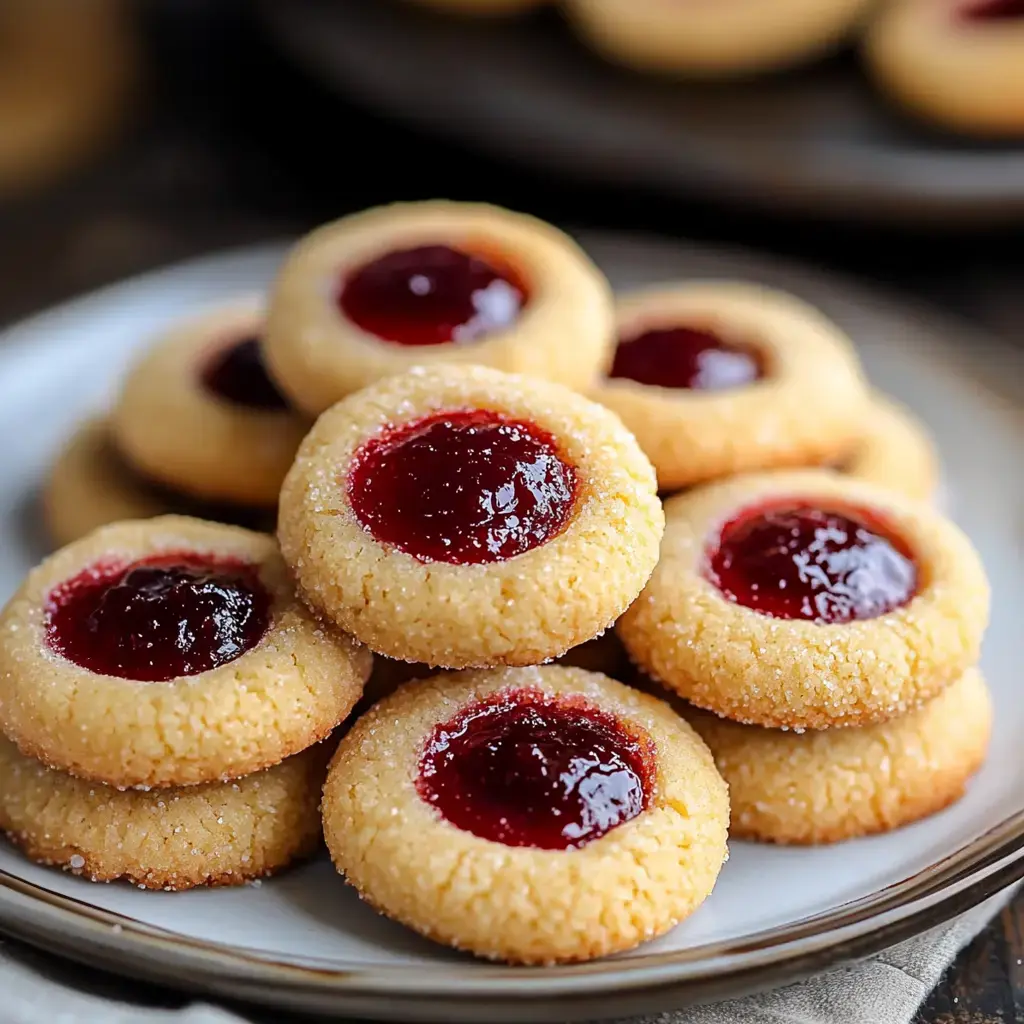
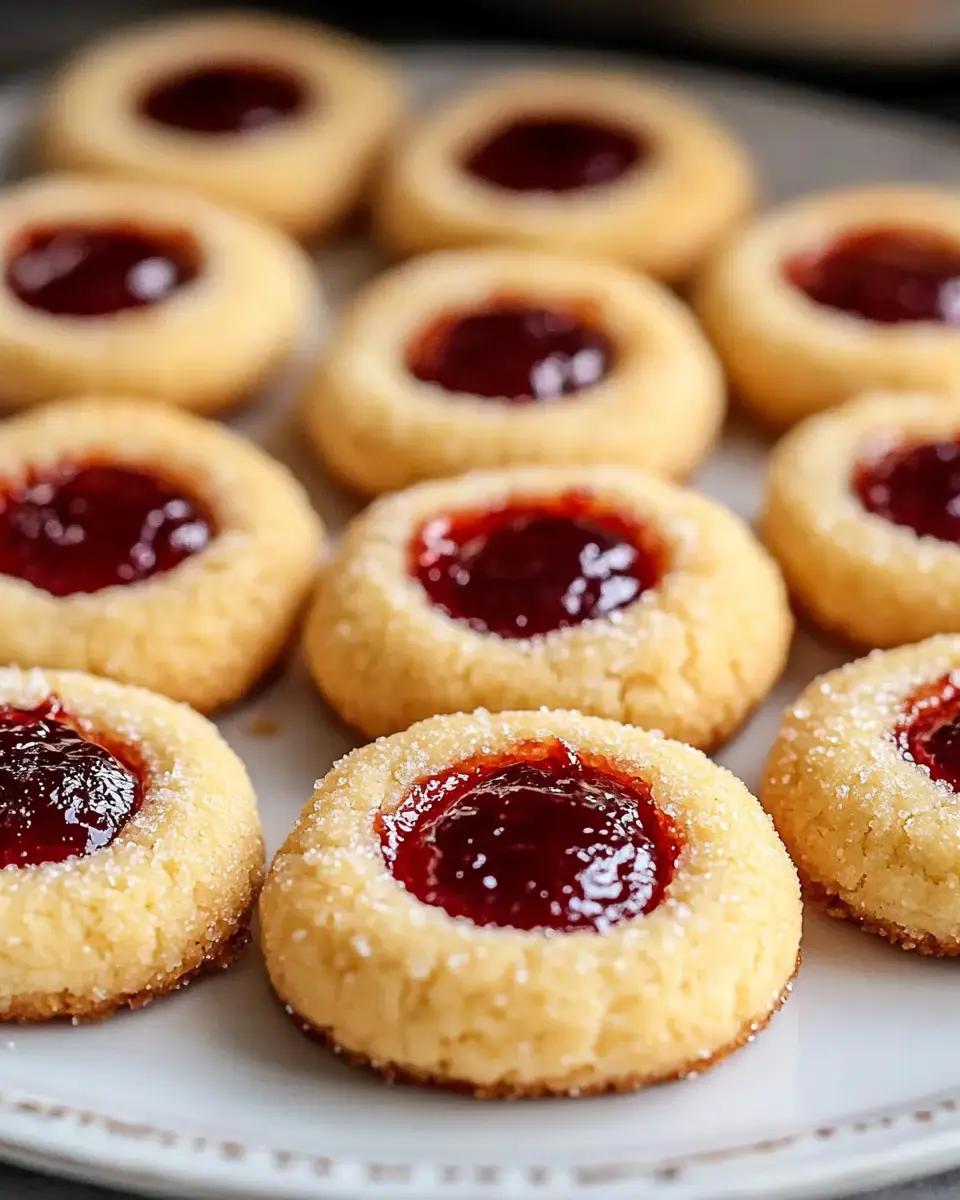
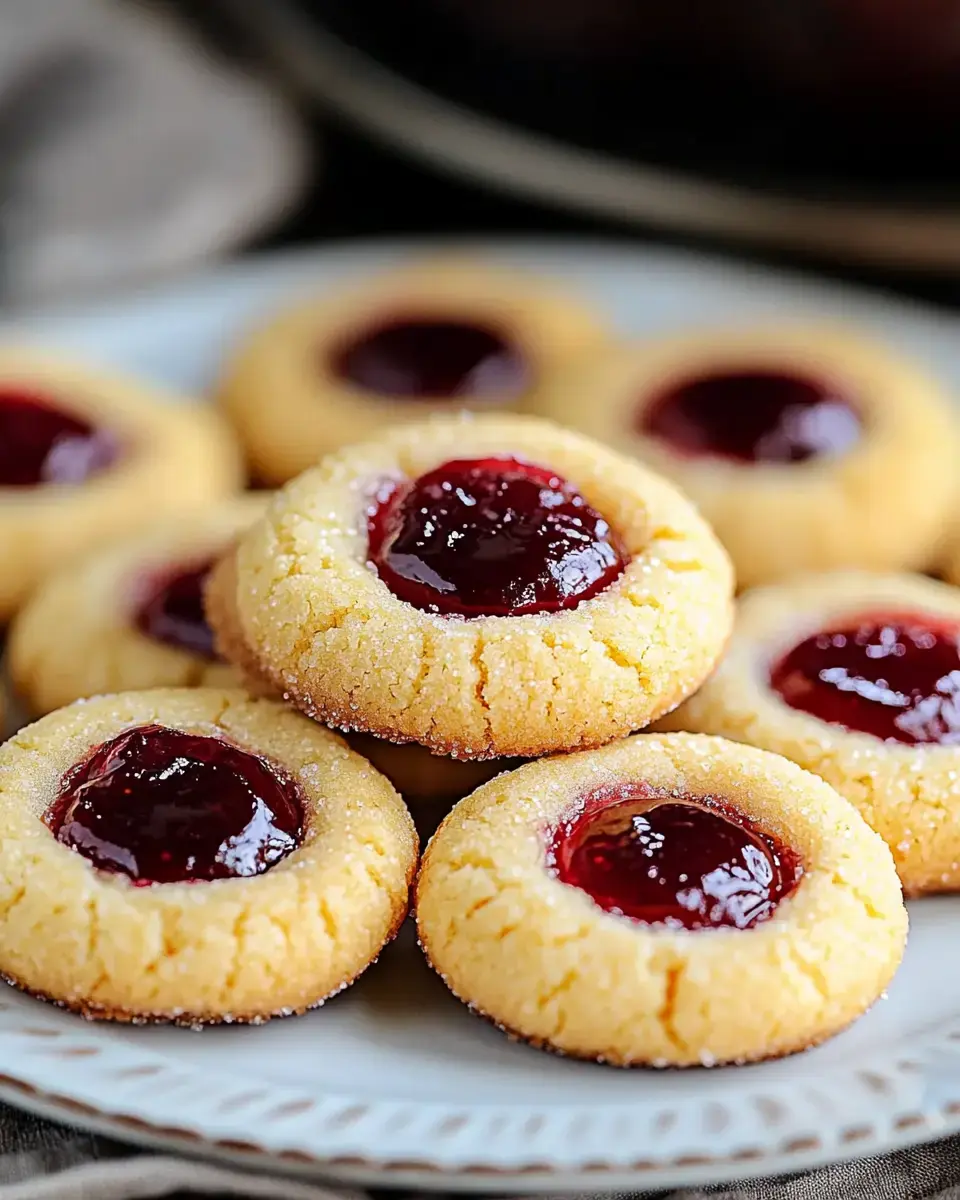
 Pin it
These Thumbprint Cookies have been part of my baking tradition for years. The way the buttery cookie base melts in your mouth and that sweet jammy center creates pure cookie magic. Every time I make them in my kitchen I'm reminded of baking with my grandmother who taught me all the little tricks to get them just right.
Why You'll Love These Cookies
I adore how these cookies come together so quickly no waiting around for dough to chill. The shortbread base just melts in your mouth while that center of jam adds the perfect sweet finish. They're my go to when I need something special but don't have hours to spend in the kitchen. Plus they always look beautiful on a cookie platter.
Ingredients You'll Need
- Butter: 1 cup (226g), softened
- Sugar: 2/3 cup (135g) granulated, plus extra for rolling (optional)
- Egg Yolk: 1 large
- Vanilla Extract: 1 teaspoon
- Flour: 2 cups (250g) all-purpose
- Salt: 1/4 teaspoon
- Jam: 1/2 cup, any flavor (raspberry, strawberry, or apricot recommended)
Step-by-Step Instructions
- Prepare for Baking
- Preheat oven to 350°F (175°C). Line baking sheets with parchment paper and prepare rolling sugar if desired.
- Make the Dough
- Cream butter and sugar until light and fluffy, about 3 minutes. Mix in egg yolk and vanilla. Gradually add flour and salt until dough forms.
- Shape the Cookies
- Roll dough into 1-inch balls, roll in sugar (optional), and place on baking sheets 2 inches apart. Create indents using your thumb or a small spoon.
- Fill and Bake
- Fill indents with 1/2 teaspoon jam. Bake for 12–15 minutes until edges are lightly golden. Cool on baking sheets for 5 minutes, then transfer to wire racks.
 Pin it
Pro Tips for Success
After making these countless times I've learned that measuring flour correctly makes all the difference. I always spoon it into the measuring cup and level it off for the perfect texture. A little trick I discovered is warming the jam slightly it makes filling those thumbprints so much easier.
Serving Suggestions
I love arranging these on my grandmother's vintage platters for special occasions. Sometimes I'll make an assortment with different colored jams it looks so festive. They're perfect with afternoon tea and always the first to disappear at cookie exchanges.
Storage Tips
These cookies keep beautifully in an airtight container I just make sure to layer them between parchment paper so they don't stick. Sometimes I'll make extra dough balls and freeze them it's so nice having them ready to bake whenever a craving hits.
Customization Ideas
My family has their favorite variations. My kids love when I drizzle chocolate over the tops and my husband's partial to orange marmalade in the centers. During the holidays I'll dust them with powdered sugar it makes them look like they're topped with fresh snow.
Final Thoughts
There's something so special about these simple yet beautiful cookies. Whether I'm making them for a holiday gathering or just because they never fail to bring smiles. That perfect combination of buttery cookie and sweet jam just can't be beat.
 Pin it
Frequently Asked Questions
- → What type of jam works best?
- Any thick jam or preserve works well. Raspberry, strawberry, and apricot are popular choices. Avoid thin jellies as they can run during baking.
- → Why did my cookies spread too much?
- Make sure to chill the dough as directed and don't skip the cornstarch. Both help prevent spreading. Also check that your butter wasn't too soft when mixing.
- → Can I freeze these cookies?
- Yes, you can freeze them before or after baking. To freeze unbaked, prepare through the thumbprint step and freeze solid. For baked cookies, cool completely before freezing.
- → Why did my thumbprints crack?
- If the dough is too cold or dry, it can crack when making indentations. Let it warm slightly if needed and make sure to roll the balls very smooth.
- → How do I store these cookies?
- Store in an airtight container at room temperature for up to 5 days. Layer with wax paper to prevent sticking. The jam centers may soften over time.
