
 Pin it
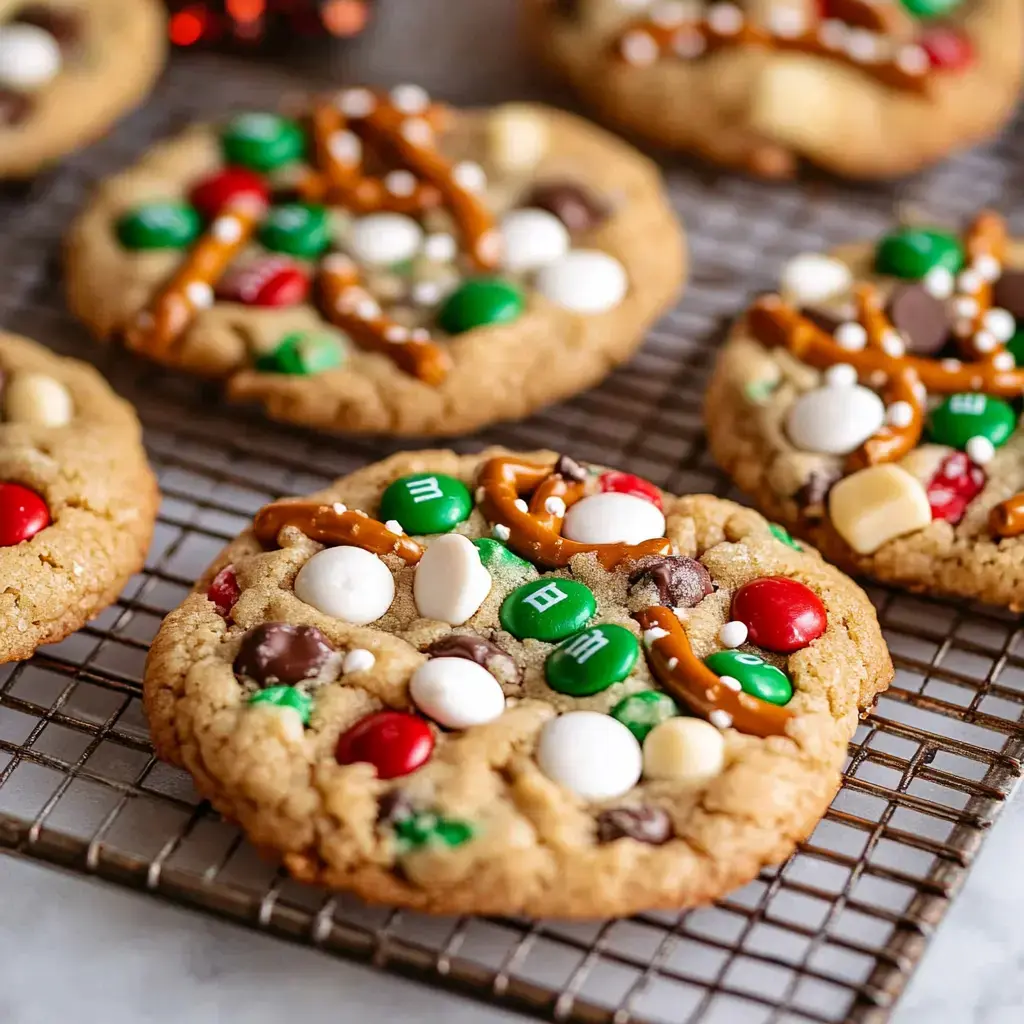
I whipped up these cookies last holiday season when my kids were digging through our snack stash. We had tons of leftover chips and pretzels from our holiday get-togethers, and my little girl thought we should toss them into our cookie mix. What began as just cleaning out cabinets turned into what we now can't go without each December! They're super soft cookies packed with a bit of everything – crunchy pretzels, crispy potato chips, colorful M&Ms, and loads of white chocolate chunks. My boy calls them trash cookies but believe me, they're absolutely gold!
What Makes These Cookies So Special
You'll get something new with each mouthful. One second it's that salty snap from a pretzel piece, the next it's a sweet hit from an M&M. The potato chips might sound odd but they make these treats downright impossible to resist. The kids next door wait in our kitchen when they catch a whiff of these baking, and even my picky mother-in-law who says she doesn't go for 'strange' cookies wanted to know how to make them. And the best part? You just need a bowl and spoon to make them!
Round Up These Items
- Butter: A cup that's melted and cooled so you won't cook your eggs!
- Brown Sugar: Press it down well for extra chewiness
- White Sugar: Only half a cup needed
- Eggs: Two big ones not cold from the fridge
- Vanilla: Go for genuine extract, it really counts
- Flour: Standard all-purpose around 2¼ cups
- Baking Soda and Powder: These give the right rise
- Salt: Just a tiny bit
- The Mix-ins: Seasonal M&Ms, white chocolate bits, broken pretzels, potato chips, and holiday sprinkles
Let's Start The Cookie Adventure
- First Things First
- Start by melting your butter then let it cool while you watch something festive. Mix your flour and other dry stuff in a separate bowl.
- Sugar Time
- In a different bowl, stir your cooled butter with both types of sugar until it looks damp and grainy. Drop in those eggs and vanilla, then mix it well.
- Mixing Magic
- Gradually add your dry mixture. Now comes the fun bit! Throw in all those goodies – M&Ms, chips, pretzels, everything. My kids always want to help with this part though half the candy never makes it in.
- Cool It Down
- Scoop the dough and stick it in the fridge. I know waiting isn't fun but you'll be glad you did!
- Oven Time
- After chilling, bake until they're barely golden on the edges. The center should still look soft and not quite done.
- Finishing Touch
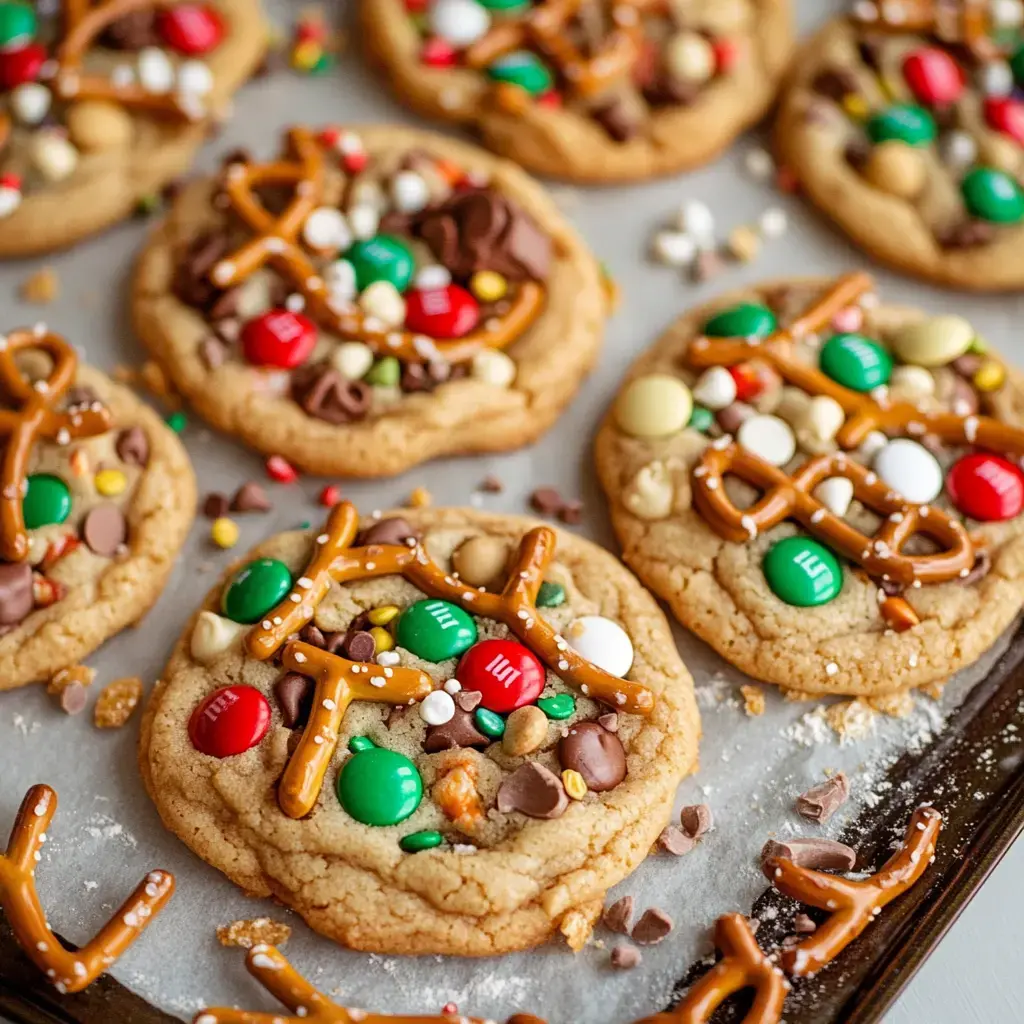
- Try my trick – push extra M&Ms and chips onto the tops while they're still hot, and they'll look like you bought them from a fancy shop!
Create Your Own Combo
What's great about these cookies is you can add whatever snacks you've got. I sometimes swap in butterscotch chips for white chocolate. Once I broke up some Halloween candy leftovers and mixed those in. My friend makes hers with dark chocolate chunks and coconut and swears they taste like a fancy chocolate bar. Just keep the base dough recipe the same and get creative with what goes inside!
 Pin it
Talk About Cookie Sizing
I'll make these tiny for holiday platters by using a teaspoon instead of a big scoop. Try adding sea salt on top – my husband thinks it makes the sweet-salty combo even better. During Christmas, I'll drizzle white chocolate across them and add extra sprinkles to make them look extra festive!
Tips For Getting It Right
After making these countless times, here's what I've learned. Don't press down when measuring flour or you'll end up with tough cookies. You can't skip the chilling step unless you want one massive cookie instead of twelve! I always put parchment on my baking sheets so nothing sticks and cleanup is super easy.
Nailing The Bake Time
Keep an eye on these cookies while they're in the oven as they can burn quickly. You want the edges just turning gold but the middle still looks a bit raw – that's exactly right! Let them sit on the hot pan for a few minutes and they'll finish cooking and firm up perfectly.
Making Them Look Store-Bought
Want my trick for cookies that look amazing? Right when they come out of the oven, stick a few extra M&Ms and chips on top. They'll melt right into the warm cookie and look stunning. And if your cookies aren't perfectly round, take a big round cookie cutter and gently shape them while they're still warm.
Keeping Them Tasty Longer
These stay soft for days if you store them in a sealed container – if they don't vanish first! I love to freeze extra dough balls for when friends drop by unexpectedly. Just bake them straight from frozen, adding a minute or two to your normal time. Nothing makes a house feel more welcoming than the smell of cookies fresh from the oven!
Frequently Asked Questions
- → Why chill the dough?
It prevents cookies from spreading too much, keeping them thicker and chewier after baking.
- → Can I fix ugly cookies?
Use a cookie cutter to gently nudge warm cookies into a perfect circle. Do this right after baking.
- → How do I measure flour right?
Scoop flour into the measuring cup with a spoon, then scrape the top flat. Avoid compacting it by scooping directly.
- → Why do mix-ins fall out?
Press extra toppings onto the soft cookies right after baking. They'll stick as they cool and harden.
- → Can I try other add-ins?
Definitely! Add candy, nuts, or other salty snacks instead, but keep the total quantity about the same.
Conclusion
These festive treats combine a buttery base with crunchy salty bits and sweet toppings, creating a snack that's both surprising and comforting in every crumbly bite.