 Pin it
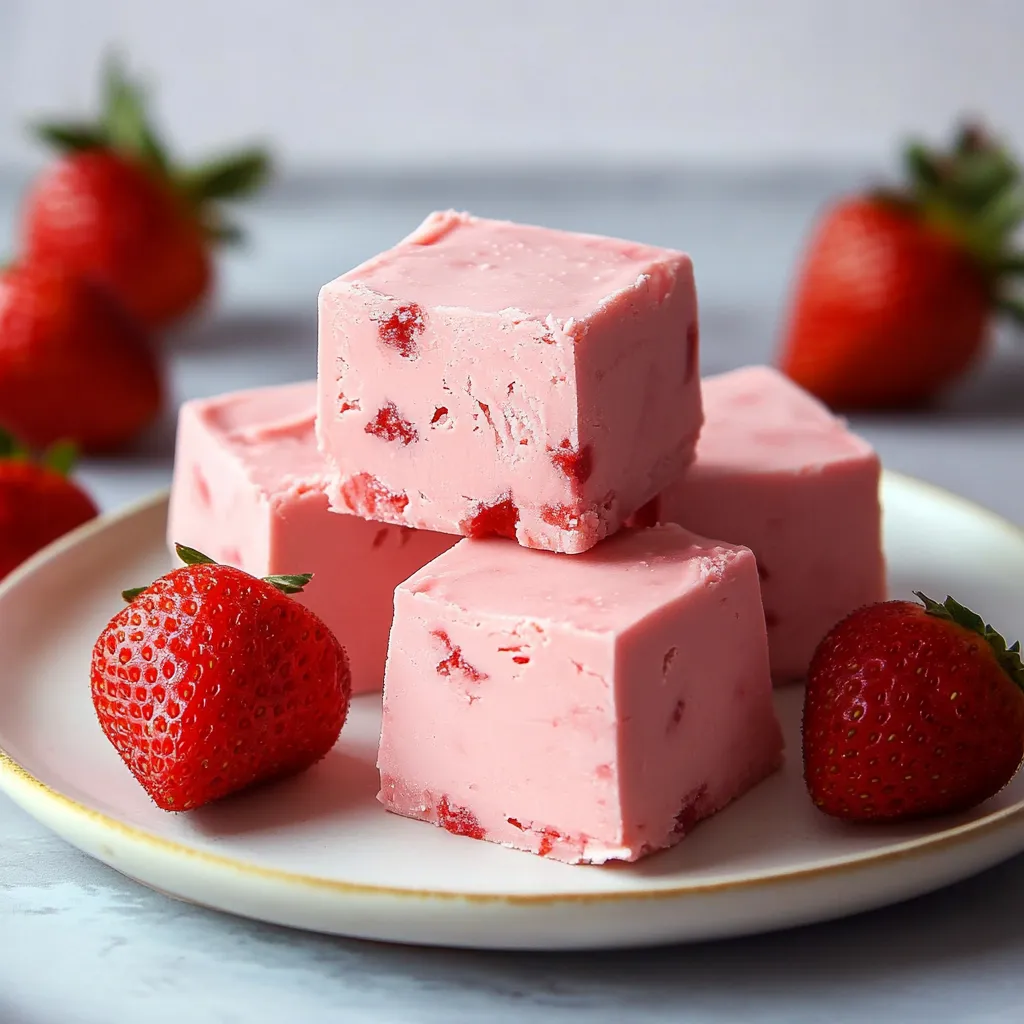
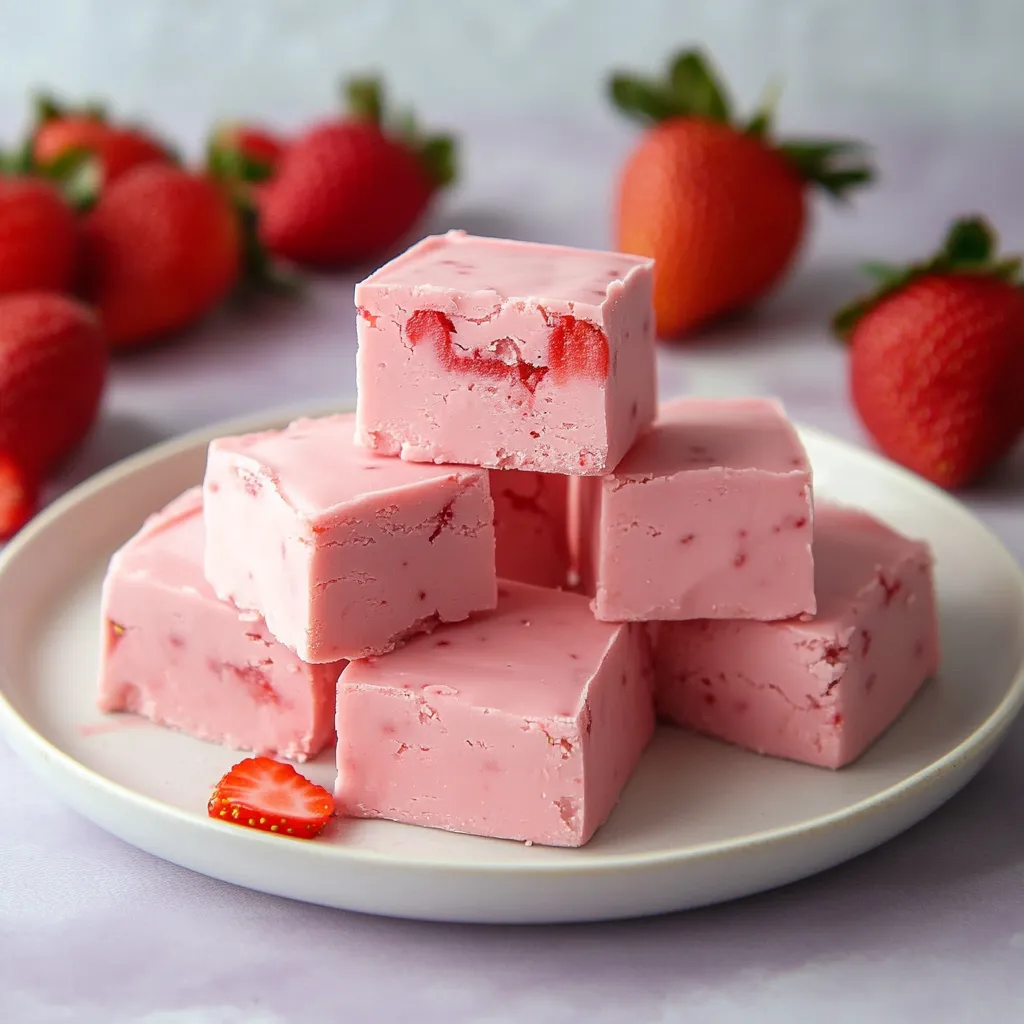
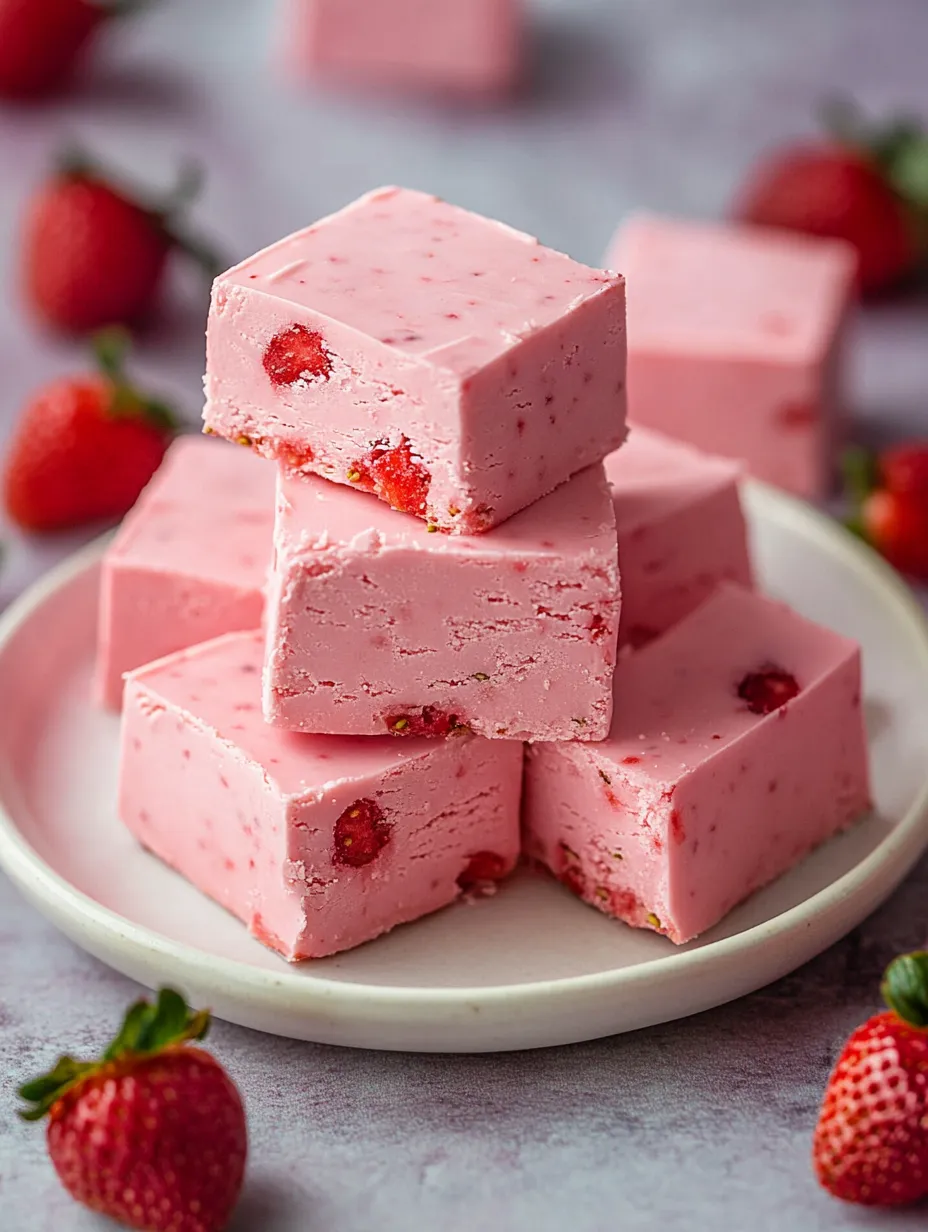
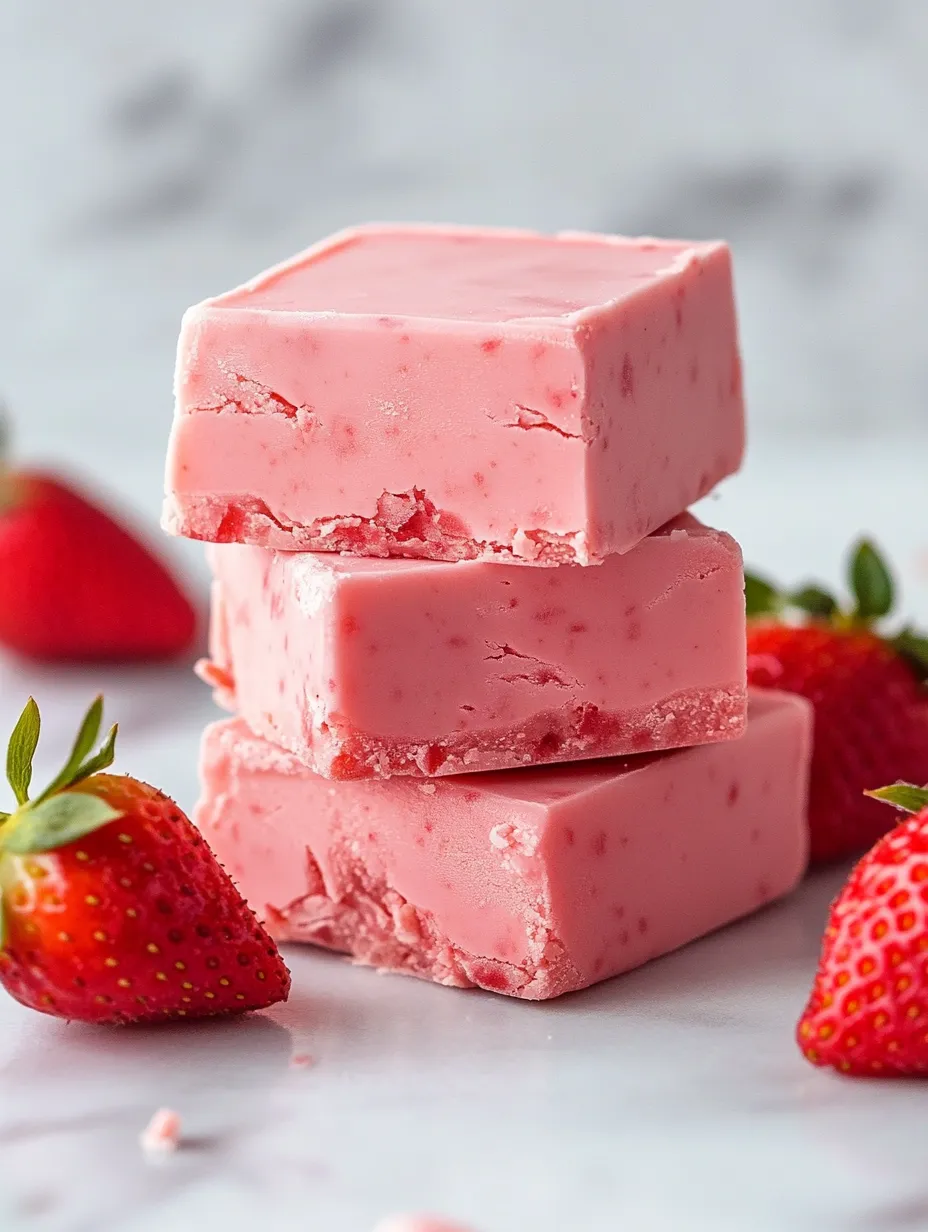
Two simple items come together to create magic in this easy strawberry fudge. The combo of strawberry frosting and candy melts delivers a smooth, pink treat that looks fancy but takes no effort. Your kitchen will smell amazing as you whip up these sweet bites - they're great for giving as gifts or just enjoying when you need something sweet.
This fudge recipe takes me back to when I first tried making candy. What began as a quick fix for an urgent school fundraiser has become something my family now begs for during celebrations. I love how it always turns out great because it's so straightforward.
Key Components and Shopping Advice
- Strawberry frosting: Go for premium brands for better results - cheaper ones might not work as well
- Strawberry candy melts: Make sure they're new since older packages won't melt nicely
- Extra garnishes: Try adding dried strawberry bits, a white chocolate drizzle, or fun sprinkles to make it prettier
- Parchment paper: You'll need this to get the fudge out easily - don't try using wax paper instead
Step-by-Step Making Process
- Let frosting reach room temp first
- Pull it from the fridge about half an hour before you start or you'll get lumps in your finished fudge
- Pick a tall microwave-safe bowl for melting the candy
- It helps keep things from spilling and heats more evenly. Make sure to pause and mix every 20 seconds, even if they still look solid
- Getting smooth results happens during mixing
- A rubber spatula works best to blend everything until no streaks show up. Keep folding gently for about 2-3 minutes
- Start pouring from the middle of your pan and let the mixture spread out naturally to the edges
- This helps keep air bubbles from getting trapped
- Bang the pan on your counter about 5-6 times
- You'll notice tiny bubbles coming up - this trick makes your fudge look like it came from a candy shop
- Cool it for 10 minutes on the counter before putting in the fridge
- This extra step lets any last air bubbles float up
 Pin it
Slicing Like a Pro
For fancy-looking fudge pieces, run your knife under hot water and wipe it dry between cuts. You'll get those clean edges that make your treats look extra special.
Keeping It Fresh
I've learned that putting sheets of parchment between fudge layers keeps them from sticking together. Just store them in a sealed container in your fridge, away from foods with strong smells.
Sharing the Sweetness
This fudge has become what everyone expects from me during the holidays. Wrapped in cute boxes with some ribbon, it always makes people happy when they receive it.
My kid found out that warming a piece slightly makes it super creamy and brings out more strawberry flavor. We can't eat it any other way now.
After making this so many times, I've realized this simple treat brings as much happiness as fancy desserts that take hours. Sometimes the easiest recipes become the ones we treasure most.
 Pin it
Temperature Matters
Getting fudge just right comes down to watching the temperature. If it's too warm, your fudge stays soft; if it's too cold, it might get hard and crumbly. The 4-hour cooling time is when the magic happens, slowly turning your mixture into that perfect creamy bite.
Eye-Catching Pink Appeal
The pretty pink color is what makes this fudge stand out. For special events, I've tried swirling in some white candy melts or dusting with edible pearls to make it sparkle. These little touches turn simple fudge into something fancy enough for any party.
Fixing Common Problems
I've made tons of batches and run into these issues along the way:
- When your fudge feels too soft, just pop it back in the fridge
- If it looks grainy, you probably overheated the candy melts
- Seeing streaks means you need to mix everything better next time
Changing It Up Through The Year
This fudge works all year but can be tweaked for different seasons:
- Spring: Toss in some dried strawberry bits and light-colored sprinkles
- Summer: Add crushed graham crackers for a strawberry shortcake taste
- Fall: Mix in white chocolate pieces and fall-colored sprinkles
- Winter: Sprinkle crushed candy canes on top for holiday flair
Smart Serving Sizes
I love how easy it is to cut this fudge into exact portions. I usually cut mine into 16 squares, but you can go smaller for parties or bigger for special treats. Using a ruler helps you get even pieces that look like they came from a fancy candy shop.
 Pin it
Impressive Homemade Presents
This fudge has become my favorite thing to give as gifts. I put pieces in small clear bags tied with pretty ribbon, and they look amazing. Adding a little note with storage info makes it extra thoughtful, and people always appreciate it.
Lighter Options
Even though this is definitely a treat, you can make some tweaks:
- Try sugar-free frosting and candy melts to cut down on sweetness
- Make tiny pieces so you don't eat too much at once
- Sprinkle in some chopped nuts for extra nutrition
This strawberry fudge has shown me that the easiest recipes often bring the most happiness. Whether you're making a batch for yourself or to share, it's a sweet reminder that tasty doesn't mean complicated. Each time I make this fudge, I think about how a bit of patience and creativity can turn basic stuff into something really special.
Frequently Asked Questions
- → Can I switch the frosting flavor?
- Absolutely! Substitute with chocolate, vanilla, or any canned frosting for unique tastes.
- → What’s the best way to store it?
- Keep it in a sealed container in the fridge for a week, or freeze it for three months.
- → Why isn’t my fudge firming up?
- Use the right measurements, melt the ingredients thoroughly, and chill in the fridge for at least 4 hours.
- → Can I throw in extras?
- Sure! Add things like nuts, sprinkles, or mini white chocolate chips for a fun twist.
- → How much time does this take?
- You’ll spend 15 minutes prepping, but it needs 4 hours in the fridge to set.
