
 Pin it
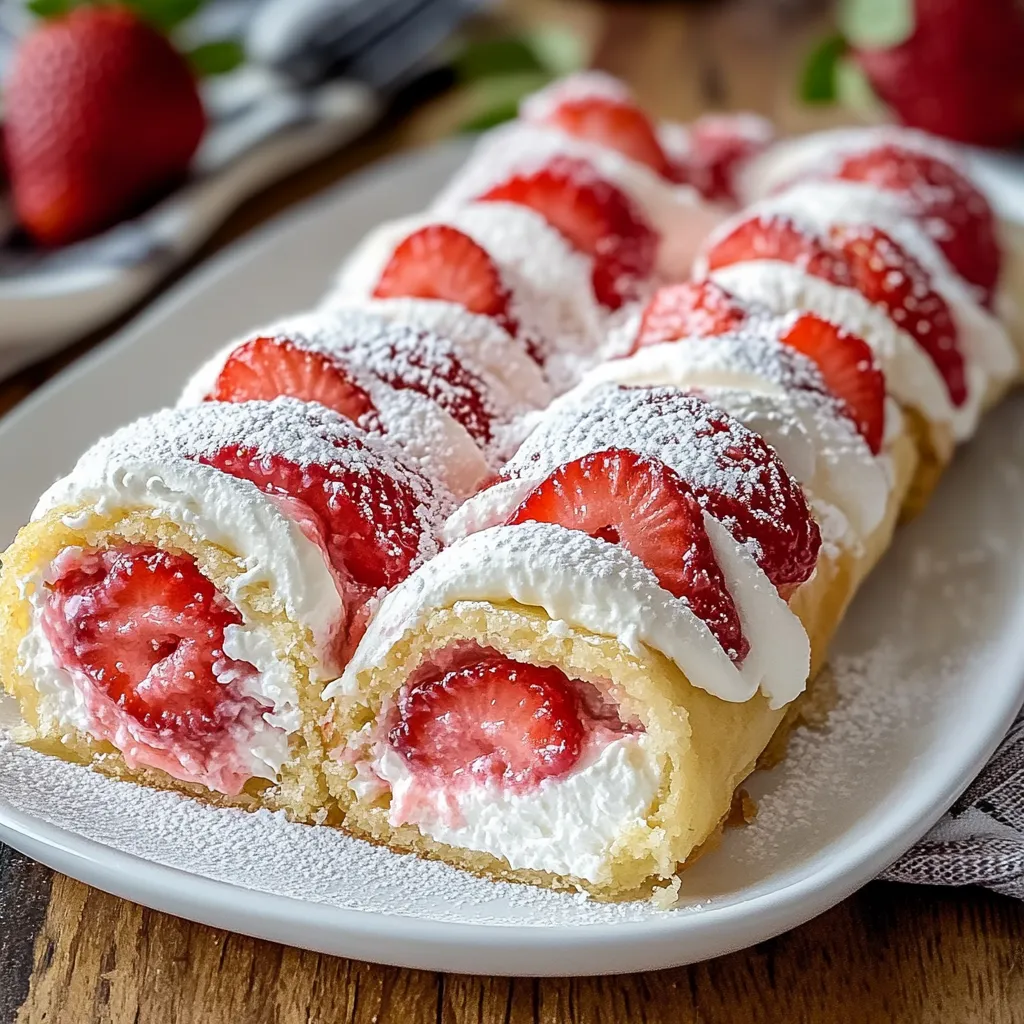
These spiral cream cheese berry creations turn basic crepes into a fancy, no-bake treat that captures summer's sweetness and rich cheesecake in every mouthful. The mix of smooth filling, juicy strawberries, and thin crepes makes something that feels both fancy and homey. When you slice it, you'll see gorgeous layers that make this dessert look as good as it tastes.
I stumbled on this idea a while back and now it's what I always bring to parties. The way the creamy stuff sets up between those thin layers creates this amazing texture that has everyone asking for more. Take my word for it, you'll want to double the batch!
Key Ingredients Breakdown
- Cream cheese: Grab full-fat that's been sitting out a while for the creamiest mix. Cold stuff will stay lumpy
- Fresh strawberries: Pick ones that are deep red and smell nice. If they don't smell sweet, they won't taste good either
- Heavy whipping cream: Keep it super cold for whipping; I even stick my mixing bowl in the freezer first
- Crepes: You want really thin, bendable ones. Pick crepes without too much browning to keep things pretty
- Shortcake crumbs: New crumbs work way better than stored ones. I usually save extra when I'm baking shortcake just for this
 Pin it
Easy-to-Follow Preparation Guide
- Nail Your Cream Base:
- Make sure your cream cheese sits out for at least 2 hours. Whip it until totally smooth before the sugar goes in. Keep scraping the bowl so you don't miss any lumps. Put vanilla in last so it mixes right.
- Get Your Cream Just Right:
- Your bowl and beaters should be cold. Start whipping slowly to get stable air bubbles. Speed up bit by bit until stiff peaks show up. Watch it closely - if you go too far, it'll get grainy.
- Put It All Together:
- Lay each crepe on a flat, clean counter. Spread your filling evenly with a spatula. Keep the thickness the same everywhere for a nice look. Don't forget to leave some space at the edges. Work fast but careful so your filling stays the right temp.
- Roll Them Up:
- Start with the edge nearest you. Pick it up gently and roll forward, pressing evenly. Roll smoothly like you're handling something delicate. Wrap each roll in plastic right away. Put the seam facing down when you wrap it.
 Pin it
Picking the Right Crepes
Whether you make your own or buy them, getting the right feel is super important. They need to be flexible enough to roll without breaking, but strong enough to hold everything inside. If you're making them yourself, let them cool all the way before adding filling - warm crepes will make your filling runny and messy.
Getting Temperatures Right
How warm or cold each part is really matters for this dessert. Cream cheese that's been sitting out mixes up without lumps, while cold heavy cream whips up nice and fluffy. This balance of temperatures is what gives you that perfect mousse-like filling that sets up beautifully.
Picking Perfect Berries
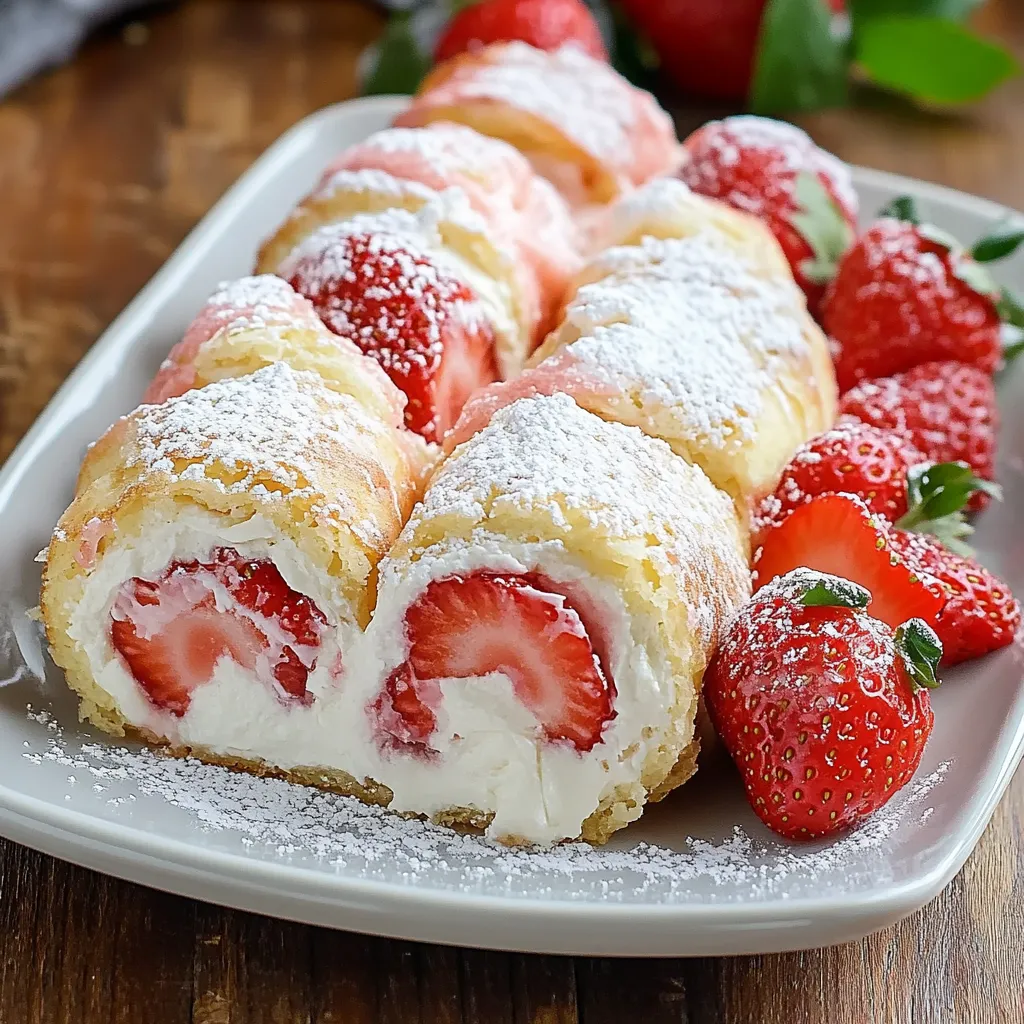
All strawberries aren't the same. I've found that the smaller, really red ones often taste better than the big ones. When you cut them up, try to make all the pieces about the same small size - they'll spread out better and make cleaner slices.
My family always adds a tiny bit of salt to the filling - it makes the sweetness pop and brings out the cream cheese flavor even more. This small trick makes a big difference in how everything tastes.
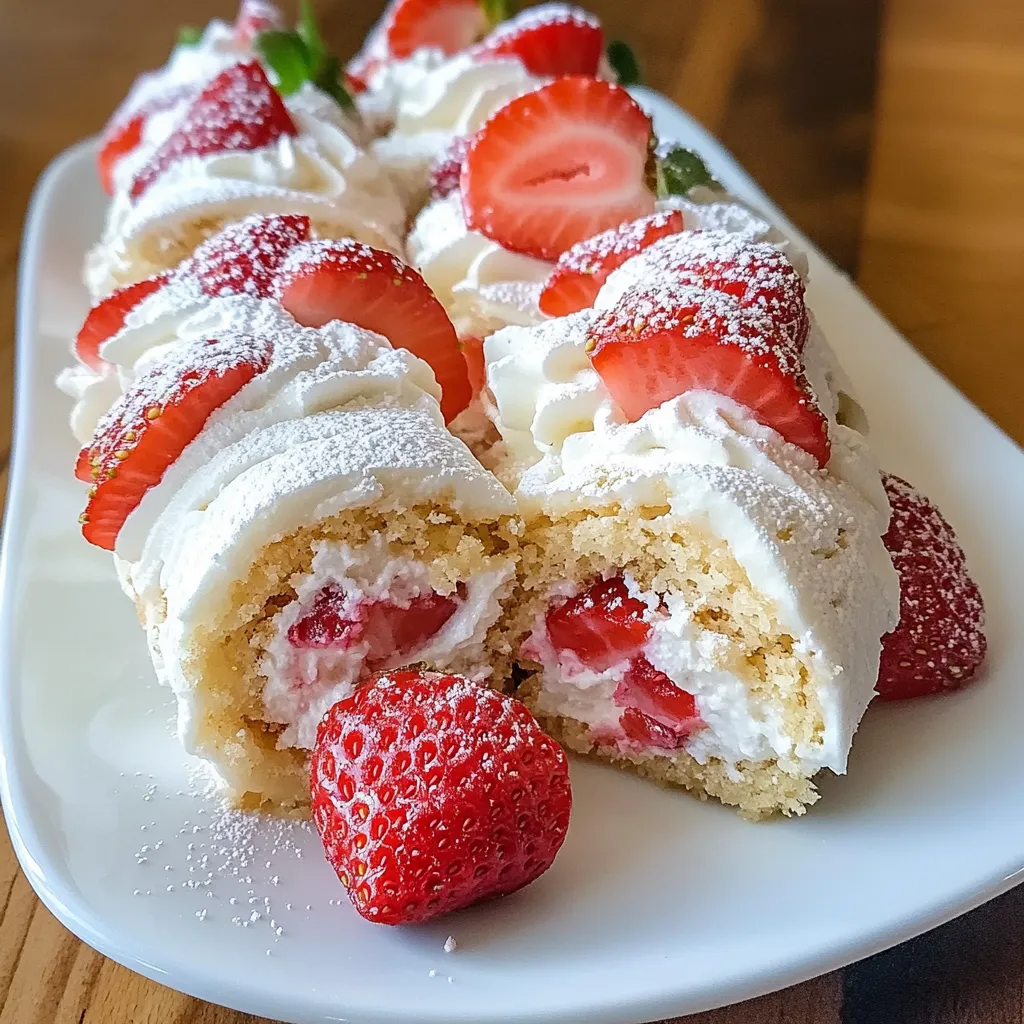
After making these rolls countless times, I've noticed they're more than just dessert - they get people talking. There's something magical about seeing folks' reactions when they spot those perfect swirls on their plates. The mix of fresh berries, smooth filling, and delicate crepes creates something that feels both familiar and special.
Cutting Beautiful Slices
Getting those Instagram-worthy spirals takes some patience and know-how. Let everything chill completely - I find leaving them overnight works best. Use a long, sharp knife dipped in hot water and wiped clean between cuts. Gently saw back and forth instead of pushing straight down to keep the filling from squishing out.
 Pin it
Fun Flavor Changes
While I love the classic strawberry version most, you can switch things up easily. During peach season, I use ripe, juicy peaches with a bit of cinnamon mixed in. In winter months, I often switch to mixed berries or even cooked apples for a warm-feeling twist.
Pretty Serving Ideas
These rolls deserve to look as good as they taste. I like to arrange them slightly overlapping on a white plate, creating a beautiful spiral pattern. Sprinkle some powdered sugar right before bringing them out - it's like adding a little dusting of snow to make everything look magical.
Prep-Ahead Benefits
One thing I really love about this dessert is you can make it way before you need it. The rolls can be ready up to 24 hours ahead, kept wrapped in the fridge. That makes them perfect for hosting when you want to hang out with your guests instead of rushing around in the kitchen.
I'll never forget serving these at my sister's bridal shower. The soft pink swirls matched everything perfectly, and nobody could believe I made them myself.
Dressing Up Your Dessert
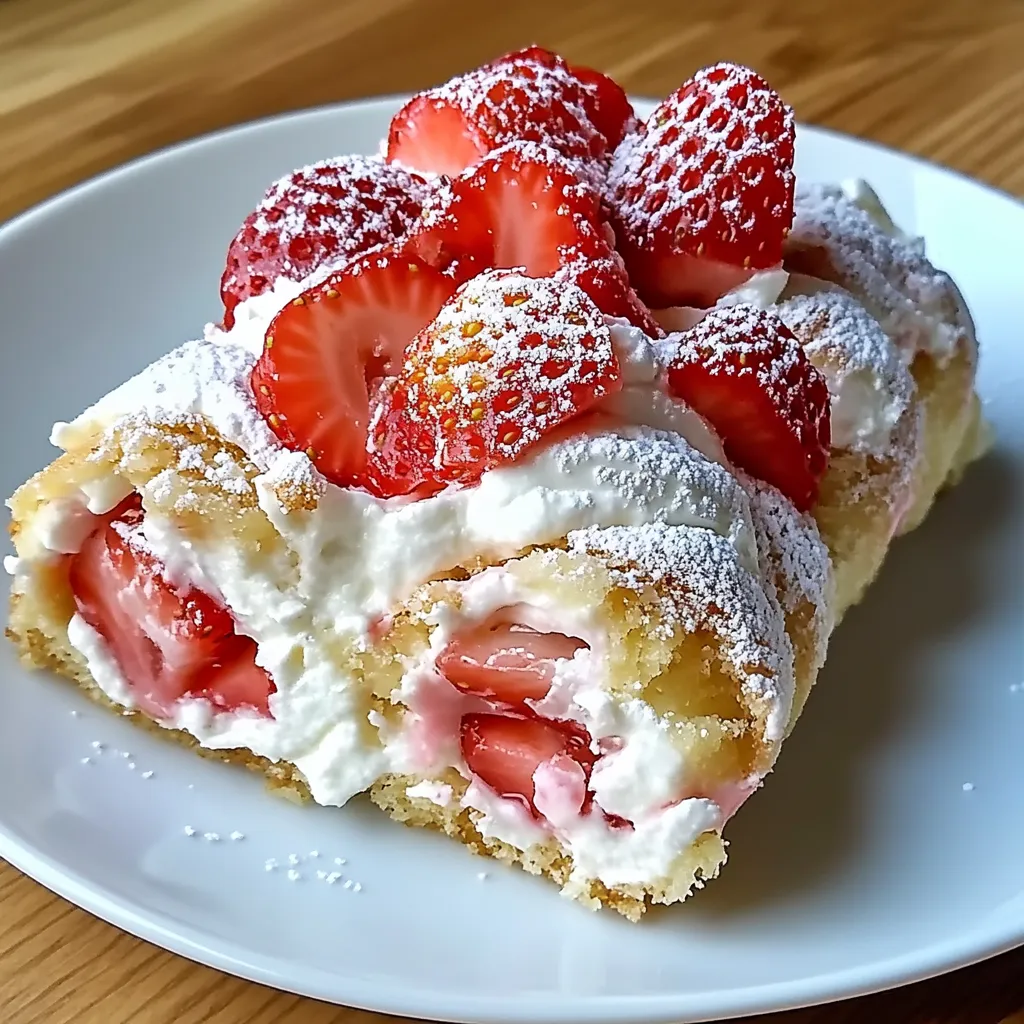
The final touches turn these rolls from tasty to unforgettable. Fresh mint leaves add bright color and smell amazing, but try other garnishes too. I love making little strawberry fans by cutting thin slices while keeping the stem end connected. A drizzle of melted white chocolate or some sugar-soaked berries on the side takes everything up another level.
Balancing Cold and Texture
Getting the temperature just right matters when serving. While they need to be cold for cutting, letting them sit for a few minutes before eating allows the filling to soften just a bit, giving you that perfect melt-in-your-mouth feeling. The contrast between the soft crepe outside and the rich filling inside is what makes these rolls so irresistible.
Fixing Common Problems
If your filling seems too runny, a quick 15 minutes in the freezer can help firm it up. For crepes that crack when rolling, try warming them slightly over a barely warm pan. If your strawberries are leaking too much juice, toss them with a tiny bit of cornstarch before adding them to help soak up extra moisture.
I still laugh about the first time I brought these to a backyard party - everyone thought they came from a fancy bakery. That taught me that sometimes the most impressive treats just need patience rather than complicated techniques.
Learning to make these strawberry shortcake cheesecake rolls has shown me that sometimes the most memorable treats combine flavors we already love in surprising new ways. Whether you're making them for a big celebration or just because you want something special, these rolls have a way of making any day feel like a party.
 Pin it
Sometimes the simple things need the most care. Each time I make these rolls, I remember that good stuff comes to those who wait - whether it's letting cream cheese warm up or giving rolls time to chill properly. The end result always makes every minute worth it. I hope this brings as much joy to your kitchen as it has to mine.
After making this dessert countless times, I've come to love how it brings together three favorite treats - crepes, cheesecake, and strawberry shortcake. It shows how basic ingredients, when handled with care, can turn into something amazing. Remember, success comes from taking your time and enjoying each step. Be patient, and you'll end up with a dessert that's as fun to make as it is to eat.
What makes these rolls so great is how flexible they are - fancy enough for big celebrations but simple enough to make any regular day feel special. Whether you're a cooking pro or trying fancy desserts for the first time, this recipe shows that with a little patience and attention to detail, anyone can create something truly memorable.
Frequently Asked Questions
- → Can I prep these rolls early?
- Absolutely! Assemble them a full day ahead and leave them in the fridge until you’re ready to eat.
- → What should I do with no crepes?
- No crepes? No problem. Use thin cake layers or whip up simple homemade crepes with flour, milk, butter, and eggs.
- → Can frozen strawberries replace fresh ones?
- Fresh is best, but if frozen is all you have, just thaw and drain them first to avoid any extra liquid.
- → Why is chilling important?
- Chilling firms up the filling so the slices stay neat when you cut them.
- → How long do they last?
- Keep them in a sealed container in the fridge, and they’ll be best for up to 2 or 3 days.