
 Pin it
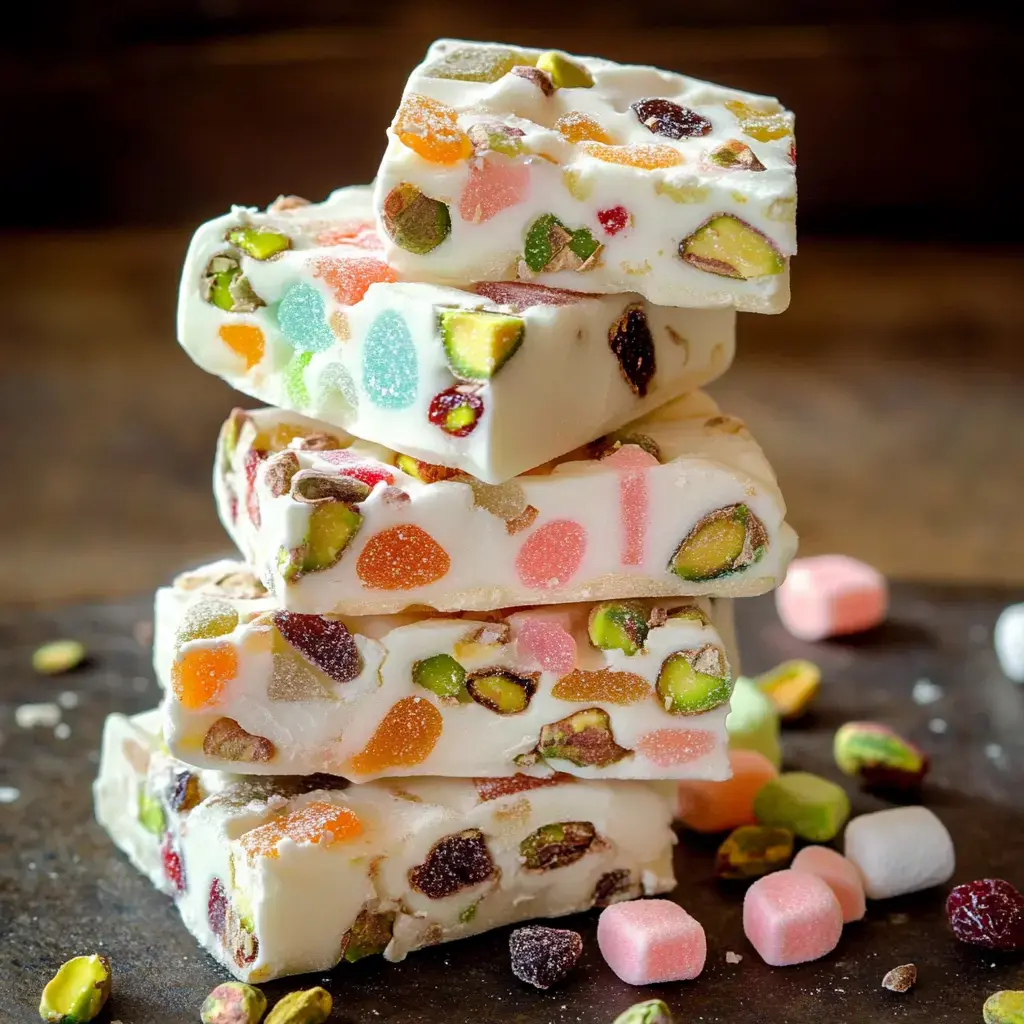
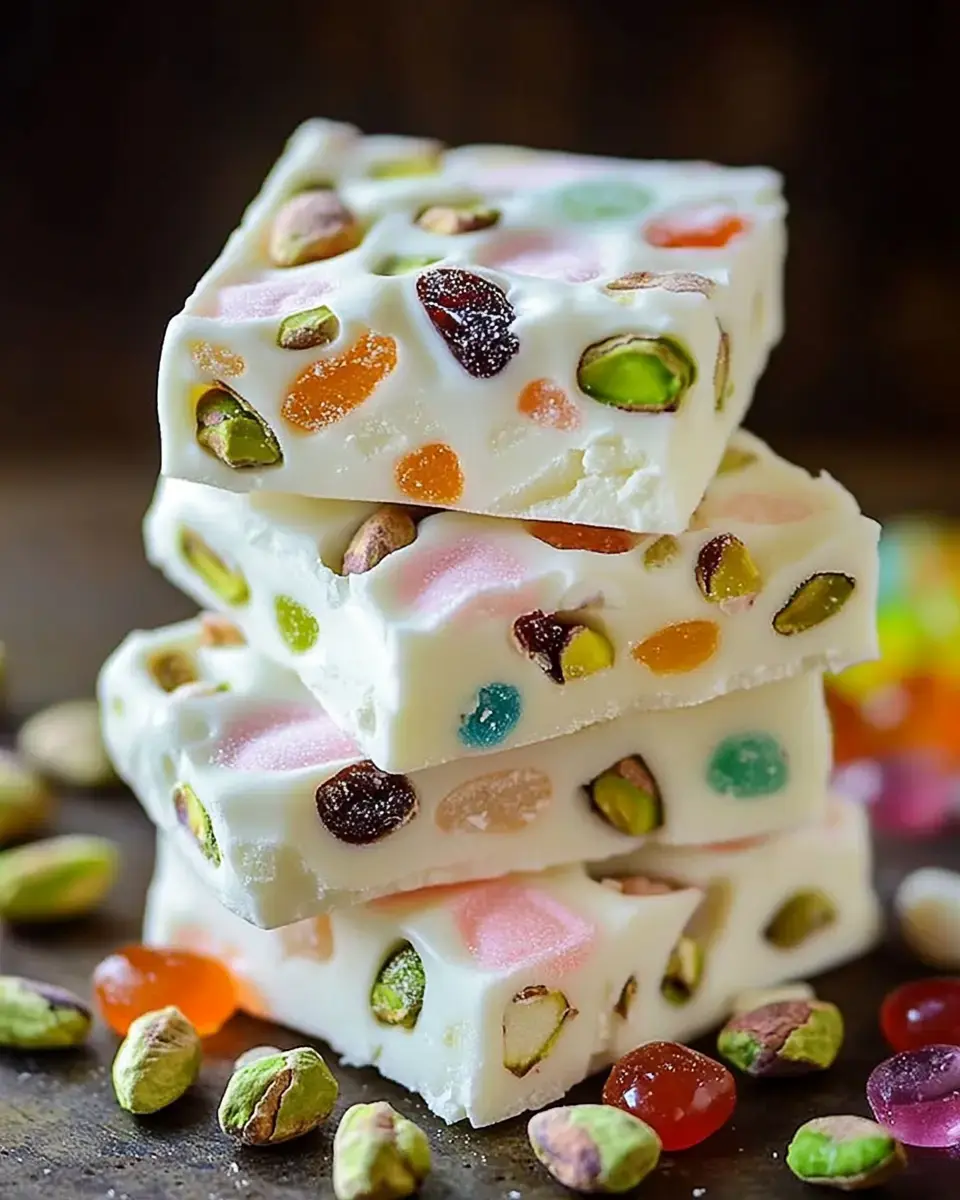
I whipped up this no-bake white chocolate rocky road during the holidays when I wanted something fancy without heating up the kitchen. I played around with different combos and amounts until I got the perfect mix of smooth chocolate and fun textures. What's great about this treat is how flexible it is—you can swap ingredients based on what you've got, and even total beginners can nail it the first time.
Getting to Know Your Components
The foundation of this treat is good white chocolate—grab one with actual cocoa butter, preferably above 30%. Your marshmallows need to be squishy and new, not hard and old. When picking nuts, give them a quick toast beforehand to wake up their flavor. Make sure your dried fruits aren't too dry or too wet, and let your jellied sweets sit out a bit so they're easier to cut up.
Must-Have Tools and Materials
- For the Base:
- 18 oz high-quality white chocolate
- 1 cup soft mini marshmallows
- 1/2 cup lightly toasted mixed nuts
- 1/3 cup juicy dried fruits
- 1/3 cup colorful jellied sweets
- Tools You'll Need:
- Double boiler setup
- Digital thermometer
- 8x8-inch metal pan
- Heavy-duty parchment
- Silicone spatula
- Sharp chef's knife
- Fun Add-ons:
- Pure vanilla extract
- Edible gold dust
- Specialty sprinkles
Simple Step-by-Step Instructions
- Getting the Chocolate Ready
- Cut white chocolate into small, even bits no bigger than a dime. Heat water in double boiler to exactly 180°F. Put chocolate in top bowl, keep stirring until temp hits 88°F.
- Preparing Your Mix-ins
- While your chocolate melts, get everything else ready. Cut nuts and jellies into small, matching pieces around 1/4 inch. Pull apart any stuck-together marshmallows. Have all ingredients measured out and waiting.
- Mixing Everything Together
- Let your melted chocolate cool down to exactly 85°F before you start adding stuff. First fold in marshmallows with nuts, then mix in fruits and jellies. Work fast but carefully so nothing melts too much.
- Letting It Set
- Pour into your lined pan right away. Spread it out evenly with your spatula. Tap the pan on the counter three times to push out air bubbles. Chill uncovered until the top loses its shine before you wrap it up.
Expert Advice and Quick Fixes
If your white chocolate clumps up, stir in 1 teaspoon of warm heavy cream very gently. Want neat slices? Run your knife under hot water and wipe it dry between cuts. If your mixture gets too stiff when you're mixing everything, warm it briefly over the double boiler. Don't leave it in the fridge too long before cutting—too much cold can make the chocolate pull away from the goodies inside.
 Pin it
Fun Twist Ideas
Switch things up with combos like macadamia and dried pineapple for a tropical feel. Make festive versions using seasonal candies and colors. I love making mine with swirled dark and white chocolate layers. You can also play with crunch by throwing in some crispy rice cereal or broken cookie pieces.
Keeping Fresh and Looking Good
Keep your treats between sheets of parchment in a sealed container. They'll stay good at cool room temp for up to a week. For gifts, cut them into neat squares and pop them in paper candy cups. These goodies travel really well—perfect for sending to friends or selling at bake sales. When serving at parties, arrange them on a plate with some fresh berries and mint for a fancy touch.
Frequently Asked Questions
- → What's the best way to melt white chocolate?
Microwave for short intervals, stirring in between. Avoid overheating; this can cause clumps.
- → What mix-ins go well?
Whatever you like! Cut bigger pieces into smaller bits so everything blends nicely.
- → Why isn't it setting right?
Be patient! Let it cool entirely. A fridge speeds up setting but let it warm up a bit before cutting.
- → How do I slice it without a mess?
Use the parchment to lift the block out. A sharp knife at room temperature gives clean edges.
- → How long will it stay fresh?
Keep in a cool spot for up to two weeks. Refrigerating is okay but expect a little moisture when thawed.
Conclusion
An easy no-bake snack that's perfect for sharing or gifting. Get creative by mixing in your favorite goodies.