
 Pin it
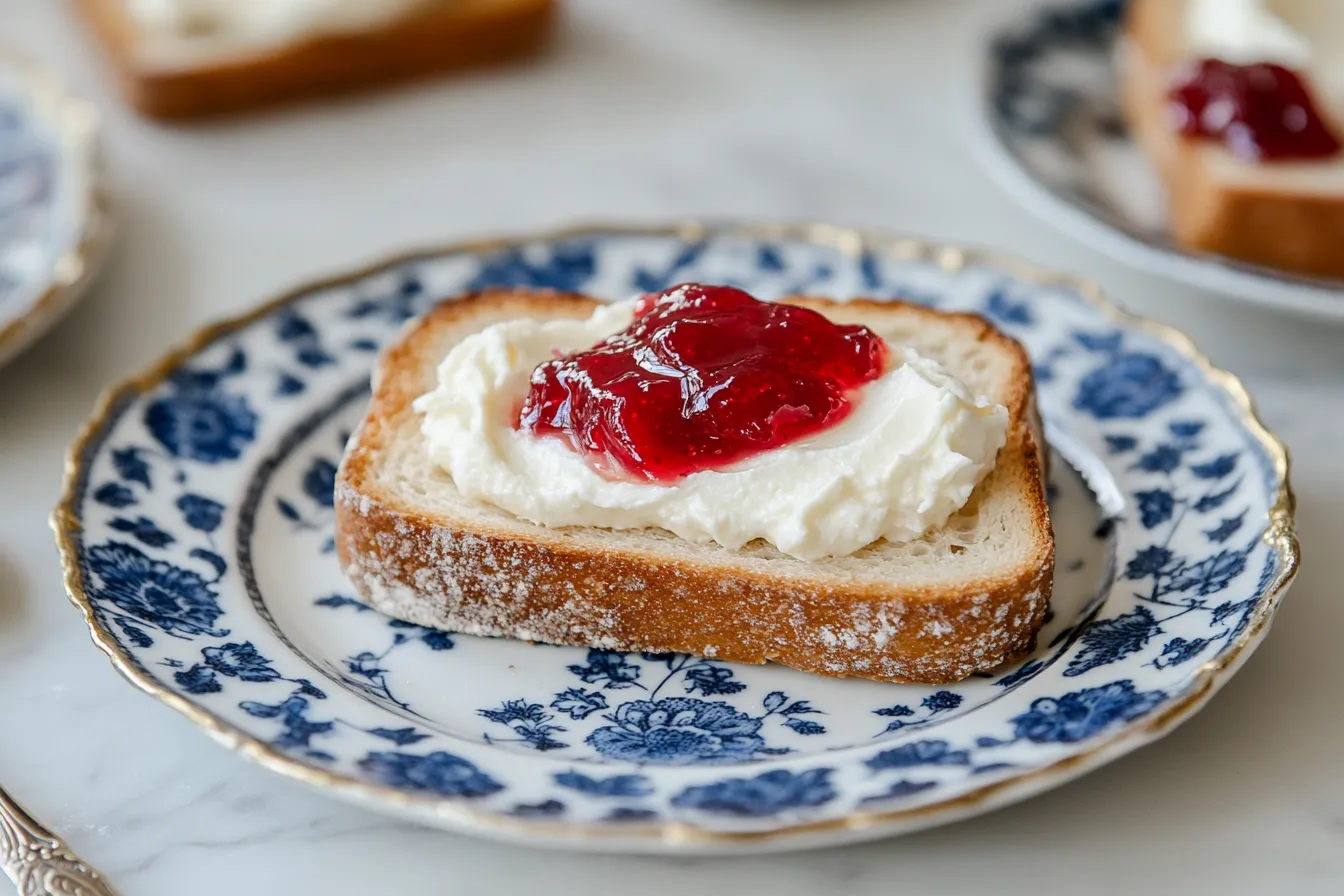
This gorgeous seed-free raspberry rose jelly delivers pure berry flavor without any bits getting in the way—just what folks who enjoy raspberries want when they don't care for those tiny seeds. A gentle touch of rose water actually brings out more of the raspberry's natural taste, making each spoonful even more intense!
I whipped up this jelly last summer and gave small containers to my buddies. Right away, three friends asked me how to make it! You can't help falling for its bright color and clean taste.
Key Ingredients and Shopping Advice
- Raspberries - Pick the juiciest, most colorful ones for top-notch flavor
- Rose Water - Add just a splash to highlight the berries without making it flowery
- Lemon Juice - Helps it set naturally and cuts the sweetness
- Sugar - Gets you the right thickness and keeps it fresh
- Water - Only enough to coax out all the berry goodness
The real trick happens when you strain everything, pulling apart the seeds and fruit flesh from the pure raspberry liquid, leaving you with clear, flavor-packed jelly.
Step-by-Step Making Guide
- Step 1: Pull Out All The Berry Juice
- Cook raspberries with water until they totally fall apart. This first cooking step pulls all the flavor and natural thickeners from your berries. Keep stirring so nothing burns or cooks unevenly.
- Step 2: Strain Everything Out
- Get a fine strainer, put wet cheesecloth inside it (several layers), and pour your raspberry mix through. This big moment removes every seed and bit of pulp. Let it drip on its own—don't push it through or you'll end up with cloudy jelly.
- Step 3: Strain One More Time
- For super clear jelly, run the juice through fresh cheesecloth again. This extra work means your jelly will have that amazing see-through quality that makes it look so fancy.
- Step 4: Mix With Sugar and Extras
- Put the strained juice in a clean pot with sugar, lemon juice, and rose water. Getting these amounts just right matters for good texture and balanced flavor. Heat until boiling and cook until it starts to thicken.
- Step 5: Check If It's Ready
- Use a food thermometer to see when it hits 220°F, which means it'll set up nicely. You can also try the cold plate trick—put a little bit on a cold plate and push it with your finger. If it wrinkles, it's done.
- Step 6: Fill Jars and Keep
- Pour hot jelly into clean containers and close them tight. Keep in your fridge for freshness and the perfect soft texture. It'll keep firming up as it cools down.
 Pin it
The Dreamy Soft Consistency
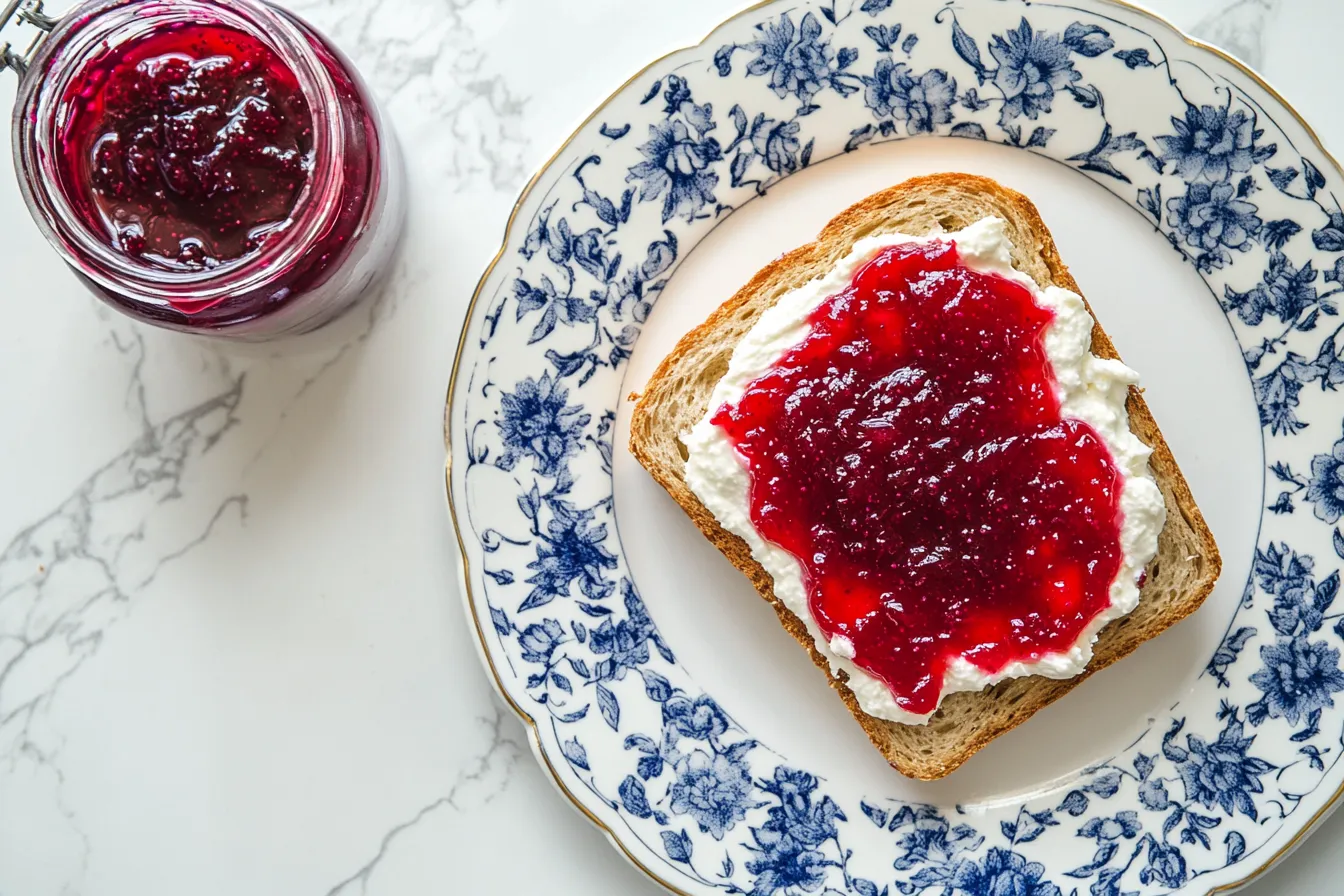
This jelly turns out softer than store-bought kinds, giving you that rich feel that just melts away as you eat it. Unlike those bouncy, stiff jellies with added pectin, this one spreads so smoothly on hot toast without ripping it. The gentle texture also works great mixed into yogurt or as a fancy cake layer.
More Than Just Toast Topping
While it tastes amazing on toast with labneh or cream cheese, this jelly can do so much more. Warm it up a bit for a fancy sauce over vanilla ice cream. Drop some next to aged cheddar on a cheese plate. Stir a bit into your champagne for a fruity drink, or shake it with olive oil and white wine vinegar for a tasty salad dressing.
 Pin it
Beautiful Handmade Presents
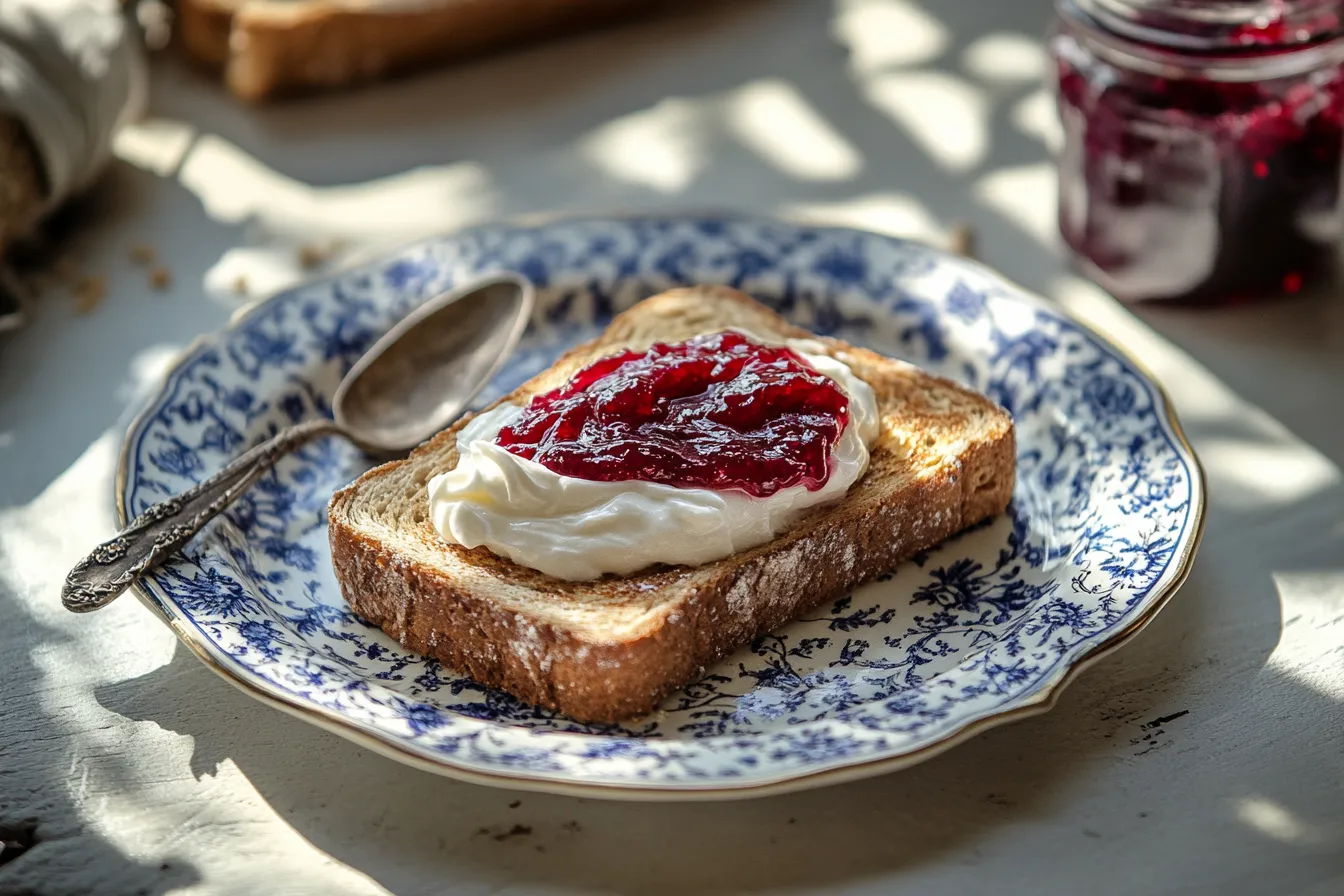
Not many homemade gifts look as stunning as this clear ruby-colored jelly in pretty glass jars where light shines through it. Pair it with a fresh fancy bread loaf and some labneh or good butter for a thoughtful host gift. The tiny jars make great wedding or party favors with cute labels. The rose connection feels just right for romantic celebrations.
Making It Year-Round
Though summer raspberries fresh from the bush taste best, frozen berries work great in winter too. The jelly-making steps actually pull out tons of flavor from berries that aren't perfect, so it's a smart way to use up late-season fruit that's too soft to eat fresh but still packed with taste.
Important Things To Remember
- Let gravity strain the berries or your jelly won't be clear
- Straining twice gets you the prettiest results
- This sets up softer than jelly from the store
- Keeping it cold helps it stay the perfect thickness
- Put on an apron because raspberry stains don't come out easily!
I found out about patience during straining when my first try came out cloudy with bits of seeds. Now I just let it drip naturally for the clearest, seed-free jelly possible.
Clever Tricks From My Kitchen
- Wet the cheesecloth first so it won't soak up your precious juice
- Stack several cheesecloth layers for the clearest result
- Wash the pot between cooking steps to avoid seeds in your final jelly
- Scoop off any foam for beautiful clarity
- Wait until jars are room temperature before putting in the fridge
 Pin it
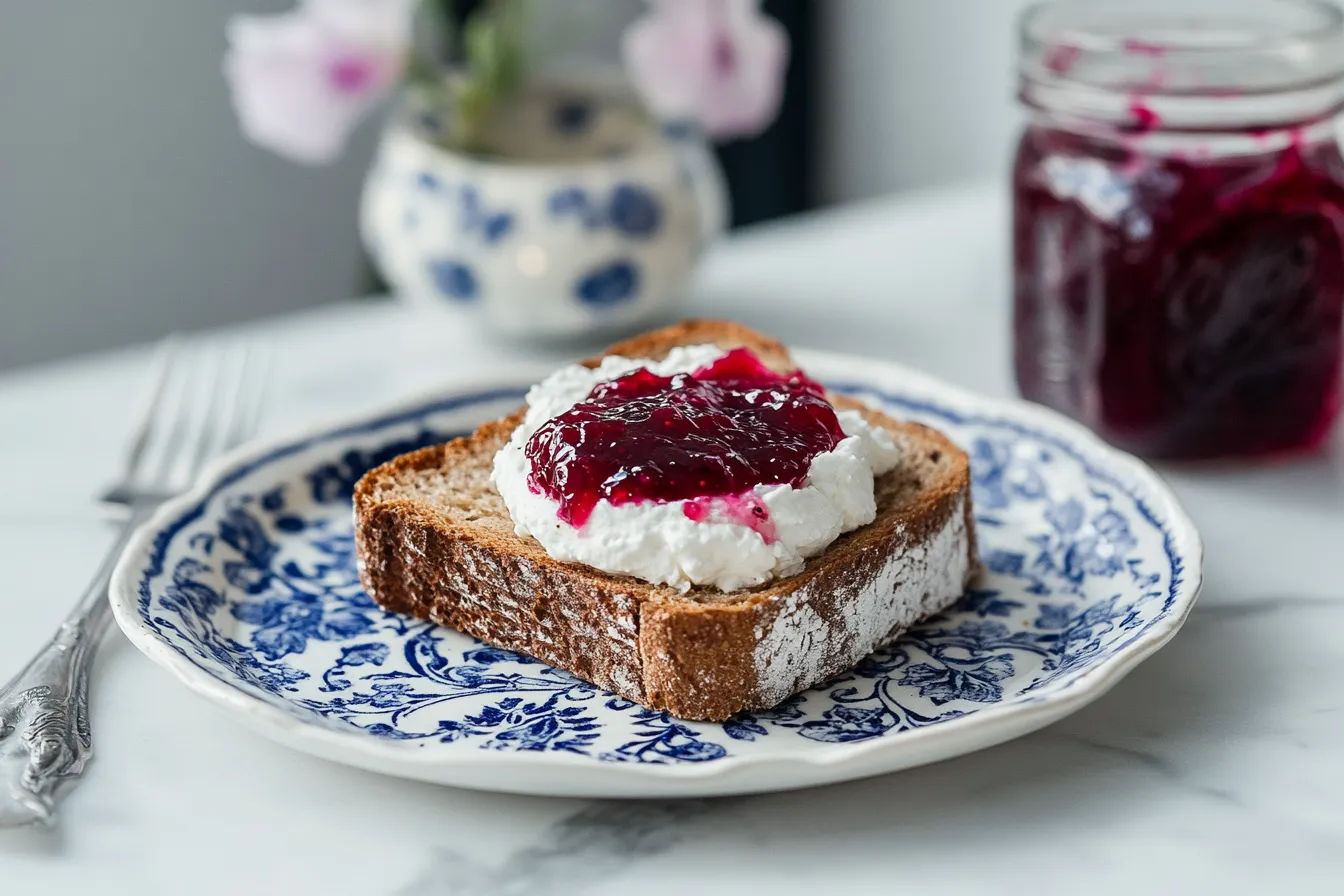
This Raspberry Rose Jelly has become what I'm known for making every summer. It bottles up raspberry season in its purest form, without a single seed getting in the way. The rose water touch is so light but makes such a difference. Most people can't pick out what it is exactly, but they always mention how the raspberry flavor seems stronger than usual.
Parting Advice
- Try to eat it within a year for the freshest taste, though it often stays good longer in the fridge
- For pantry storage, use proper canning methods
- Little jars work best for gifts or trying different serving ideas
- Don't toss the strained pulp, use it in smoothies or baking
- Try it with crusty bread and labneh for a simple but amazing snack
Frequently Asked Questions
- → Will I need added pectin?
- Nope! The pectin in the raspberries and lemon is enough.
- → Should I rinse the berries first?
- No, it helps keep the flavor concentrated and fresh.
- → Do I have to seal the jars?
- Not if they’re going in the fridge—they’ll last months that way.
- → What if I can't find rose water?
- Skip it for a plain raspberry version or use orange flower water instead.
- → How do I know it’s done?
- It’s ready when it hits 220°F or passes the chilled plate test.