 Pin it
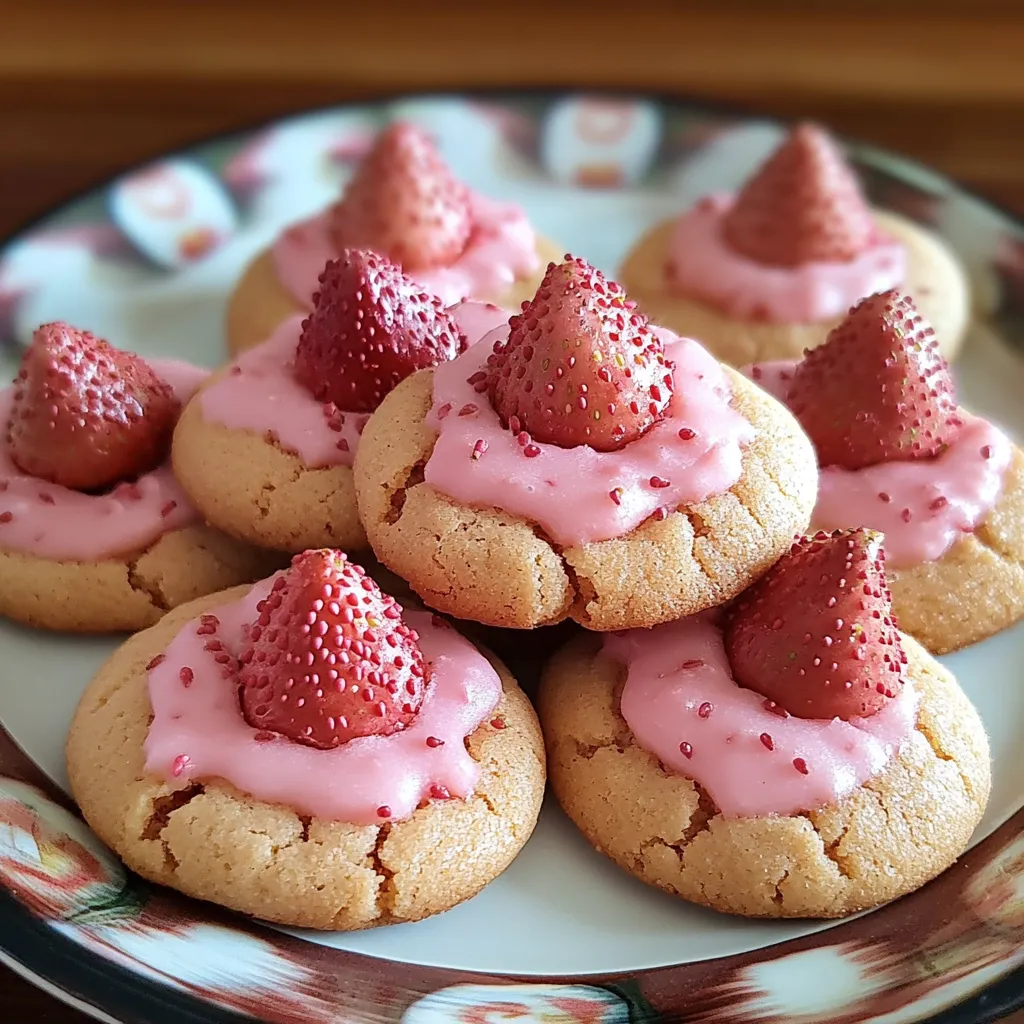
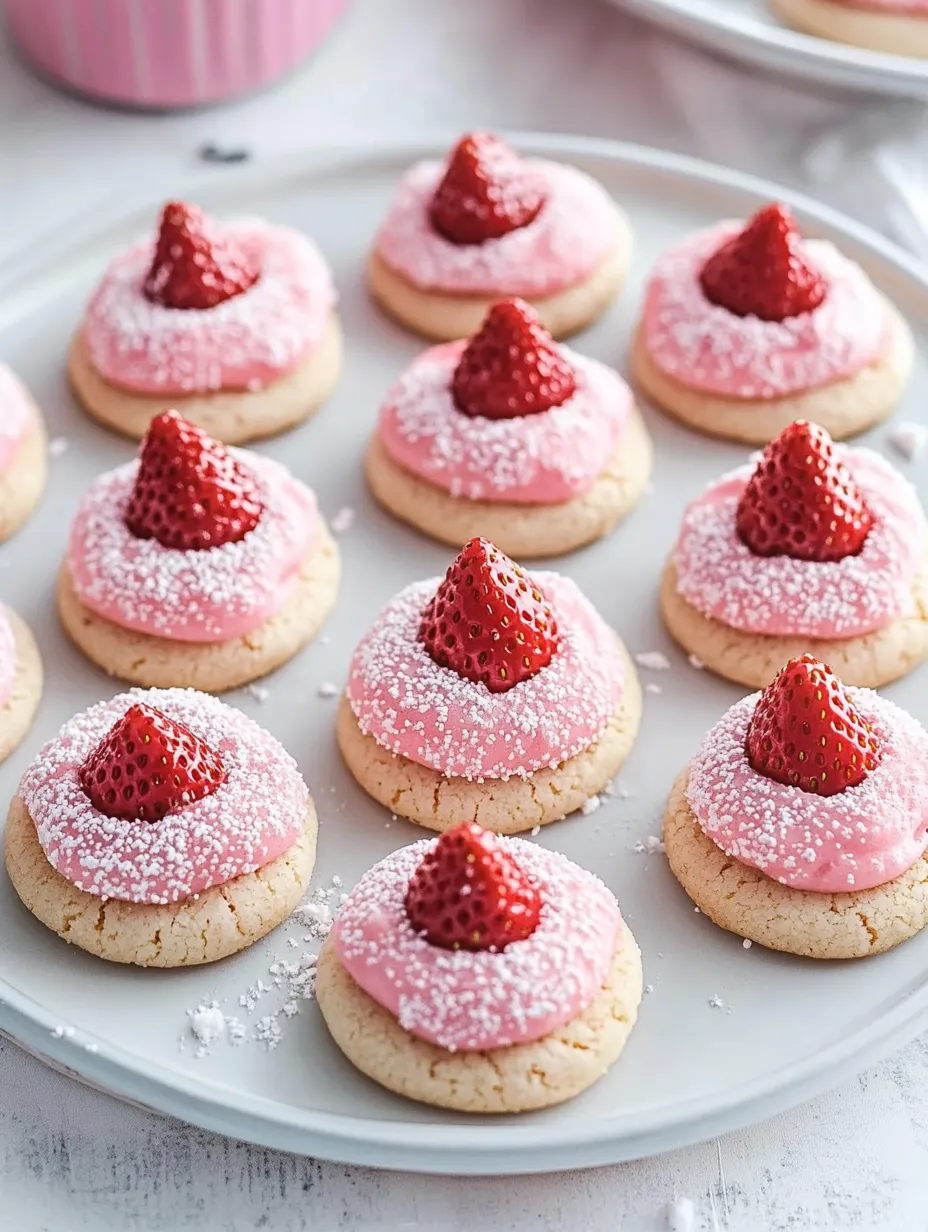
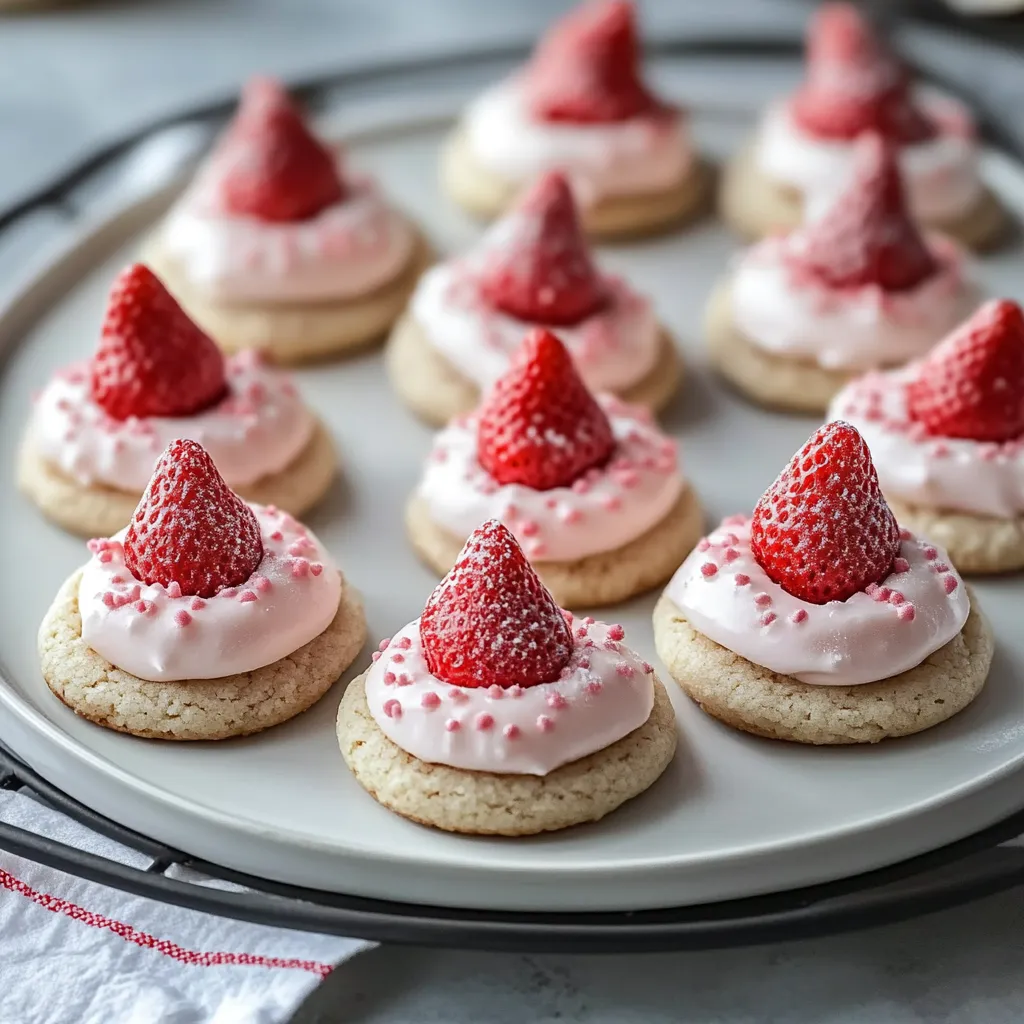
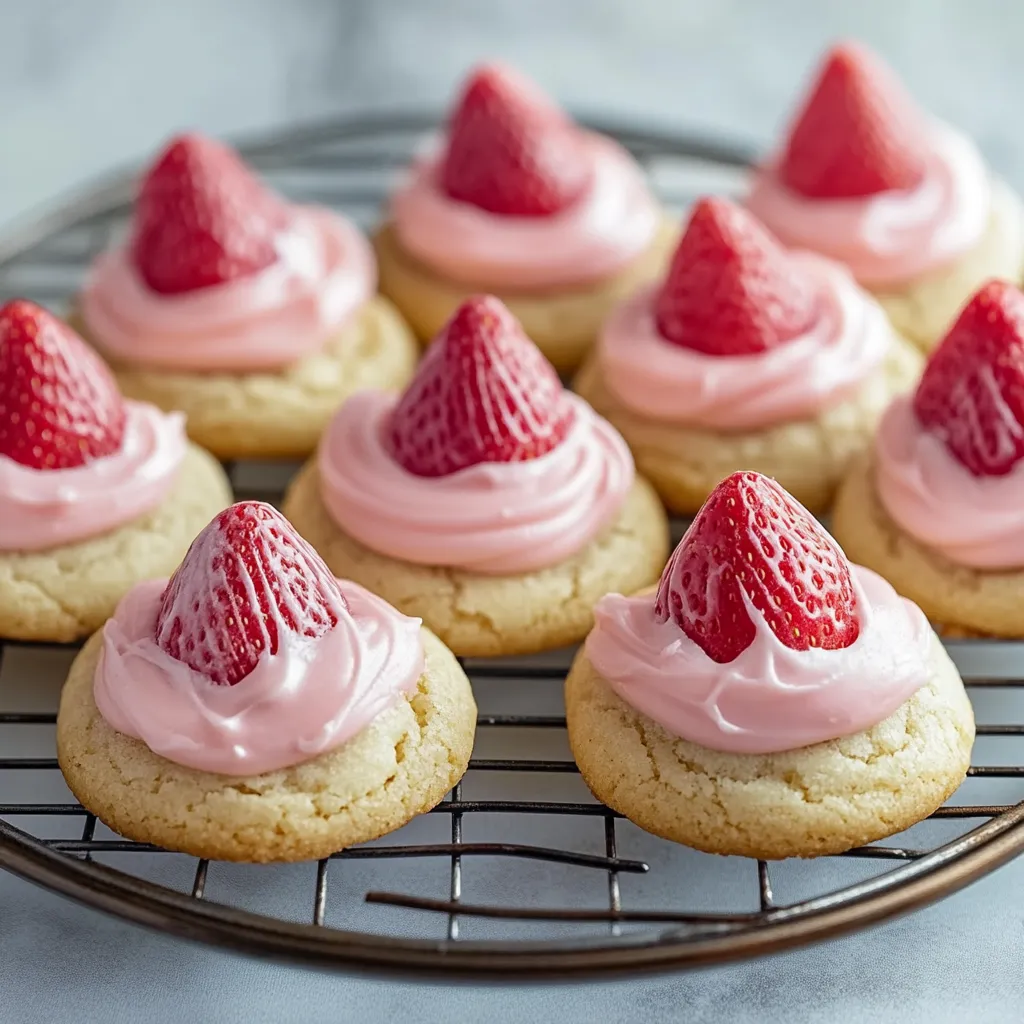
These Strawberry Kiss Cookies bring such happiness to my home. There's something truly special about mixing buttery shortbread with sweet strawberry and rich chocolate. It creates this wonderful treat that feels both familiar and fancy. I love how the soft pink color adds a playful touch, while the chocolate center makes every bite perfectly balanced.
I showed my niece how to make these cookies last weekend. When she pushed the chocolate kisses into the warm cookies, her face lit up with joy. That moment reminded me why this recipe means so much to me.
Key Ingredients and Smart Selection Advice
- Butter: Go for good quality unsalted butter that's been sitting out. I leave mine on the counter for exactly 60 minutes before starting. If you can get European butter with more fat, your cookies will turn out even softer
- Strawberry Gelatin: Stick with the regular kind, not sugar-free, as it helps with both taste and texture. If you're making several batches, keep the open packet in a sealed container
- Flour: Just use regular all-purpose flour, but measure it right. I scoop with a spoon then level it off for the best results
- Chocolate Kisses: Store them in your fridge until you need them. Cool kisses keep their shape better when pushed into warm cookies
Getting ready properly makes all the difference with Strawberry Kiss Cookies. Having your ingredients at room temp and setting up your workspace makes everything easier. Once you start, the dough comes together quickly, so being prepared helps the whole process go smoothly.
 Pin it
Crafting Flawless Dough
First, beat your butter until it gets light and fluffy – this usually takes about 3-4 minutes with your mixer. Don't cut this step short! When butter is properly beaten, you get that melt-in-your-mouth feel later. Add your sugar bit by bit, letting each addition mix in fully. When it's ready, the mix should look almost white and feel airy.
 Pin it
Adding Your Dry Mix
Put in your dry ingredients a little at a time, mixing slowly. Stop right when you can't see the flour anymore. If you mix too much, the cookies get tough. Your dough should feel soft but not sticky and should hold its shape when you roll it.
Forming Perfect Cookies
Take about a tablespoon of dough and roll it into perfect little balls. This makes the finished cookies look their best. When you make the dent in the middle, gently twist your thumb as you press down. This stops cracks and makes the perfect spot for your chocolate kiss.
Smart Baking Tips
Keep a close eye on your cookies while they bake. They're done when the edges look set but the centers still seem a bit underdone. This gives you that tender, melty texture everyone loves. Let them sit on the baking sheet for exactly 5 minutes before adding the kisses.
Adding The Chocolate Just Right
Push the chocolate kisses into the middles while cookies are warm but not hot. The leftover heat will secure the chocolate without turning it to goo. If your kitchen runs warm, cool the kisses in the fridge for a bit first.
Changing With The Seasons
You can switch things up throughout the year. Try strawberry kisses in spring. Go with white chocolate during summer months. Fall calls for caramel-filled kisses, and winter is great for dark chocolate or peppermint options.
Keeping Them Fresh
Put wax paper between layers in an airtight container. They'll stay good at room temperature for about 5 days, though at my house they never stick around that long. When giving them as gifts, pack them in see-through boxes with ribbon. Their pretty pink color makes them naturally decorative.
Thoughtful Final Insights
Making awesome Strawberry Kiss Cookies means understanding both steps and feel. Everything builds on what came before, from beating the butter to adding that final dusting of powdered sugar. After years of making these, I've found that success comes from noticing the little things, like how the dough feels, finding the perfect bake time for your oven, and knowing exactly when to add the chocolate.
My Cookie Journey
I first learned about these cookies during holiday baking with my grandma. She always said good cookies come from taking your time and noticing the details. What started as a simple thumbprint cookie turned into this special recipe that everyone asks for at parties and gatherings. Each batch reminds me of laughing in the kitchen, sharing stories, and the happiness that comes from making something tasty to share.
Where These Cookies Come From
Thumbprint cookies started as Swedish raspberry caves, but this American version shows how we like to mix old methods with new ideas. Adding strawberry flavor and chocolate kisses came from mid-1900s America when home bakers started trying out new store products to make unique treats. These cookies show how home baking has changed over time, keeping traditional methods but welcoming new ingredients and flavors.
Tips For Giving As Gifts
These cookies make wonderful presents, but how you package them matters. Stack them carefully in pretty tins with parchment paper between layers, turning some upside down to protect the chocolate kisses. For holiday gifts, metal boxes with clear lids work really well to show off their festive look while keeping them fresh.
Making Them For Special Events
You can adjust these cookies for different holidays. For Valentine's Day, make heart shapes instead of rounds. Easter works well with pastel white chocolate kisses. At Christmas, try adding red and green sugar sprinkles before the powdered sugar.
Fixing Common Problems
If your cookies spread too much while baking, cool the dough balls in the fridge for about 15 minutes before making the dents and baking them. If the edges crack when you make thumbprints, let the dough warm up a bit first. These small changes can really improve how your cookies turn out.
 Pin it
Understanding Room Temperature
Your kitchen's temperature really affects these cookies. On hot days, keep the dough cold between batches and work quickly when adding the kisses. In cold weather, you might need to bake them a little less time since butter sets faster in cooler rooms.
Preparing Ahead Of Time
You can make the dough up to two days early and keep it in the fridge. Just let it warm up a bit before shaping. You can also freeze the shaped, unbaked cookies for up to a month. Just add an extra minute to the baking time when cooking from frozen.
Baking With Kids
These cookies are great to make with children. The simple but fun steps – rolling balls, making thumbprints, adding kisses – naturally teach kitchen skills while creating sweet memories. Kids stay interested because they can see the cookies change during each step of the process.
Frequently Asked Questions
- → Can I try a different gelatin flavor?
- Sure! Raspberry or cherry work great if you want to mix up the flavor.
- → Can I prep the dough early?
- Absolutely. Just keep it in the fridge until you're ready to bake. Warm it up a bit before shaping.
- → Can I swap out the chocolate candy?
- You bet! Use ganache, Nutella, or any chocolate you like for the center.
- → What's the best way to store them?
- Keep them in an airtight box at room temp for about five days. The chocolate may soften but stays tasty.
- → Can I freeze these cookies?
- Yes, you can freeze the cookies without the chocolate centers for three months. Add the chocolate after thawing.
