
 Pin it
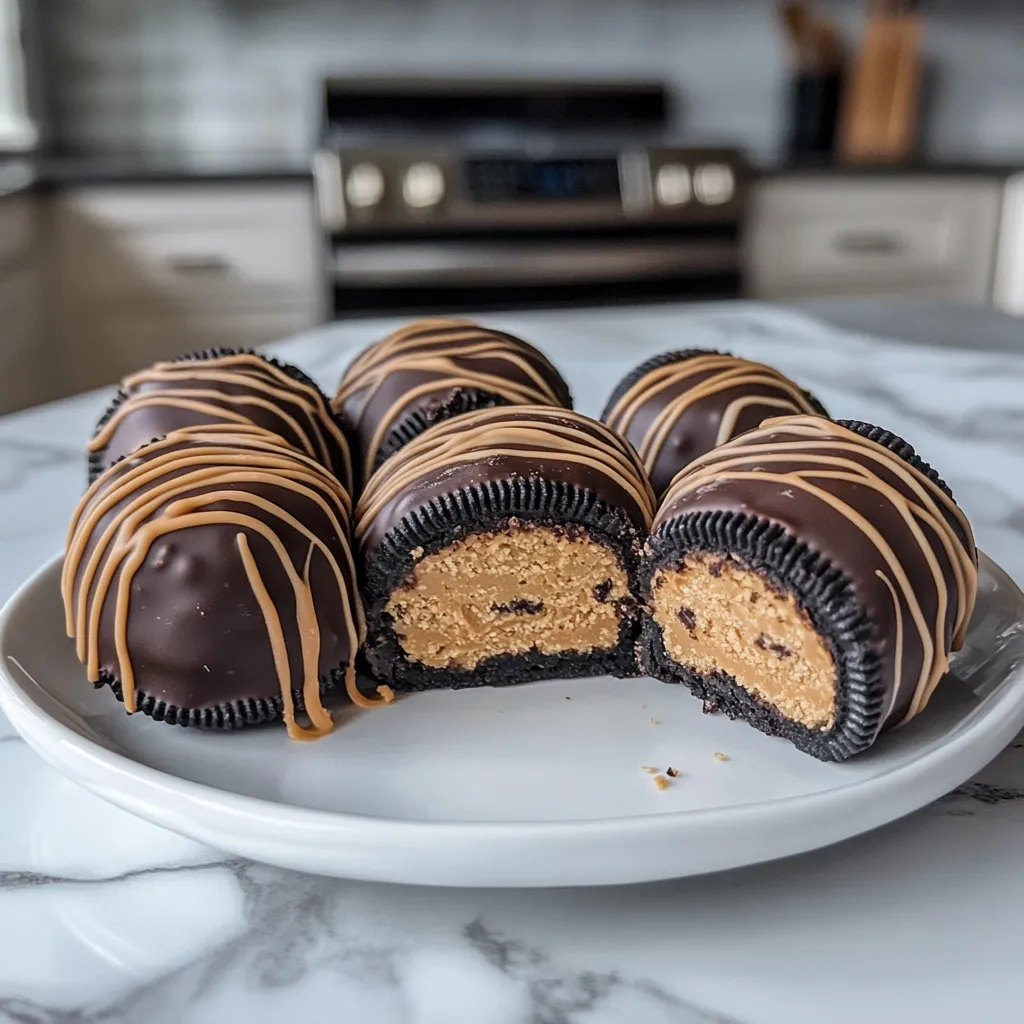
These 3-Ingredient Peanut Butter Oreo Cookie Balls are your answer to quick, no-fuss sweet cravings. They blend crunchy Oreos with smooth peanut butter, finished with a yummy chocolate shell—all in bite-sized portions that vanish quickly from the plate. I stumbled on this idea when I needed something fast for friends who dropped by, and now it's my backup plan whenever I need sweets in a pinch.
The other day, I took these to our block party and came back with nothing but an empty dish and neighbors asking how to make them. There's something about the mix of cookie bits and peanut butter that makes everyone grab another... and another.
Key Components and Smart Picks
- Oreo Cookies - Stick with original flavor; don't scrape out the filling as it helps everything stick
- Peanut Butter - Regular creamy works better than natural kinds that might get oily
- Chocolate for Coating - Try melting discs or chips in whatever flavor you love—milk, dark, or white
The whole thing works because smashing cookies and mixing them with peanut butter makes this amazing moldable mix that's perfect for rolling into tasty little bites.
Step-By-Step Walkthrough
- Step 1: Crush the Oreos
- Toss whole Oreos (cream and all) into a food processor and buzz until they turn to fine crumbs. If you don't have a processor, pop them in a zip bag and smash with a rolling pin instead.
- Step 2: Add Peanut Butter
- Dump your Oreo crumbs into a bowl and mix in the peanut butter. About ½ cup works well for every 20 cookies you've crushed.
- Step 3: Mix Thoroughly
- Get in there with a spoon or your hands and mix until everything comes together like a soft dough that doesn't fall apart when squeezed.
- Step 4: Shape into Balls
- Grab about a tablespoon of your mixture and roll it between your hands until round. Set each ball on a tray lined with parchment paper.
- Step 5: Chill the Balls
- Stick your tray in the fridge for at least 30 minutes (or the freezer for 15-20 minutes if you're rushed). This helps them keep their shape when you dip them.
- Step 6: Melt the Chocolate
- While waiting, melt your chocolate in a microwave-safe bowl. Zap it for 20 seconds at a time, stirring after each, until it's smooth.
- Step 7: Dip in Chocolate
- Take your chilled balls and, using a fork, dunk each one in the melted chocolate. Tap the fork on the bowl's edge to shake off extra chocolate.
- Step 8: Add Toppings
- If you want, sprinkle stuff on top while the chocolate's still wet—maybe some crushed Oreos, nuts, or colorful sprinkles.
- Step 9: Let Set
- Put your coated balls back on the parchment paper and into the fridge until the chocolate hardens, about 15-20 minutes.
- Step 10: Serve or Store
- Eat right away or keep them in a sealed container in your fridge for up to a week.
 Pin it
I found out how important the chilling part is when my first attempt turned into a gooey disaster in the warm chocolate. Now I always give them extra time to firm up for smooth dipping results.
Crowd-Pleasing Treats
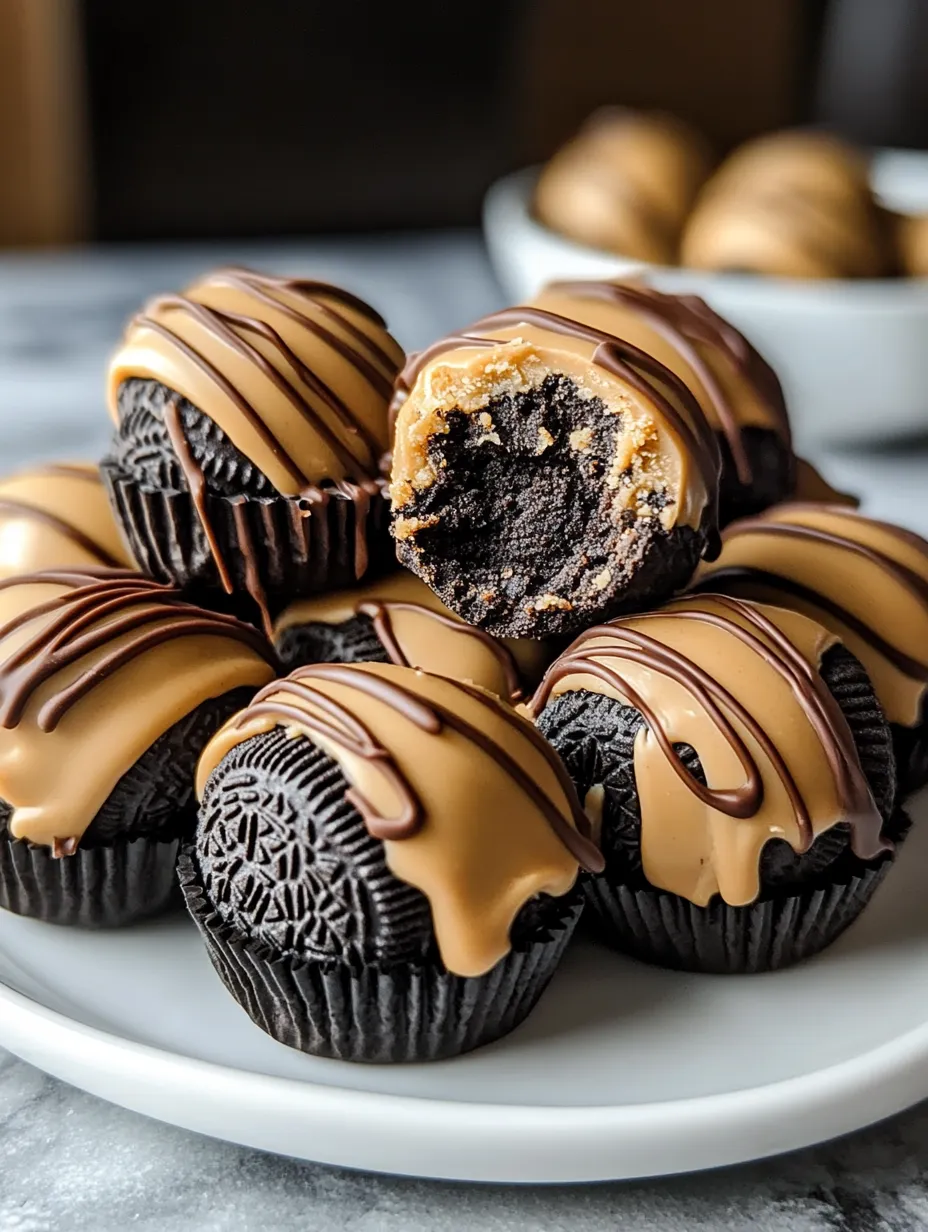
These little bites have become what everyone expects me to bring to get-togethers, from casual TV nights to fancy holiday dinners. They look fancy enough that people think you spent forever making them, but they're so simple even cooking beginners can nail it. Being bite-sized makes them perfect for snack platters, and they're so rich that one or two is enough to make anyone happy. I've noticed kids and grown-ups both love them, which isn't always easy to find in a dessert.
 Pin it
Super Adaptable Snack
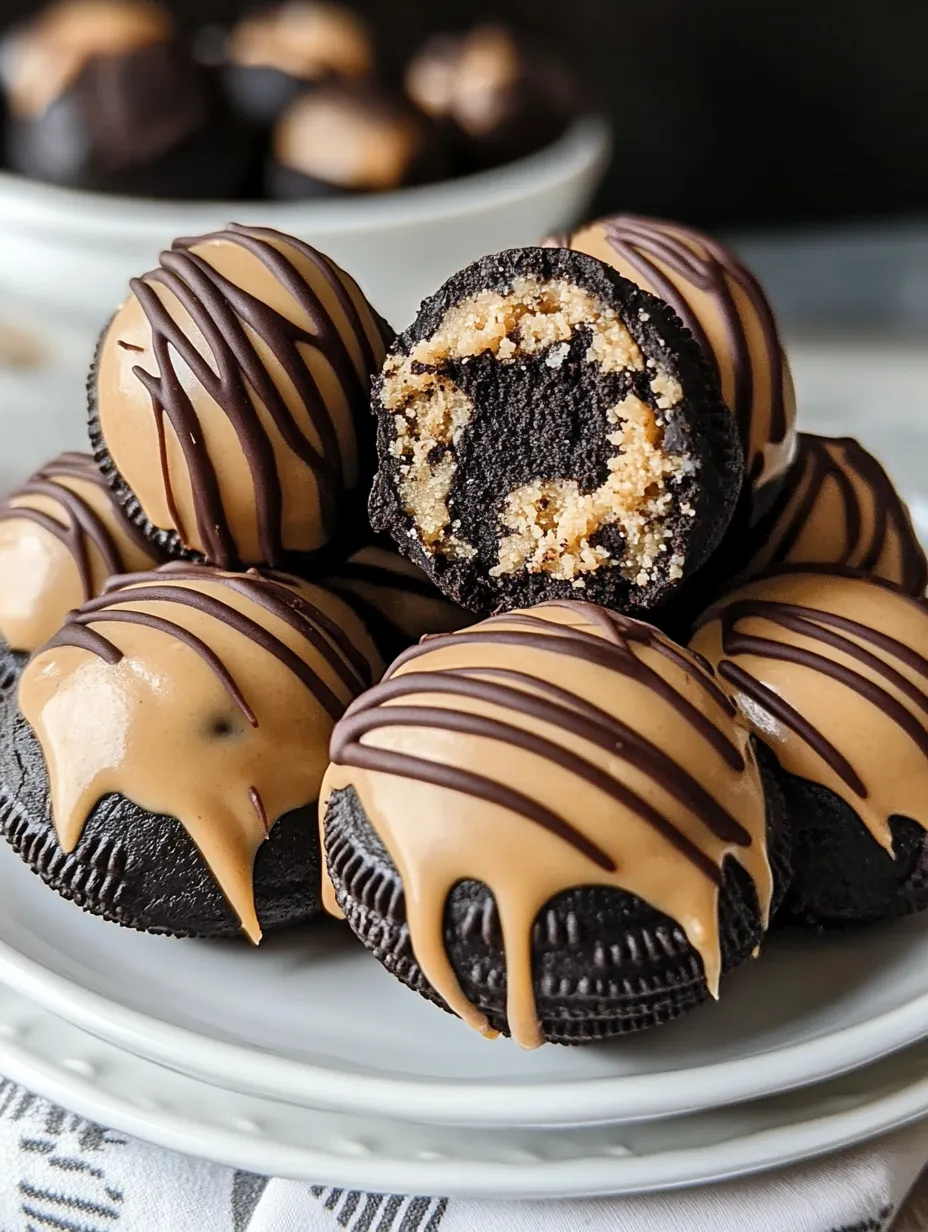
The best thing about these cookie balls is how easily you can change them up. The basic version is great, but I've tried tons of different ways to make them. Golden Oreos with white chocolate coating look stunning, while mint Oreos dipped in dark chocolate give a cool, fresh taste. Can't do peanut butter? Swap in cookie butter, Nutella, or almond butter instead. Every version still uses just three things but tastes completely different.
Do-Ahead Wonder
As someone who's always short on time when hosting, I love treats I can make days before, and these fit the bill perfectly. You can make them a week ahead and keep them in the fridge, or freeze them for up to two months before your party. I usually double the batch, enjoying some right away and freezing the rest for surprise visitors or when I want something sweet late at night. The chocolate outer layer actually helps keep the inside fresh until you're ready to eat them.
Pro Pointers
- Use a small cookie scoop for balls that are all the same size
- Run your hands under cold water if they get sticky while rolling
- Mix a bit of coconut oil into your melting chocolate for extra shine
- Shape each ball twice if you want them perfectly round
- Take them out of the fridge about 10 minutes before eating for the best flavor
I've gotten better at making these over time, especially after figuring out that slightly damp hands make rolling much easier and give smoother results.
These 3-Ingredient Peanut Butter Oreo Cookie Balls show you don't need fancy recipes or hours in the kitchen for amazing desserts. Just a few everyday items come together to create something that tastes way more special than you'd expect from such a simple process.
 Pin it
When you need a quick fix for surprise company, an easy make-ahead for busy holiday times, or just want to satisfy that chocolate-peanut butter craving, this never fails to please the crowd.
Closing Advice
- Put them in mini cupcake papers for a fancier look at parties
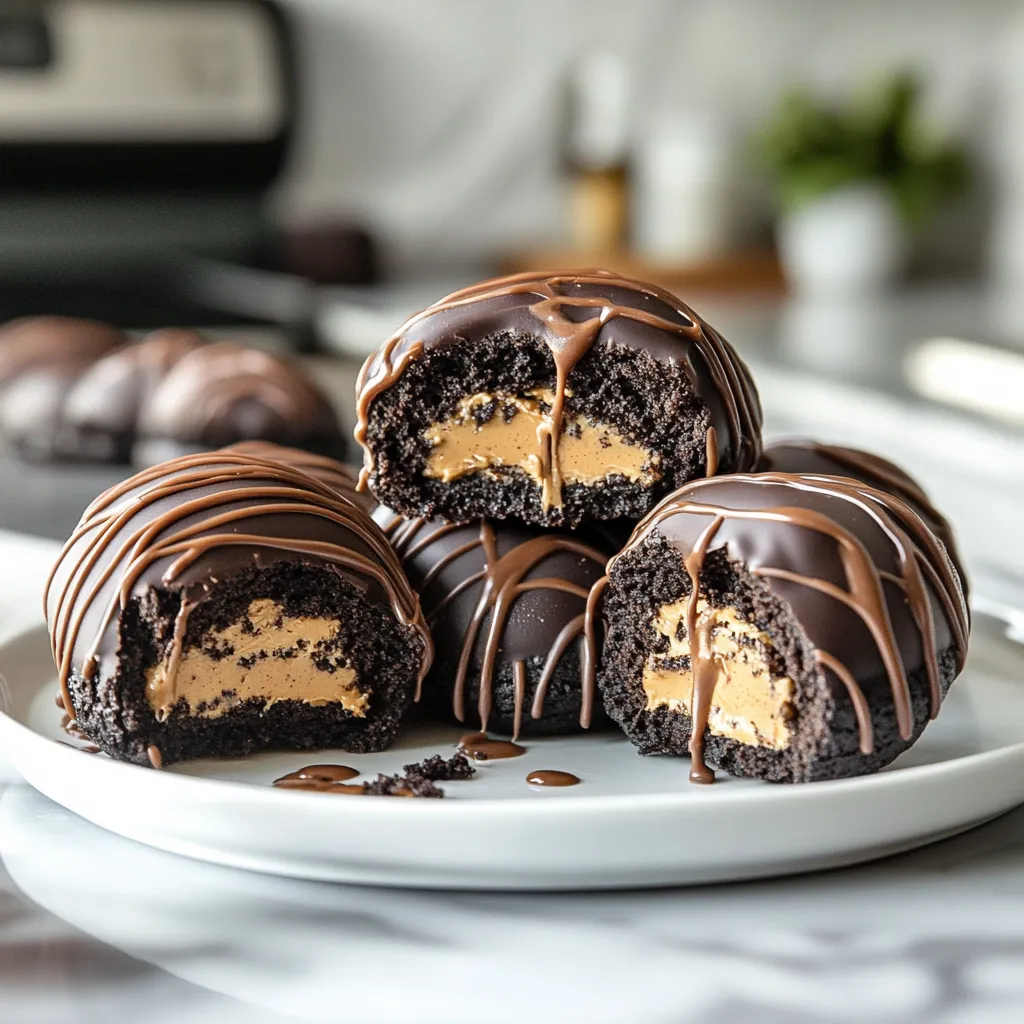
- Add some zig-zags of opposite-colored chocolate for extra eye appeal
- Try making tiny ones using half a tablespoon of mix for bite-sized treats
- Always mention the peanut butter when sharing with others due to allergies
- Pack in little boxes with parchment paper for homemade gifts that feel special
Frequently Asked Questions
- → Why not use natural peanut butter?
- It doesn’t hold its structure as well as regular peanut butter.
- → Can other Oreo flavors work?
- Sure! Though sticking to classic enhances the peanut butter flavor.
- → What’s the best way to melt chocolate?
- Microwave it in short bursts, stirring each time.
- → Can these be prepped in advance?
- Yep, just pop them in the fridge—good for a week.
- → Do I need to toss the Oreo filling?
- Not at all! The filling helps it all stick together.