
 Pin it
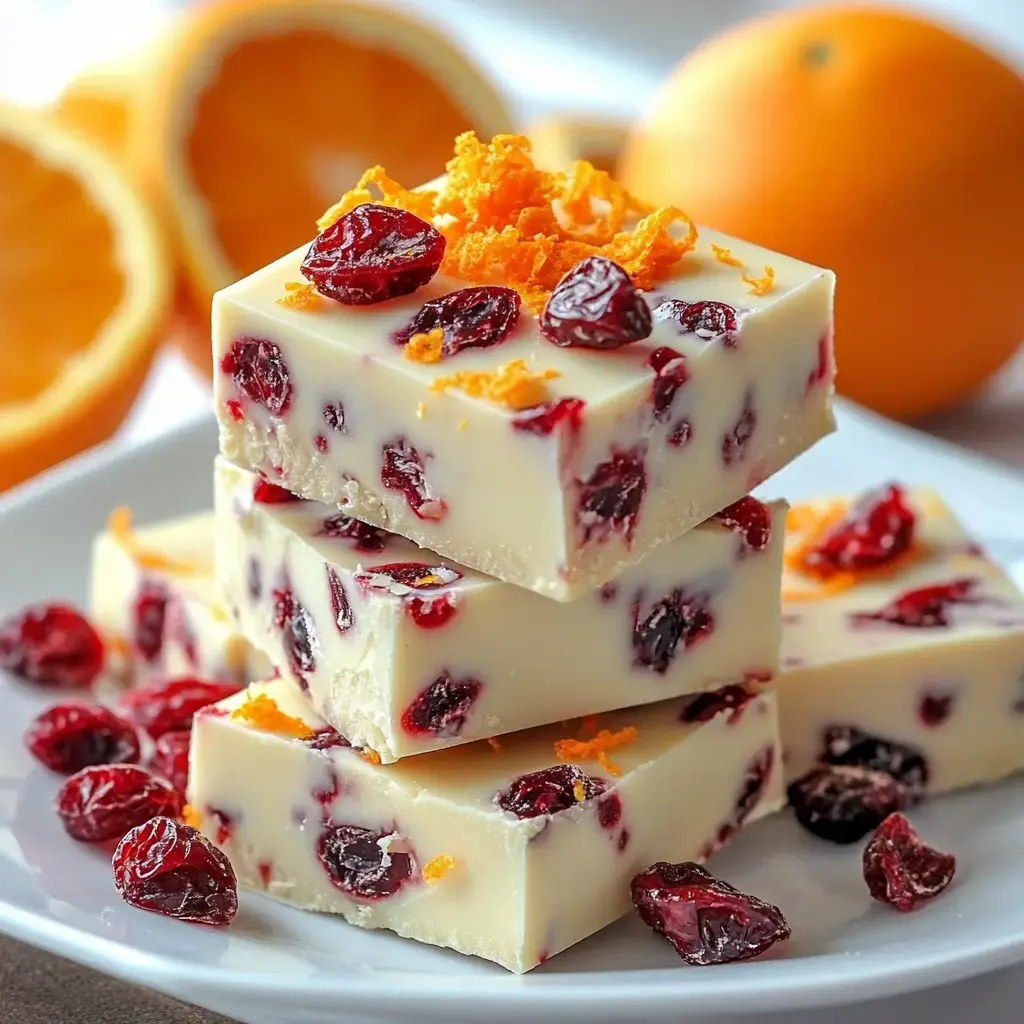
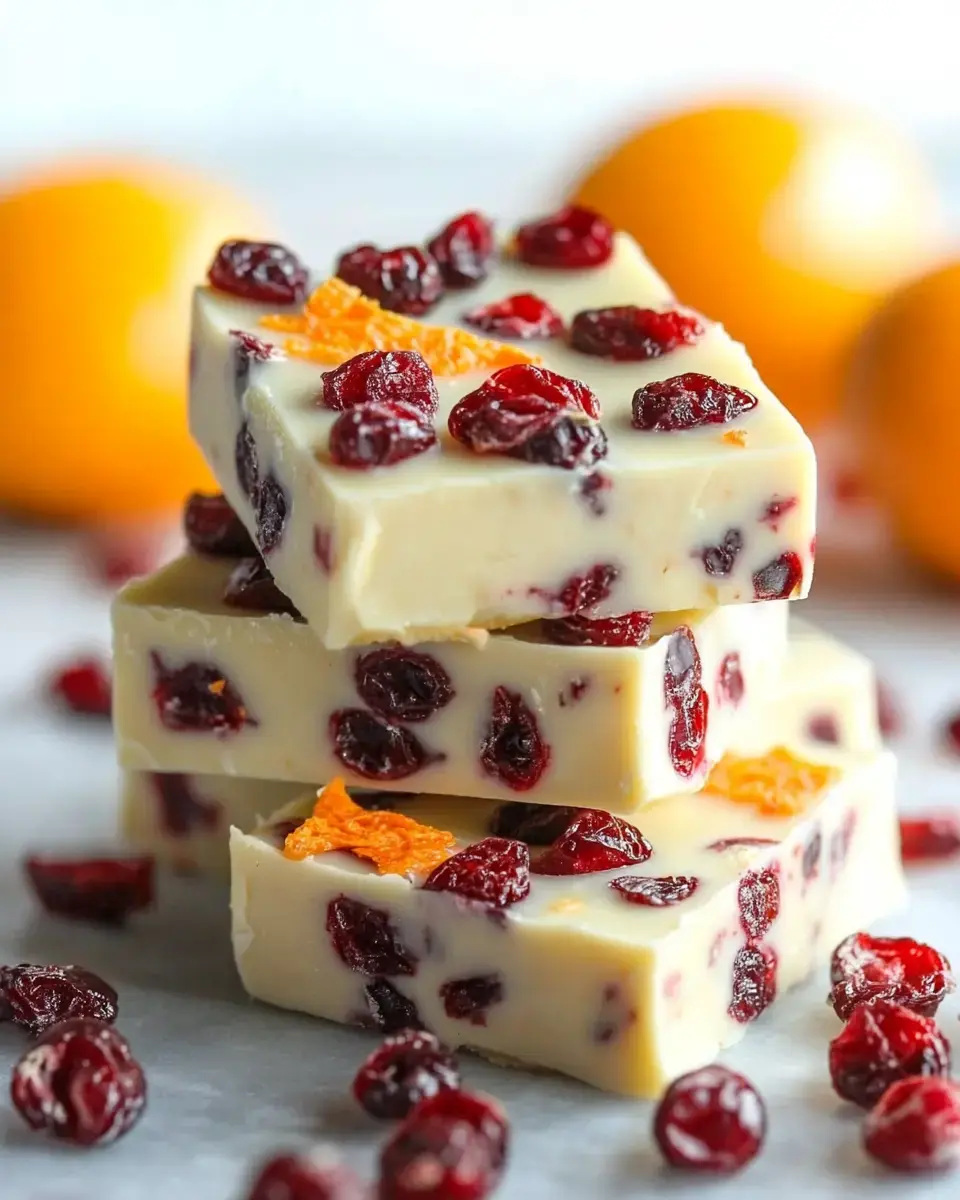
I stumbled on this cranberry orange fudge and it completely changed how I handle holiday gifts. After testing countless batches in my kitchen, I found that mixing tart cranberries with bright orange creates something really special. What makes this so great is how straightforward it is - just a handful of good ingredients come together for fancy-looking fudge that seems like it's from an expensive candy boutique.
Getting to Know Your Components
The success of this treat depends on what goes into it. Go for top-notch white chocolate containing actual cocoa butter - don't use anything called 'white baking chips' as they won't melt right. Your cranberries need to be tender and juicy, not brittle. You'll want fresh oranges since their natural oils pack the strongest flavor. Don't swap the full-fat sweetened condensed milk for the light stuff or your fudge won't firm up properly.
Must-Have Tools and Supplies
- For the Main Mix:
- 24 oz top-grade white chocolate
- 14 oz regular condensed milk
- 1 cup fancy dried cranberries
- 2 large farm-fresh oranges
- Natural orange extract
- For Topping:
- Extra cranberries
- Orange zest shavings
- Golden dust (if you want)
- Tools You'll Need:
- Water bath setup
- Food thermometer
- Fine grater
- 8x8 metal baking dish
- Sturdy parchment paper
- Flat spreading knife
Detailed Instructions
- Getting Your Pan Ready
- Put parchment in your pan with edges hanging out for lifting later. Push it into all corners so there aren't any bubbles. Lightly oil the paper so nothing sticks.
- Melting Your Chocolate
- Add 2 inches of water to the bottom pot. Warm it to exactly 180°F. Put your chocolate and milk in the top bowl. Keep stirring in a figure-eight until everything looks smooth.
- Adding Flavors
- Take it off the heat when it hits 88°F. Mix in cranberries and zest with a light touch. Put in orange extract at the end and stir just enough to blend.
- Letting It Set
- Pour everything into your ready pan right away. Smooth the top with your flat knife. Sprinkle on your toppings while it's still wet. Put in the fridge and don't touch for at least 4 hours.
Expert Advice and Fixes
For clean slices, run your knife under hot water between cuts and wipe it off. If your mix looks lumpy, warm it slightly while stirring until it smooths out. Don't let your chocolate get hotter than 90°F. Add stuff bit by bit - throwing everything in at once can make it clump up. Make sure all your tools are completely dry since even tiny water drops will ruin the texture.
Tasty Twists
Switch things up with other berries like blueberry-lemon or raspberry-lime combos. Throw in some chopped nuts for crunch. Make cool patterns by saving some melted chocolate and adding plant-based food colors. For fancy events, try pouring a thin layer of melted dark chocolate on top for a striking look.
 Pin it
Keeping Fresh and Wrapping Up
Keep your fudge between sheets of parchment in a sealed container. Store in the fridge but let it warm up a bit before serving for the best texture. When giving as gifts, cut into neat 1-inch squares and put them in paper candy cups. Pack them in pretty boxes with see-through lids to show off the toppings. They'll stay fresh for two weeks if you store them right.
Frequently Asked Questions
- → Why use a double boiler?
- White chocolate overheats easily, so a double boiler gives gentle heat, keeping everything smooth.
- → Should I use fresh cranberries?
- Nope, dried cranberries work best! Fresh ones have too much liquid and mess things up.
- → Can orange extract be skipped?
- No, extracts add the perfect orange kick. Zest isn't flavorful enough on its own.
- → Why is it so grainy?
- White chocolate likely got too hot. Reduce heat and keep stirring for silky fudge.
- → How long will it last?
- Keep in the fridge for a couple of weeks. Let it warm up for a few minutes before munching!