
 Pin it
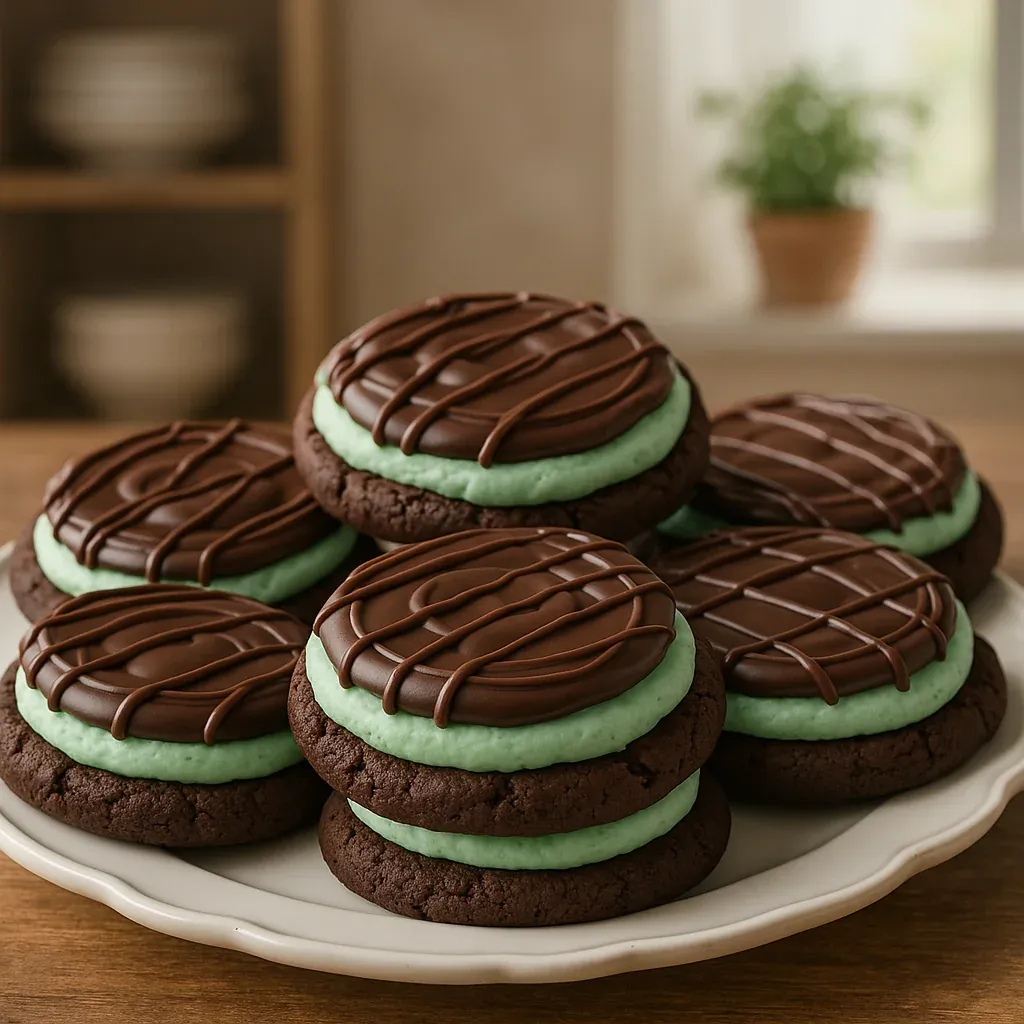
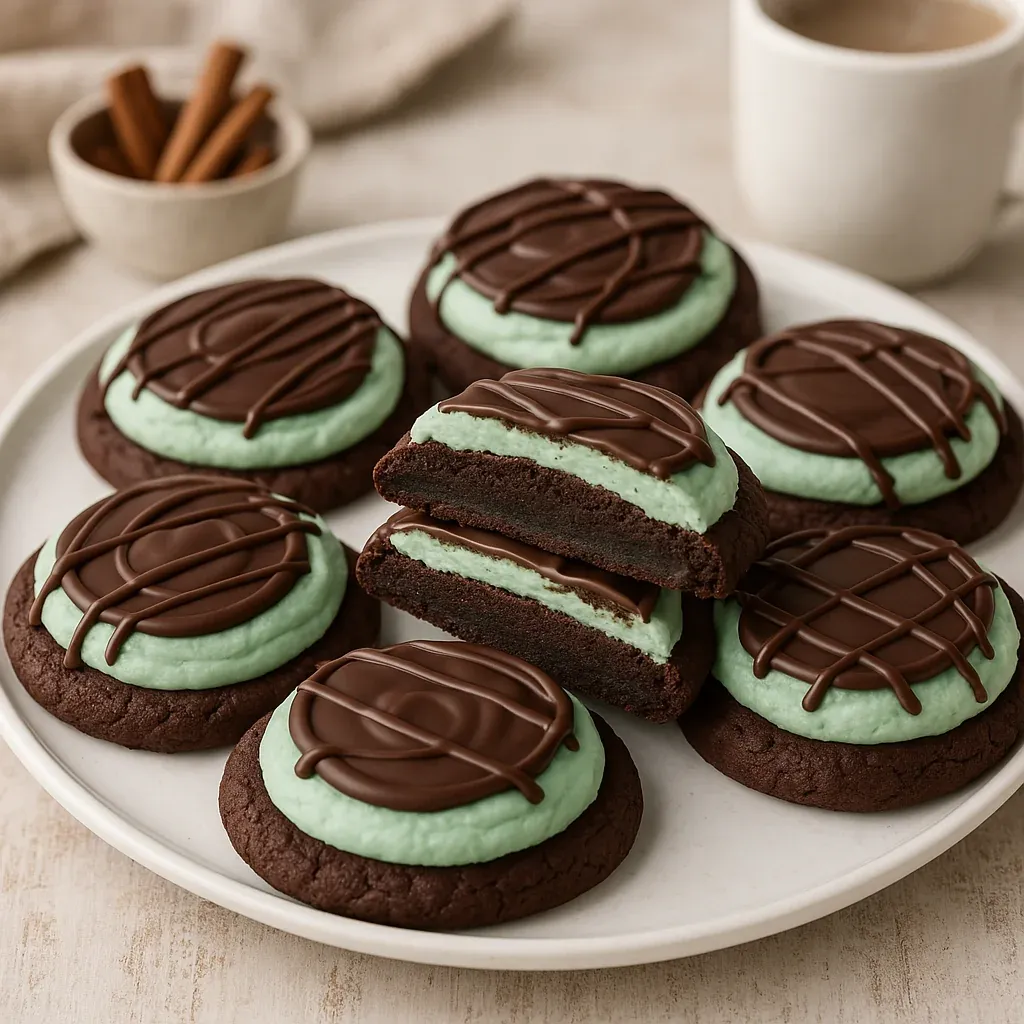
These triple-layer chocolate mint cookies have been wowing everyone on my holiday treat trays for ages. They've got this amazing mix of deep chocolate flavor and cool mint in a three-tier delight that folks can't stop talking about.
I whipped these up for my first cookie swap party and they vanished quicker than anything else there. These days my family asks for them all the time, not just during holidays—they've become our go-to snack for movie nights at home.
Ingredients
- Unsalted butter: Adds that luxurious taste in both cookie base and frosting while letting you control the salt level
- Granulated sugar: Gives you that wonderful chewy bite we all want
- Powdered sugar: Makes the mint layer silky and spreadable
- Vanilla extract: Brings out hidden flavors in the chocolate and cuts through the sweetness
- Mint extract: Creates that cool, zingy feeling that makes everyone ask for the recipe
- Egg: Holds everything together for just the right cookie texture
- All purpose flour: Forms the backbone of our soft cookie bottom
- Unsweetened cocoa powder: Packs in that rich chocolate punch without extra sugar
- Baking soda and salt: Team up for proper lift and flavor enhancement
- Milk: Lets you tweak how thick or thin your frosting turns out
- Green food coloring: Adds that eye-catching mint layer everyone spots right away
- Semisweet chocolate chips: Turn into that gorgeous shiny top layer
- Oil: Helps the chocolate top spread nicely and set up with the perfect snap
Step-by-Step Instructions
- Cream the Butter and Sugar:
- Mix room temp butter with regular sugar until it's super fluffy and looks almost like whipped cream. You'll need about 3-4 minutes on medium, which puts air in there for the best cookie texture.
- Add Vanilla and Egg:
- Dump in vanilla and a room temp egg. Mix till everything's smooth, making sure to scrape the bowl sides so it all blends together. Your mix should look creamy and a bit thicker now.
- Incorporate Dry Ingredients:
- Toss in the flour, cocoa, baking soda and salt to your wet stuff. Mix it slowly just until combined—don't go crazy or you'll end up with tough cookies. You'll get a thick, rich, dark dough that keeps its shape when you scoop it.
- Form and Bake Cookies:
- Grab a cookie scoop and drop even balls onto parchment paper, leaving space between them. Bake until the edges feel set but the middle's still a little soft. Let them cool completely on racks before you frost them.
- Create Mint Frosting:
- Whip soft butter till it's fluffy, then gradually mix in powdered sugar, milk, mint extract and green coloring. Keep mixing till it's smooth and easy to spread, with a bright green color. Put an even layer on each cool cookie, making the top flat for the chocolate.
- Add Chocolate Ganache:
- Stick your frosted cookies in the freezer while you make the top layer. Melt chocolate chips with oil till smooth. Working fast, spoon the melty chocolate over the cold frosted cookies and let it spread a bit. The cold frosting helps the chocolate set quickly, giving you those perfect separate layers.
 Pin it
The mint extract really makes or breaks these cookies. I found out the hard way that quality matters big time. I once bought the cheap stuff and my cookies tasted like cough drops instead of dessert. My family still jokes about "the mint cookie fiasco" whenever we're shopping for baking supplies!
Storage Tips
Keep these layered treats in an airtight container with parchment between each layer so they don't stick together. They'll stay good for 5 days at room temp or 2 weeks in the fridge. Actually, cooling them brings out even more mint flavor, making them taste better after they sit for a day. If you need to store them longer, freeze the plain cookies first, then add the frosting and chocolate right before you want to serve them.
Flavor Variations
The mint-chocolate combo is fantastic, but you can play around with the basic recipe too. Try using orange extract with the chocolate topping for cookies that taste like those holiday chocolate oranges everyone loves. Or mix almond extract with a bit of cherry juice in the middle layer for a chocolate-covered cherry version. Coffee fans can swap the mint for coffee extract and throw some espresso powder into the cookie part for morning treats that go great with your coffee.
 Pin it
Making Ahead Options
These cookies are perfect for prepping early. You can mix the dough and keep it in the fridge up to 3 days before baking. Or bake just the cookies and freeze them without frosting for two months. The green frosting can be made a week ahead and kept in the fridge—just let it warm up and beat it again before spreading. If you want to finish them completely, you can freeze the assembled cookies after the chocolate sets, then just pull them out about 30 minutes before serving to thaw at room temperature.
Frequently Asked Questions
- → Can I swap out the chocolate topping?
Of course! Use dark or white chocolate instead, depending on what you like best.
- → What's the trick for perfect textures?
Make sure to use soft butter and eggs that aren't cold. This helps everything mix well and gives you the soft, chewy result you want.
- → Do I need to use the green coloring?
Nope! The coloring is all about looks. You can leave it out or try other colors for fun.
- → Which mint extract works best?
The classic mint version is solid, but you can try peppermint or spearmint for a fresh twist on the flavor.
- → What's the best way to keep them fresh?
Store them in a sealed container at room temp for up to three days. Refrigerate for longer, or freeze for a few months to enjoy later.
- → Can I switch up the frosting?
Totally! Tweak the sweetness to your taste or swap in a different flavor. Almond or orange could be fun options!