
 Pin it
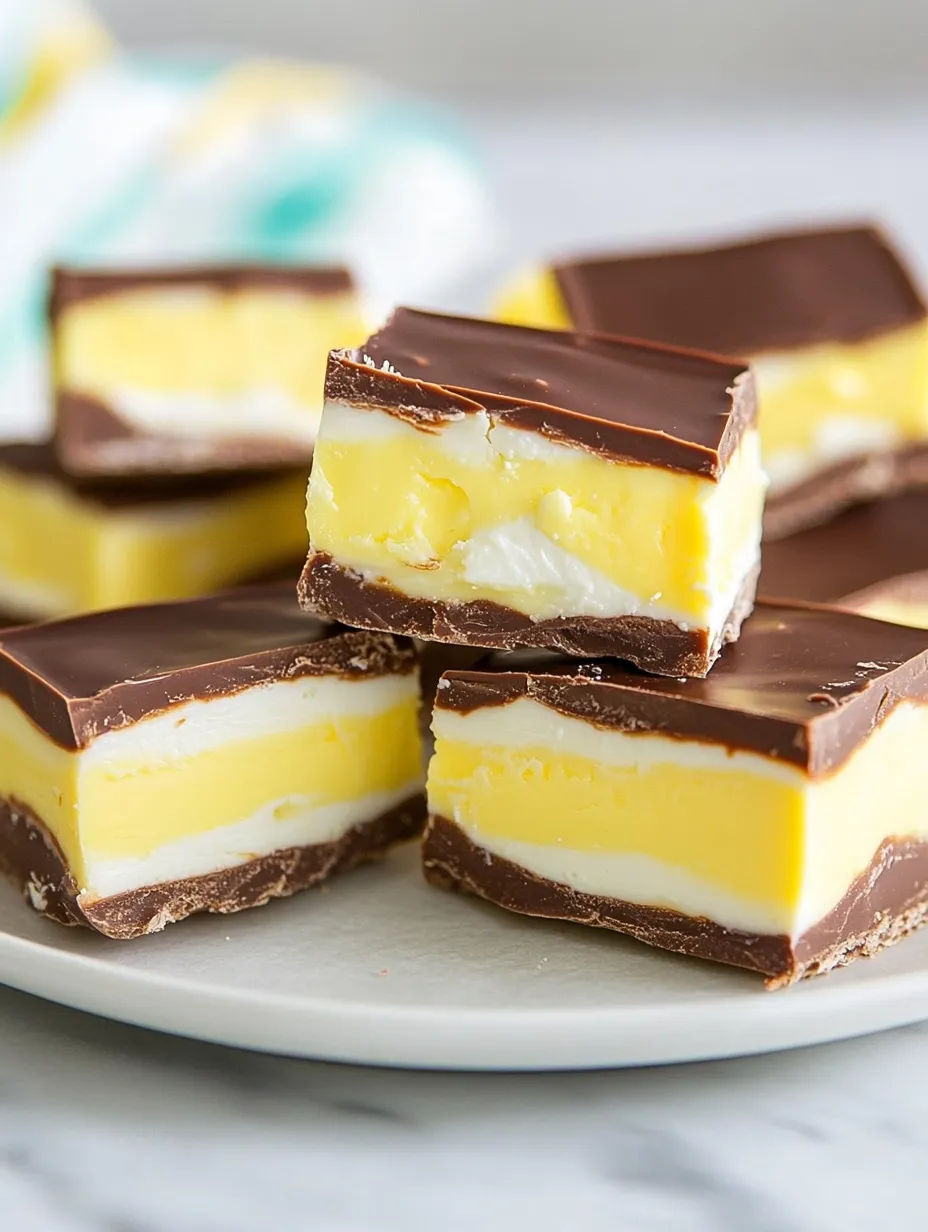
This layered Cadbury Egg Fudge takes all the best parts of those Easter classics and turns them into a mouthwatering dessert. You'll get that famous flavor combo with creamy filling between two chocolatey layers - no need to mess with complicated chocolate work. I stumbled onto this idea when I wanted an easier way to enjoy that beloved taste while hosting friends during springtime.
When I served this at our Easter family get-together last year, my usually picky niece went back for another piece and later asked me how to make it. What makes it work so well is getting just the right balance between the chocolate and that special sweet middle.
Key Components and Shopping Advice
- Corn Syrup: Go with the light variety to nail that signature Cadbury center consistency
- Milk Chocolate: I've found Ghirardelli melting wafers give you the creamiest texture and tastiest results
- Powdered Sugar: This makes the filling silky smooth with just the right sweetness
- Yellow Food Coloring: Pick the gel type since you'll need just a tiny bit for vivid color
- Vanilla Extract: Don't skimp here - real vanilla makes a noticeable difference
Step-by-Step Making Process
- Mix Up the White Layer: Whip your softened butter with corn syrup until it's totally smooth. Mix in vanilla, powdered sugar, a tiny bit of salt, and milk until you've got a creamy mixture without any lumps. You want it thick enough to spread without running.
- Make the Yellow Part: Scoop about 2/3 of your white mixture into another bowl. Add yellow food coloring to what's left and blend it thoroughly. This gives you that classic "yolk" look from real Cadbury eggs.
- Get Chocolate Ready: Put your milk chocolate in a bowl that's microwave-safe. Heat it in short bursts of 20-30 seconds, making sure to stir between each one, until it's fully melted and silky. Don't rush this or your chocolate might clump up.
- Start Building Layers: First line a 9-inch square pan with parchment paper, leaving some hanging over the sides for easy lifting later. Pour half your melted chocolate in, spread it evenly, then pop it in the fridge for about 5 minutes to set slightly.
- Add the White Filling: Carefully spread your white mixture over the partly set chocolate. Try to make an even layer without disturbing the chocolate underneath.
- Create the Yolk Effect: Drop spoonfuls of your yellow mixture onto the white layer. Use a spatula or knife to gently swirl it around, creating a marbled pattern that looks like egg yolk.
- Top with Chocolate: Pour the rest of your melted chocolate over everything. Tilt the pan around to cover the whole surface or use a spatula to spread it out completely.
- Let It Set: Put the whole thing in the fridge for at least half an hour until the chocolate firms up completely. During this time, all your layers will stick together nicely.
- Cut It Properly: Take it out, then use the parchment overhang to lift the whole block out. Run a knife under hot water, wipe it dry, then slice into squares. Clean and reheat the knife between cuts.
- Keep It Fresh: Store your cut pieces in a container with a tight lid, putting parchment between layers if you stack them. Keep in the fridge until you're ready to serve.
 Pin it
When I first tried making this, I wasn't sure it would really taste like those famous eggs, but one bite instantly brought back memories of digging through Easter baskets as a kid.
Tasty Twists on the Original
I've played around with this basic idea quite a bit over the years, always to rave reviews. My mint chocolate version adds a couple drops of peppermint extract to the white filling, giving it a cool, refreshing kick. During the holidays, I switch things up by making red and green layers instead of white and yellow, then sprinkle crushed candy canes on top for a Christmassy treat. Once you get the hang of the basic method, you can really go wild with different flavors and colors for any holiday or party theme.
 Pin it
Perfect for Giving
Nothing says "I care" quite like homemade treats, and this fudge really stands out as a thoughtful gift. I often pack small squares in cute Easter tins with bright tissue paper for my kids' teachers and our neighbors. For something extra fancy, try using egg-shaped cookie cutters and wrap each piece in pastel foil - they look amazingly similar to store-bought eggs but taste way better. People's faces light up when they bite into something familiar yet clearly made with love.
Kid-Friendly Kitchen Fun
Making this fudge has turned into a special tradition with my grandkids every spring. There are enough different jobs for everyone - little ones can help stir and drop the yellow "yolks" while the bigger kids measure things out and keep an eye on the melting chocolate. We talk about why eggs symbolize new life during Easter while we work. It's about more than just making something yummy - we're building memories and passing down both cooking skills and holiday traditions all at once.
I figured these things out the hard way - like that time I tried cutting cold fudge with a cold knife and ended up with a cracked mess and uneven edges.
 Pin it
Wrapping Up the Sweet Experience
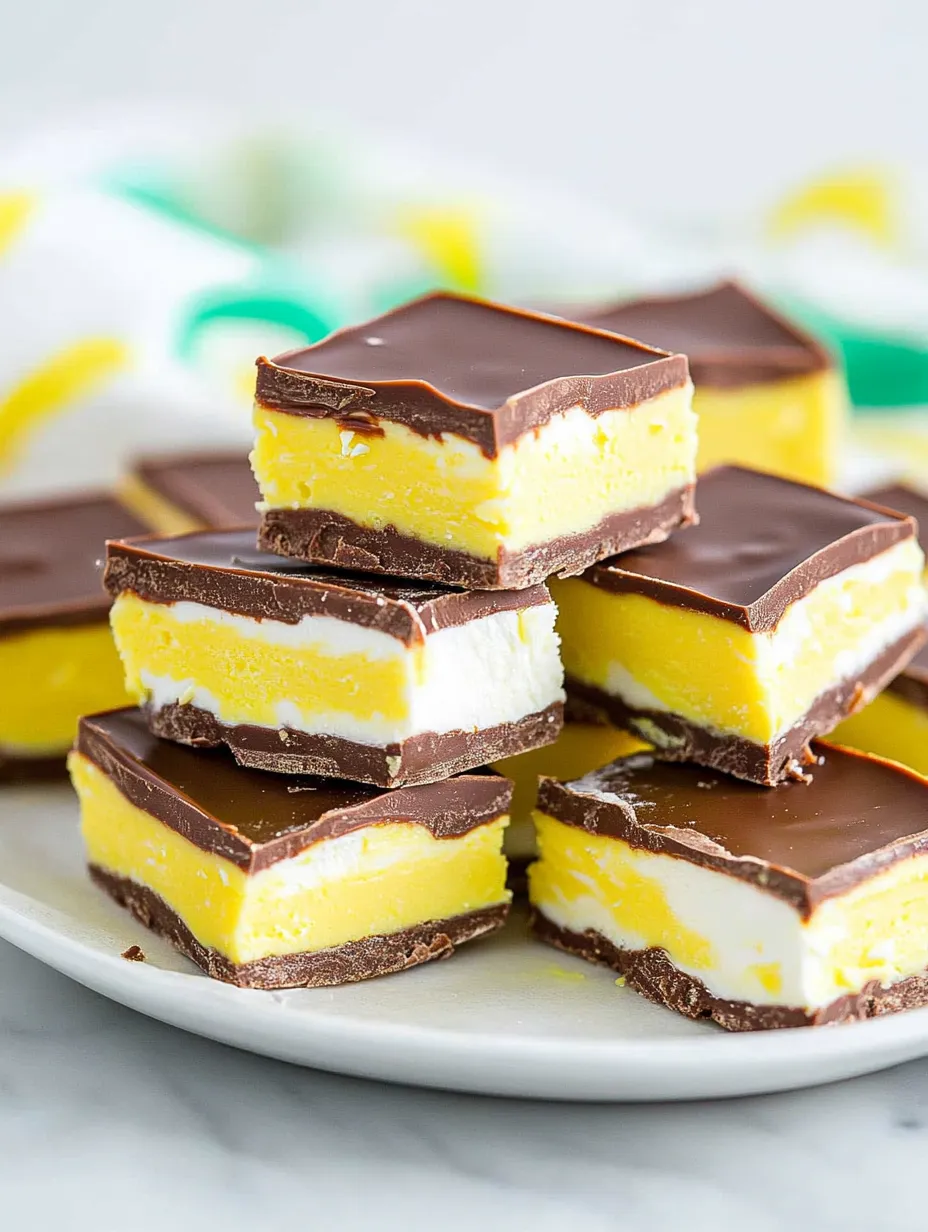
Year after year, this fudge has become my go-to Easter contribution that everyone asks for by name. There's something really satisfying about taking a seasonal candy everyone loves and turning it into something homemade we can all share. When you cut into it, the layers look so pretty it's almost a shame to eat them - almost! What I love most is how adaptable it is - you can play with the amounts of white and yellow filling for different looks, or even color the white part light blue or pink for a fun change. However you make it, this fudge brings all the joy of Cadbury eggs to your table in a whole new form.
Frequently Asked Questions
- → Why should the knife be warm?
- A heated knife glides easily, preventing cracks in the chocolate.
- → Is food coloring necessary?
- Nope, skipping the yellow won’t change the flavor.
- → What kind of chocolate should I use?
- Milk chocolate works best, but semi-sweet is fine too.
- → How do I store leftovers?
- Pop them in a sealed box and chill in the fridge.
- → Can this dessert be frozen?
- Totally! Wrap it tight and keep in the freezer for up to three months.