
 Pin it
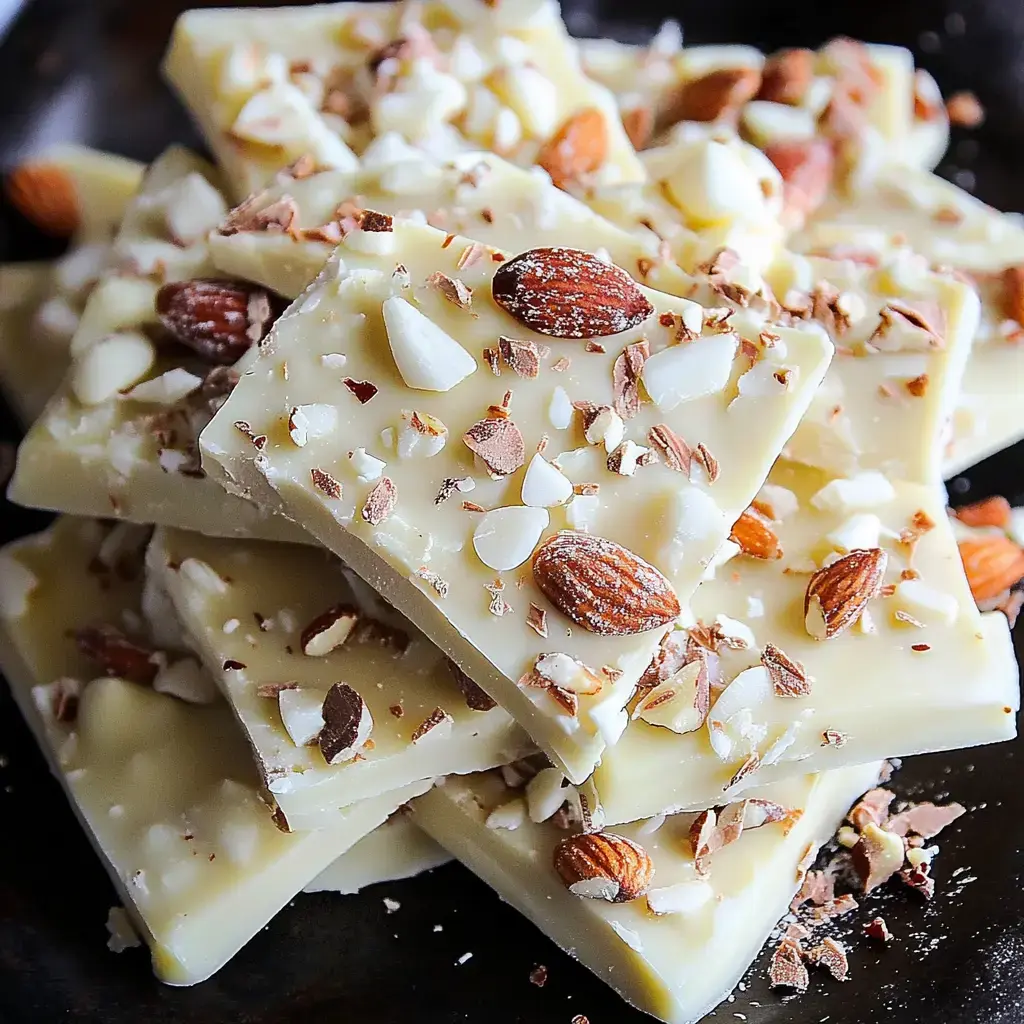
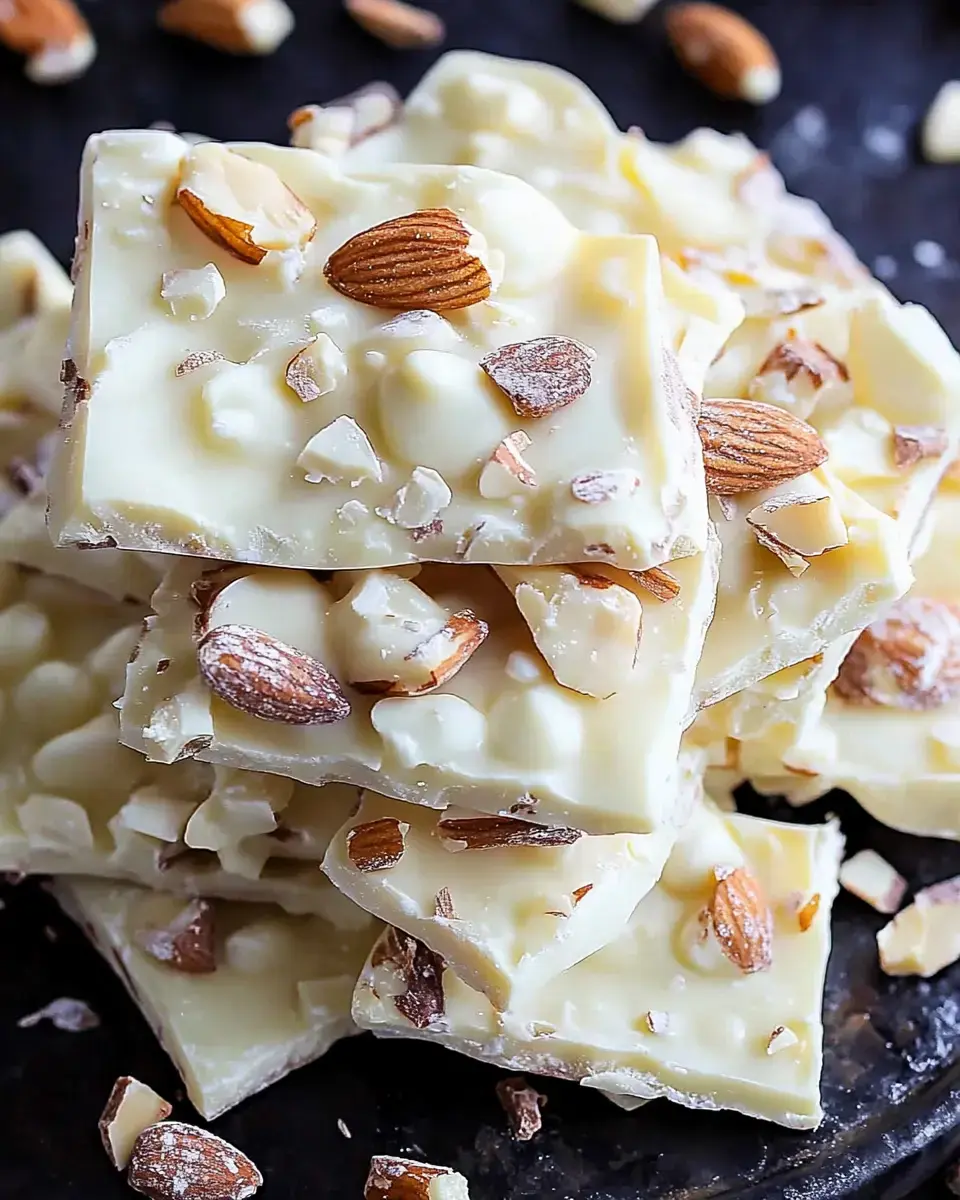
This DIY White Chocolate Bark turns basic items into a fancy snack with minimal effort. It's great for presents or gatherings, this adaptable dessert takes just minutes to get ready and you can mix in whatever nuts, dried fruits, or festive add-ins you like. Whether it's for holiday goodies or just everyday treats, this simple approach works beautifully every time.
What Makes This Treat So Special
White chocolate bark hits that sweet spot between easy and impressive. You'll only need a few minutes of prep time and you can throw in whatever mix-ins you want to make something that looks store-bought but tastes homemade. You don't need fancy tools or cooking skills, so it's perfect if you're just starting out or if you've been baking for years.
What You'll Need For White Chocolate Bark
- Main Components:
- 24 ounces white chocolate chips or melting wafers
- 1/4 teaspoon sea salt
- Optional Add-ins (pick 1-2 cups total):
- Toasted nuts (pistachios, almonds, pecans)
- Dried fruits (blueberries, cranberries, apricots)
- Smashed cookies or pretzels
- Sprinkles or candy bits
- Optional Flavor Boosters:
- 1/2 teaspoon vanilla extract
- 1/4 teaspoon peppermint extract
- Lemon or orange zest
How To Make It
- Set Up Your Workspace
- Cover a big baking sheet with parchment paper. Get all your add-ins measured out and ready to go.
- Get Your Chocolate Ready
- Put white chocolate in a bowl that's safe for the microwave. Warm it up in 30-second bursts, giving it a good stir each time, until it's completely melted.
- Mix In Your Goodies
- Fold in your chosen ingredients, keeping some aside for the top. Add any extra flavors now too.
- Pour And Top
- Dump the mixture onto your lined sheet and spread it out evenly. Sprinkle the stuff you saved over the top along with some sea salt.
- Cool And Break Apart
- Chill in the fridge for 20-30 minutes until hard. Then snap or cut into pieces.
Tips For The Best Results
Go for good white chocolate to make this really shine. Don't let your chocolate get too hot or it'll turn grainy. Always toast your nuts first for better taste. Make sure you spread it nice and thin so it'll set right. Let it cool completely so you won't leave fingerprints when you break it up.
Tasty Ways To Present It
Put pieces in see-through bags for gifts. Lay them out on platters when you have company over. Add them to your holiday cookie selection. They go great with a cup of coffee or hot chocolate. You can even make holiday-specific versions using colors and toppings that match the season.
 Pin it
Keeping It Fresh
You can keep this in an airtight container at room temp for up to three weeks. Find a cool, dry spot away from sunshine. Put parchment paper between layers so they don't stick together. You can make it several days before you need it for presents or parties. Don't put it in the fridge though, as moisture might form on the surface.
Frequently Asked Questions
- → Which white chocolate should I pick?
- Choose quality products like Ghirardelli, Callebaut, or Guittard. Bars, chips, or wafers all work great for melting.
- → How do I toast the nuts?
- Toast raw nuts in the oven at 350°F for 5–7 minutes. Let them cool down before chopping or crushing.
- → What toppings go well with it?
- You’ve got lots of options: nuts, dried fruits, cookies, sprinkles, crushed crackers, citrus zest, sea salt, or flavor drops.
- → Why heat chocolate in short bursts?
- Short 30-second microwave bursts help avoid overheating. Stir in between to keep it smooth and melted perfectly.
- → Can other chocolates be swapped in?
- Absolutely! Use milk, dark, or semi-sweet chocolate instead—just follow the same melting process.