
 Pin it
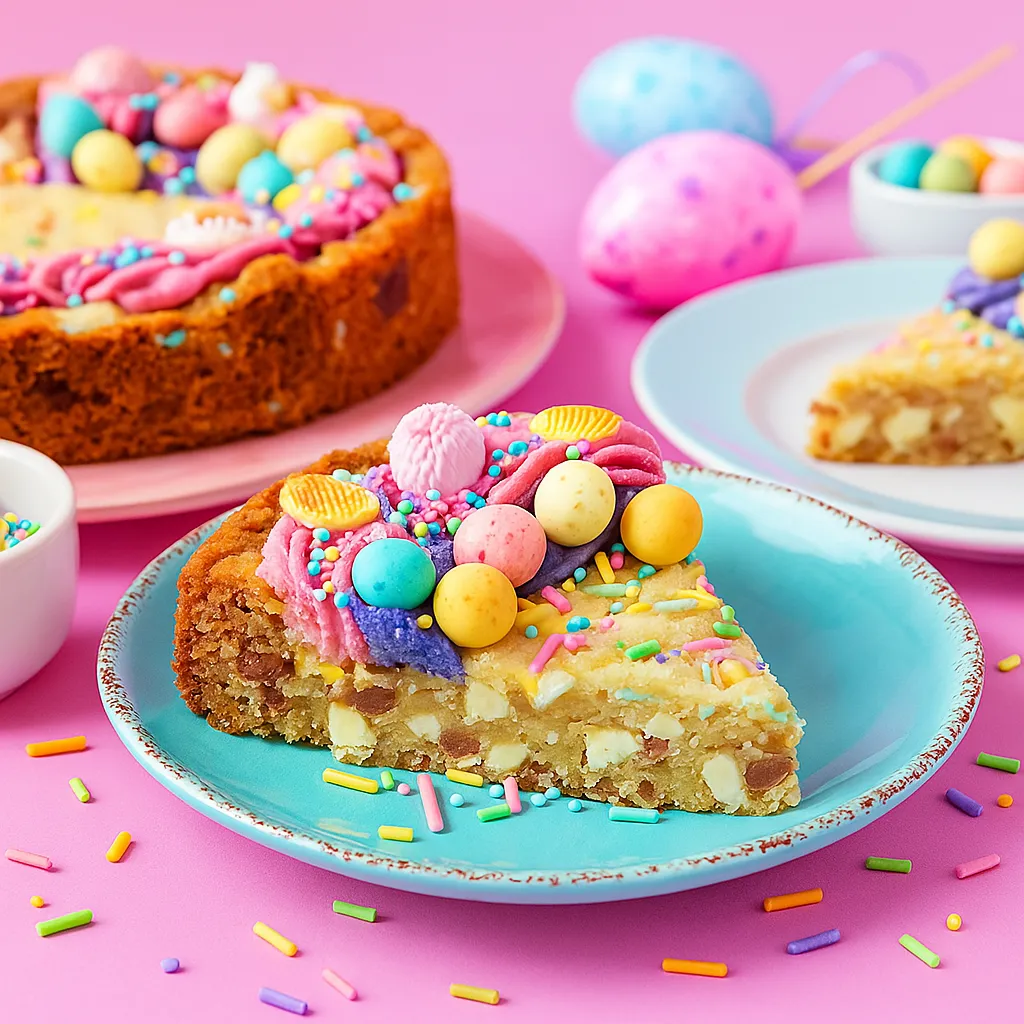
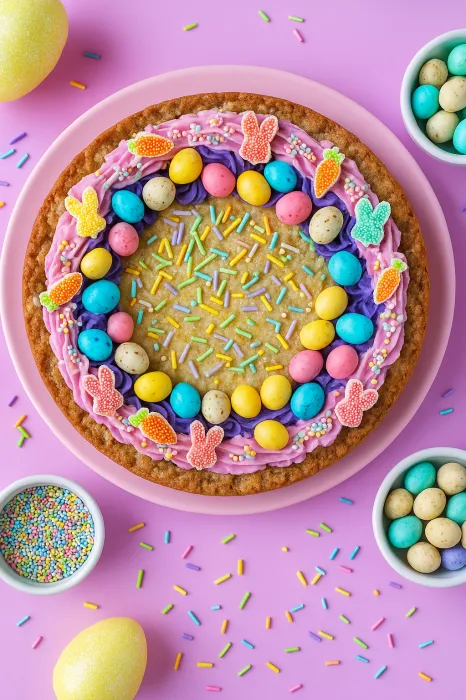
This Cookie Cake Easter Celebration combines the best of two worlds - the chewiness of cookies with the eye-catching presence of cake. It features a thick, soft chocolate chip cookie bottom packed with crunchy mini chocolate eggs, topped with fluffy pastel buttercream swirls and fun spring decorations. What makes this treat special is its amazing texture - gooey in the middle with slightly crispy edges - plus how easily it works as both a stunning centerpiece and activity focus. Serve it after kids finish hunting eggs or as the main sweet at your Easter table, and watch everyone come back for another piece of this tasty, pretty creation.
I came up with this treat when my niece Rose asked for something fun for Easter. She wanted a festive sweet, and this cookie cake turned out to be just right. The mix of a thick, chewy base full of crunchy mini eggs and topped with bright frosting was such a hit that we now make it every spring. I really love how basic ingredients come together to make something that looks fancy but isn't actually hard to create.
Key Ingredients and Smart Picks
- Mini Cadbury Chocolate Eggs: They add that wonderful snap and smooth chocolate inside that makes this cookie cake pop. Their hard outer shell keeps its crunch when baked in the dough.
- Brown Sugar: Go for dark brown if you want a rich, almost caramel taste, or light brown for something milder. Brown sugar helps keep the cookie cake nice and chewy.
- Butter: Using melted butter makes for a thicker, chewier cookie cake than when it's just softened. Salted butter adds extra flavor, but unsalted works too if you add a bit more salt.
- Food Coloring: Gel colors make brighter shades than liquid ones and won't thin out your frosting.
Good ingredients really matter in this recipe. The first time I spent a little extra on fancy chocolate chips instead of the cheap ones, I couldn't believe the difference - the flavors were so much deeper and worked amazingly with the candy eggs.
Step-by-Step Baking Guide
- Step 1: Make Your Cookie Base
- Turn your oven on to 350°F and get a 9-inch springform pan ready with some grease or line a round cake pan with parchment so it won't stick. In a big bowl, mix 3/4 cup of melted, slightly cooled salted butter with 1 cup packed brown sugar and 1/4 cup white sugar until they're smooth. Add 1 large egg, 1 egg yolk, and 2 teaspoons vanilla, then stir until it gets lighter and a bit fluffy.
- Step 2: Mix In The Dry Stuff and Goodies
- In another bowl, mix 2 cups all-purpose flour, 1 teaspoon baking soda, and 1/2 teaspoon salt. Slowly add this to your wet mix, stirring just enough to combine - too much mixing will make it tough. Now fold in 1/2 cup white chocolate chips, 1/2 cup milk chocolate chips, and 3/4 cup chopped Cadbury mini eggs plus 1/3 cup pastel sprinkles, making sure they're spread out evenly so every slice has the good stuff.
- Step 3: Bake It Just Right
- Push the cookie dough into your pan, making it nice and flat with a spoon or spatula. For extra flair, press a few whole mini eggs on top. Bake for 22-28 minutes until the edges turn golden and the middle looks just set but still a tiny bit soft. A toothpick should come out with a few crumbs but no wet dough. Keep in mind it'll cook a bit more while cooling, so taking it out a little early is better than leaving it too long.
- Step 4: Whip Up The Frosting
- While the cookie cake cools down completely, make your buttercream. Beat a stick of softened salted butter until it's smooth. Slowly mix in 2 cups powdered sugar, 1 teaspoon vanilla, and 2-4 tablespoons heavy cream until you get the thickness you want. For two colors, split the frosting between bowls and add different pastel food colors. Put the frosting in piping bags with fancy tips - a 1M star tip makes pretty swirls.
- Step 5: Add The Pretty Touches
- Once your cookie cake is totally cool, pipe a pretty edge with your colored frosting. If you're using two colors, you can switch between them or make inner and outer borders for a cool effect. Sprinkle some pastel jimmies over the wet frosting so they stick. Put more whole mini eggs and any Easter decorations in the middle for a festive look. Let the frosting set a little before cutting so your slices look clean.
 Pin it
The first time I tried making this, I learned not to bake it too long. I kept it in until the center was completely firm, and it ended up too dry. Now I take it out when the middle is still a bit soft, which gives me that amazing gooey center with crispy edges that makes cookie cakes so good.
Ways to Serve and Enjoy
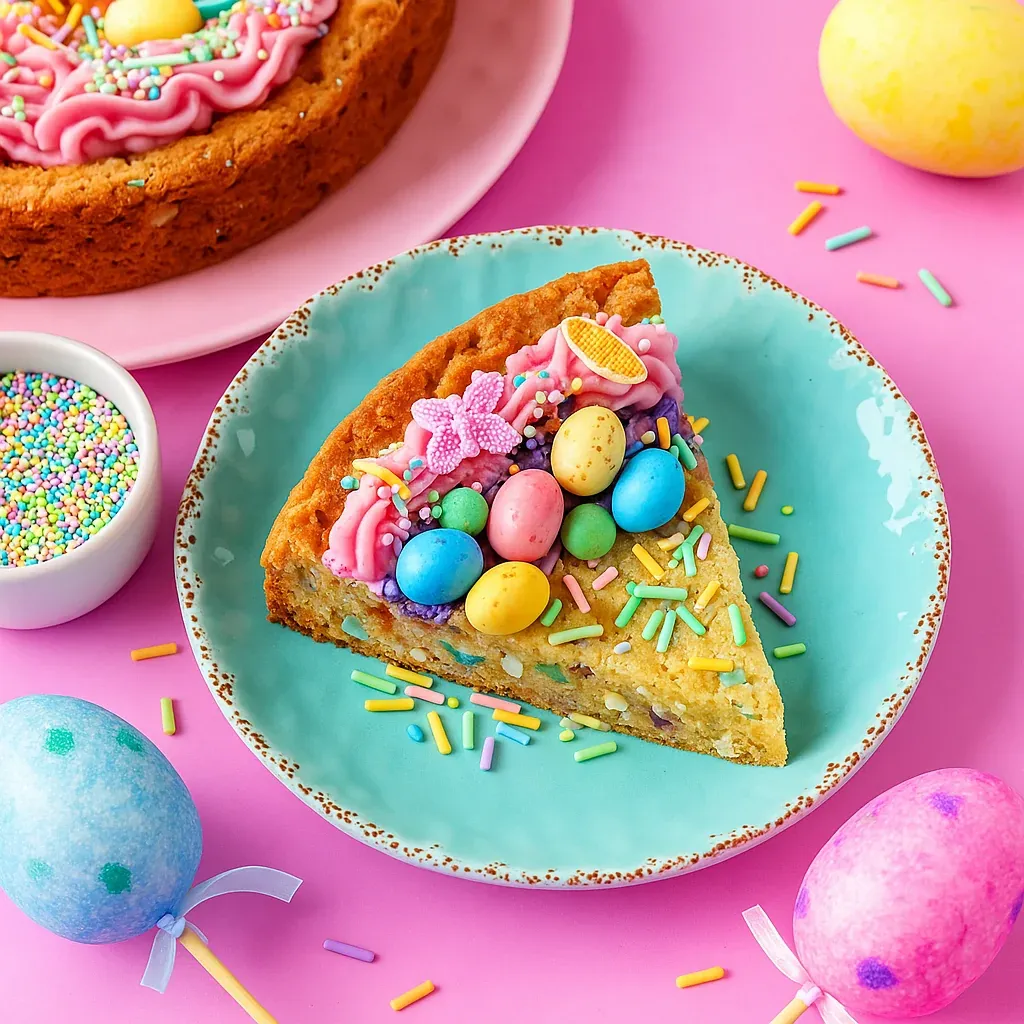
This sweet treat works in so many settings depending on what you need. For an Easter gathering, put it in the middle of your table with some fresh spring flowers and pastel eggs around it for a beautiful focal point. For kids' parties, cut it into triangles and arrange them in a flower pattern on a big plate. It's also great instead of regular birthday cake - just stick in some candles and change up the decorations to match what the birthday person likes.
Fun Twists to Try
After making this cookie cake tons of times, I've come up with several ways to switch it up. For chocolate fans, try a chocolate cookie base with peanut butter chips and chocolate eggs. For a fresh spring flavor, add a teaspoon of lemon or orange zest to the dough and swap in white chocolate chunks instead of milk chocolate chips. My favorite version includes a layer of caramel between the cookie cake and frosting for an extra sweet treat.
Keeping It Fresh and Planning Ahead
You can make this cookie cake in stages if you're busy. The dough can be mixed up to 24 hours early and kept in the fridge until you're ready to bake - just let it sit out about 15 minutes to warm up before pressing it in the pan. The baked cookie cake without frosting can be wrapped tight and kept at room temp for two days, or frozen for up to a month. For the best look, add the frosting and decorations not long before serving. Any leftovers will stay good in a sealed container at room temp for three days or in the fridge for a week.
 Pin it
This Easter Cookie Cake has become my favorite spring dessert for good reason. It brings together everything wonderful about soft chocolate chip cookies with the fancy look of a decorated cake, all while capturing the fun spirit of Easter celebrations. Whether you serve it after the kids hunt for eggs or as the main dessert at your holiday table, this cookie cake delivers both stunning looks and amazing flavor that will create happy memories for everyone who takes a bite.
Frequently Asked Questions
- → Can I bake this ahead of time?
- Sure! Bake the cookie base a day or two early, cool completely, and wrap tightly in plastic. Wait to frost until serving day for best results. If you decorate early, store it chilled and let it sit out to soften before eating.
- → What if I don't own a springform pan?
- No worries! Use a 9-inch round pan with parchment for easy lifting. A pie dish or even a square pan works too—though expect slight shape differences. Adjust the baking time a bit.
- → Any swaps for Cadbury eggs?
- Yep! Use colorful M&M’s, your favorite chocolate candies, or even pastel jelly beans. Crushed chocolate bunnies or other festive candies are fun alternatives too.
- → How do I check if it’s done baking?
- The edges should be a light gold, and the middle will look just set but soft. A toothpick should have crumbs, not wet batter. It’ll firm up while cooling, so it’s good to underbake slightly for texture.
- → How can I store leftovers?
- Keep any leftover cookie pieces sealed at room temp for up to 3 days. If it’s heavily frosted, the fridge is better—just let it warm up before enjoying. You can freeze an unfrosted base for three months too.
- → Do I need fancy piping tools?
- Not at all! Spread frosting with a knife or use a plastic bag with the tip snipped off to pipe it. It’ll still look festive, no matter how you decorate!