
 Pin it
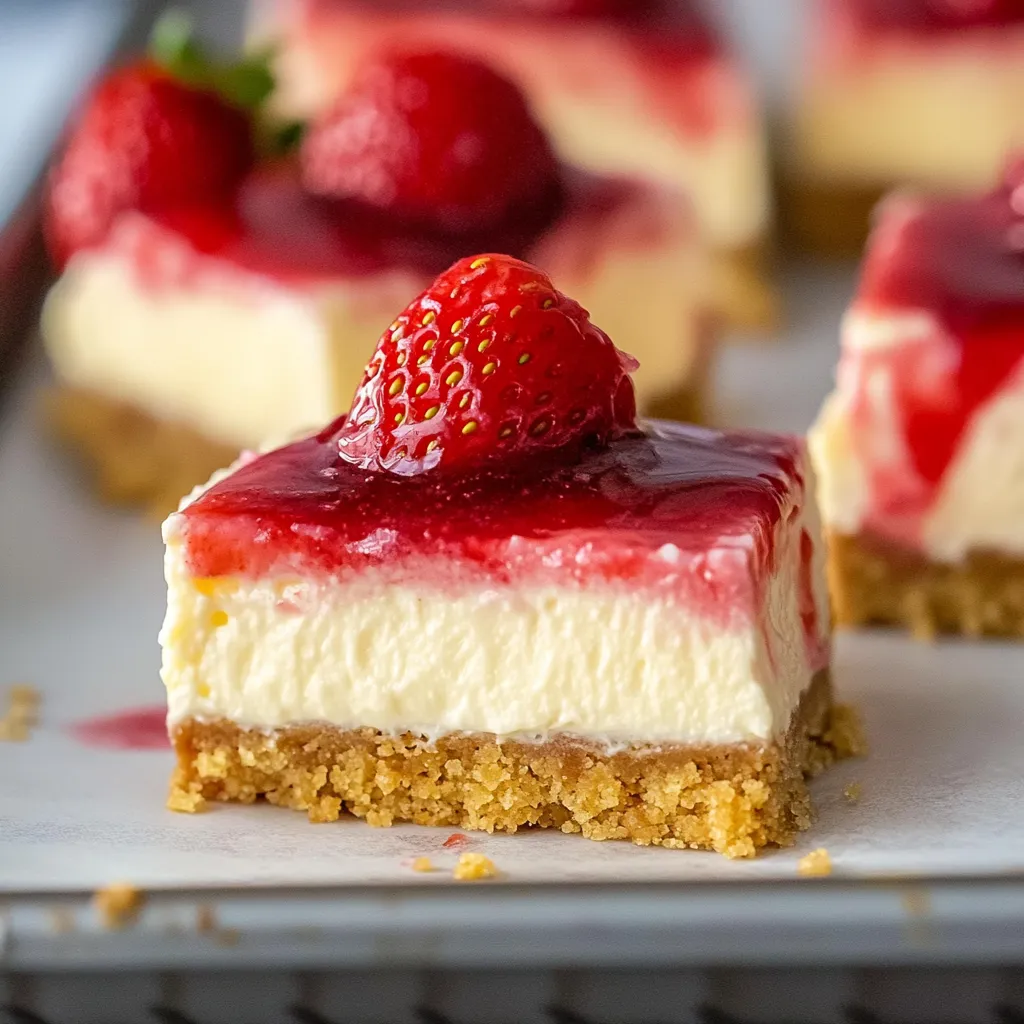
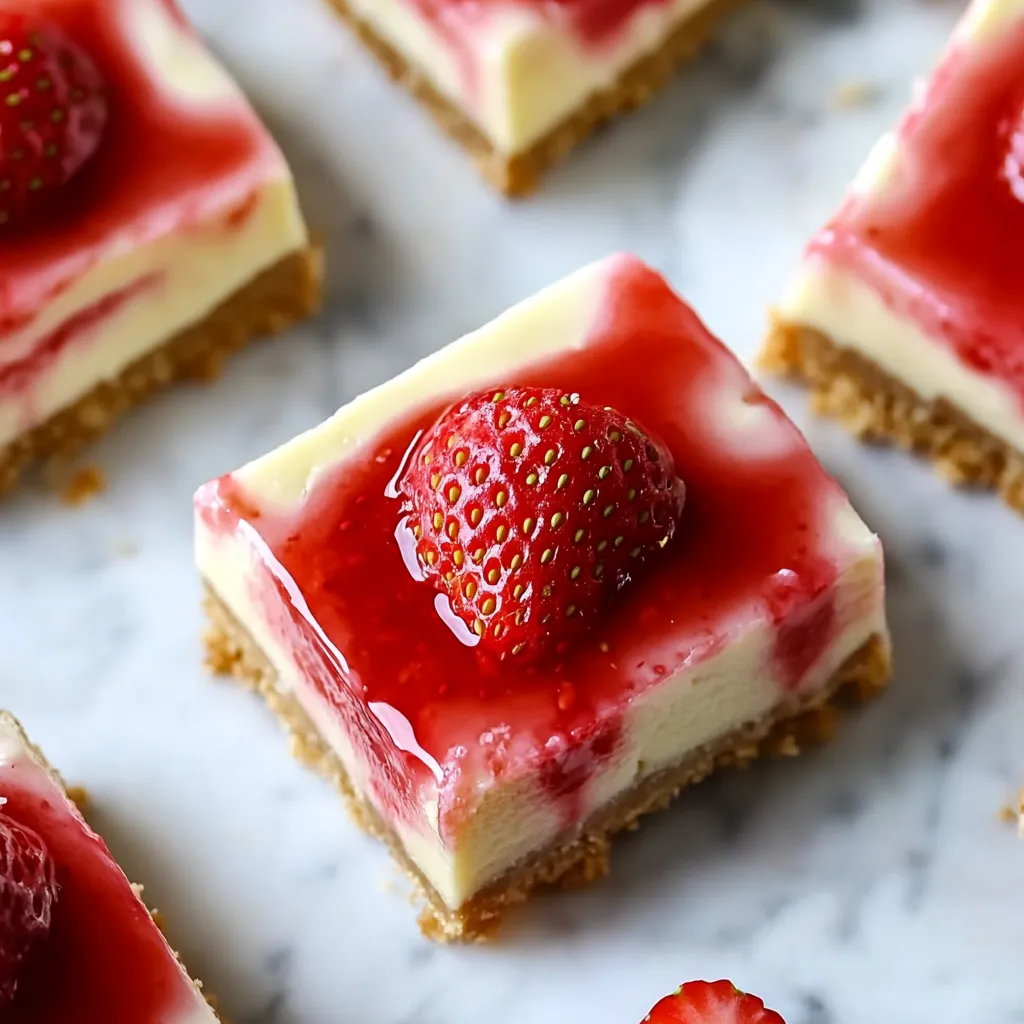
These homemade strawberry cheesecake squares capture the classic Philadelphia flavor in an upscale treat that works for any gathering. You'll fall in love with the buttery graham base, smooth cream cheese middle, bright strawberry topping, and fancy white chocolate finishing touch—they all come together for an amazing taste experience.
I've made these countless times, and I've found that watching your temperatures and getting the layers just right makes all the difference. The first batch where I nailed that perfect mix of creamy filling with fresh strawberry goodness, I knew I'd cracked the code on something truly fantastic.
Key Components
- Cream cheese: Has to sit out until completely soft - don't rush this step
- Fresh strawberries: Give the most vibrant taste and appearance
- Good-quality graham crackers: Build the foundation for the perfect base
- Real vanilla extract: Brings all the flavors together
- White chocolate: Use authentic chocolate, not candy melts
 Pin it
Making Your Cheesecake Bars
- Step 1:
- Get your cream cheese properly softened by leaving it out for at least 2 hours. When ingredients aren't cold, they'll mix up way better.
- Step 2:
- Line your baking dish with parchment, making sure to leave extra hanging over the sides so you can lift everything out later. Don't skip this or you'll regret it.
- Step 3:
- Mix those graham crumbs with melted butter until everything looks like damp sand. Press it down firmly to make a solid foundation.
- Step 4:
- Whip your cream cheese until it's totally smooth before you add anything else. Any tiny lumps now will show up in your finished bars.
- Step 5:
- Mix in eggs one by one, just until they disappear into the batter. Mix too much and your bars might crack.
- Step 6:
- While your cheesecake's in the oven, cook up the strawberry mixture and let both cool down properly.
- Step 7:
- Make little dips in each bar using a careful, measured technique.
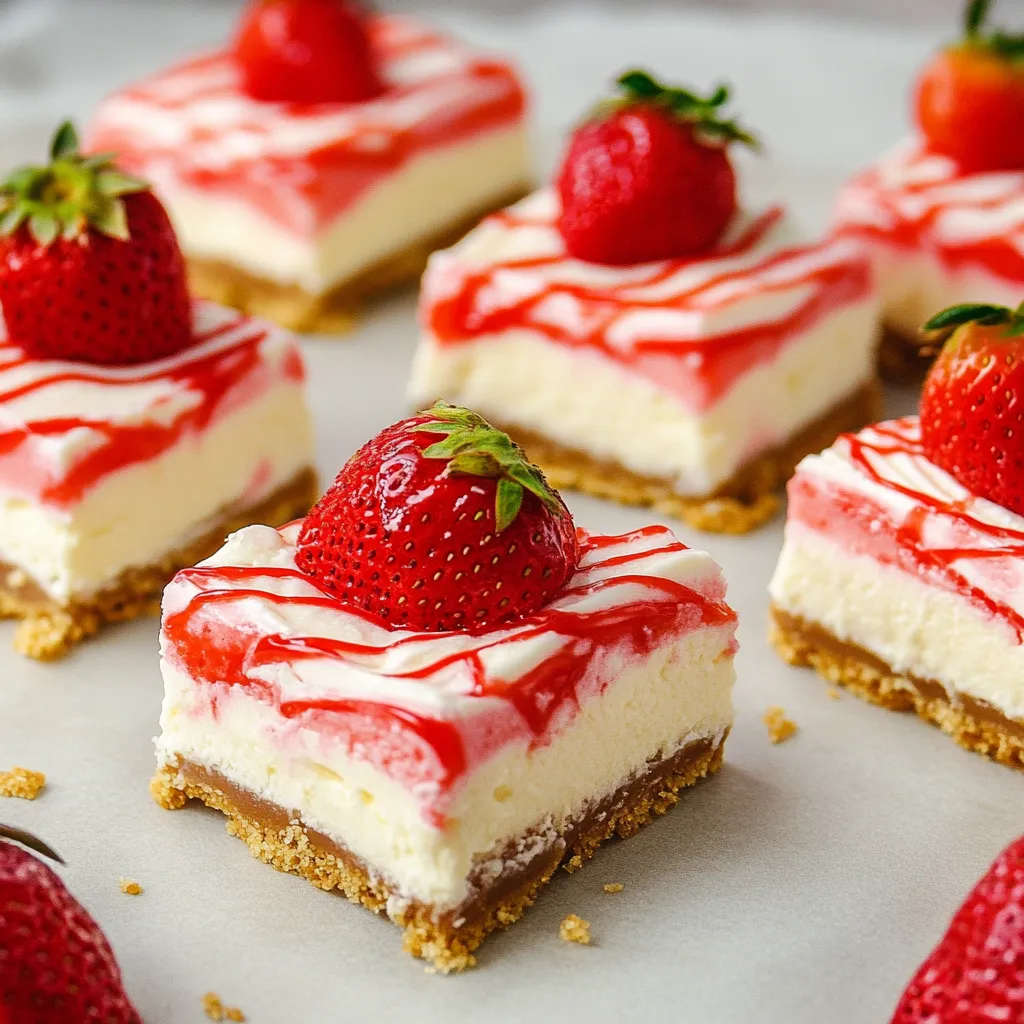
- Step 8:
- Add those fancy white chocolate lines to make your bars look store-bought.
 Pin it
Getting That Perfect Consistency: Over many test batches, I've figured out that nailing the right texture comes down to:
- Getting ingredients to the right temperature
- Using a light touch when mixing
- Watching your bake time carefully
- Letting everything cool the right way
Watching Your Temperatures
Your success really depends on temperature management:
- Dairy stuff at room temperature
- Oven set just right
- Cooling down slowly
- Keeping them at the right chill level
Fixing Common Problems
Easy fixes when things don't go as planned:
- Prevent cracks with a pan of water in the oven
- For lumpy filling, check your ingredient temps
- If your fruit topping's too thin, simmer it longer
- Crumbly crust? Add a bit more melted butter
Changing With The Seasons
Beyond strawberries, you might try:
- Spring: A blend of different berries
- Summer: Fresh raspberry topping
- Fall: Cinnamon apple mixture
- Winter: Tangy cranberry sauce
Prepping In Advance
To make entertaining easier:
- Get the crust ready a day early
- Cook your fruit topping ahead of time
- Cut and freeze individual squares
- Keep different parts separate until serving time
I've spent so much time getting these bars just right, and I've learned that what makes them special is how all the textures and flavors work together. Whenever I serve them at parties or just as a treat, people always smile and ask me how I made them.
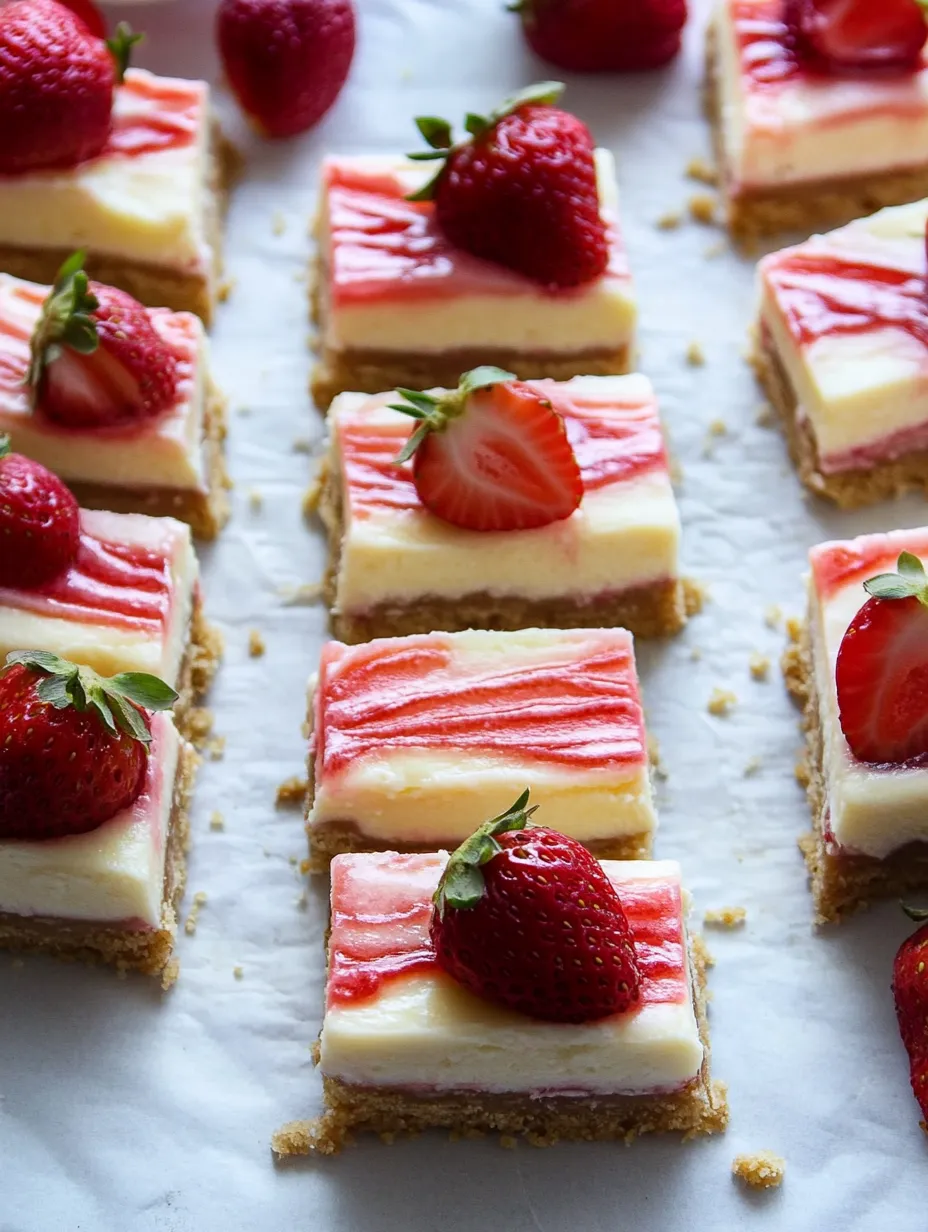
Fancy Finishing Touches
A warm knife gives you clean slices - Chef Isabella
Try different patterns with your white chocolate drizzle - Chef Marcus
Top with a few fresh strawberry pieces - Chef Victoria
A light dusting of confectioners' sugar looks amazing - Chef Antonio
Keeping Them Fresh
To maintain quality, think about:
- Containers that seal completely
- Separating layers with parchment
- Storing at the right coolness
- Keeping moisture in check
 Pin it
Creative Twists
Take your bars to the next level:
- Swirl the fruit topping into patterns
- Add milk and white chocolate together
- Mix up different fruits for new flavors
- Top with fancy garnishes
Cheesecake Chemistry
The technical stuff that affects texture:
- How proteins work together
- What the fat content does
- How sugar behaves when heated
- Getting the wetness just right
Dressing Them Up For Events
Make them extra special:
- Tiny versions for big gatherings
- Seasonal flavors for holidays
- Small gift-sized portions for weddings
- Decorative touches for birthday celebrations
What I love most about these bars isn't just how good they taste—it's how they bring folks together. Whether you're passing them around at a family dinner or wrapping some up as a gift, they create little moments of joy with every single bite.
Frequently Asked Questions
- → Can I prepare these in advance?
- Absolutely! They're even better the next day if you chill them overnight.
- → Is it okay to use frozen strawberries?
- Totally fine, just thaw and drain them first to avoid runny topping.
- → Why use room-temperature ingredients?
- It helps them mix smoothly and prevents lumps in your cheesecake.
- → How can I tell if they’re baked?
- The center should jiggle just slightly, and the edges will look lightly golden.
- → What’s the best way to store extras?
- Pop any leftovers in the fridge and keep them covered for up to 5 days.