
 Pin it
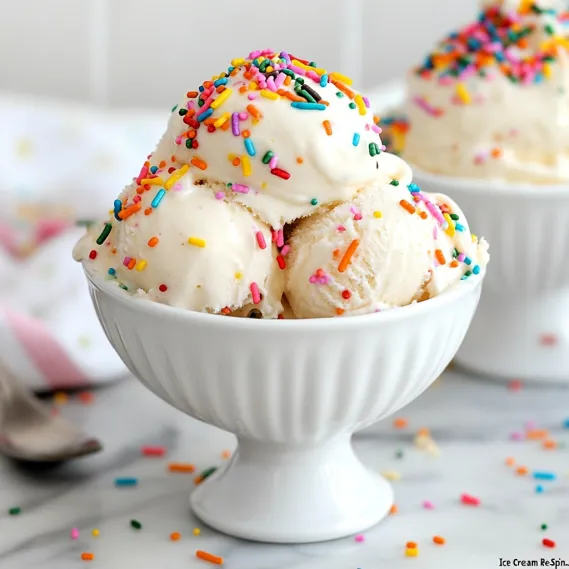
This DIY rainbow sprinkle ice cream adds a splash of happiness to your dessert with its smooth vanilla foundation and colorful sprinkles mixed throughout. Your Ninja Creami turns everyday items into an incredibly silky texture that stands up to fancy store brands, while giving you that fun pop of color in every spoonful.
I came up with this idea during my little girl's birthday party when her favorite sprinkle ice cream wasn't at our local store. Seeing her eyes light up at those colorful bits scattered throughout made my day. These days everybody asks for it whenever we're celebrating something special.
What You'll Need
- Heavy cream: Creates that decadent foundation
- Whole milk: Gives you just the right smoothness
- Granulated sugar: Adds sweetness that isn't too much
- Vanilla bean paste: Brings those tiny specs and real flavor
- Salt: Boosts every taste and cuts the sweetness
- Rainbow sprinkles: Throw in that party vibe and fun crunch
Making Your Ice Cream
- Mix Your Base:
- Combine whole milk, heavy cream, salt, granulated sugar, and vanilla bean paste in a bowl and stir until the sugar's totally gone. This mix is what makes your ice cream so great, so don't rush this part if you want the creamiest results.
- Get It Cold:
- Transfer your mixture to a Ninja Creami container, making sure you don't go past the line. Put the lid on tight and stick it in your freezer on a flat spot. You'll need to wait a full day for proper freezing. There's no way around this waiting time if you want good texture.
- Let The Machine Work:
- Take your frozen container and put it straight into your Ninja Creami. Hit the Ice Cream button and watch it do its thing. In just minutes, your solid block turns into dreamy ice cream.
- Fix The Texture:
- Check how smooth it is after spinning. If it feels a bit grainy, dig a small hole in the middle, pour in about 1/4 cup milk, and hit Respin. This extra step makes sure you get that perfect creaminess everyone loves.
- Mix In Colors:
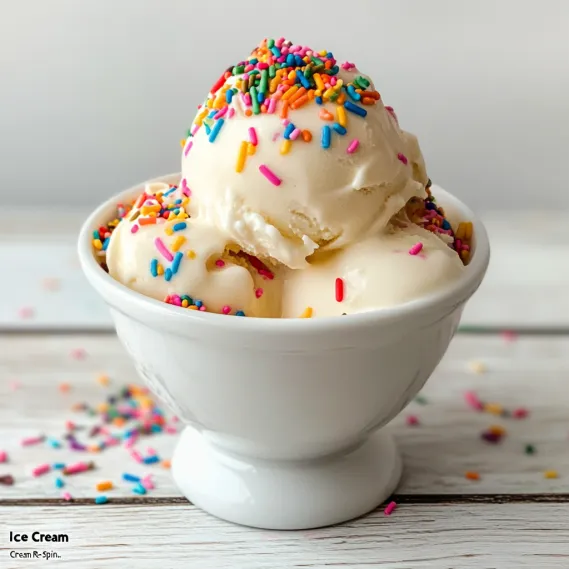
- Put your fresh ice cream in a bowl and gently fold sprinkles throughout. Work fast but carefully to spread them out without melting too much ice cream. The slight warmth helps sprinkles stick better as you fold.
 Pin it
That vanilla bean paste really makes all the difference here. You can swap in extract if you must, but the paste gives you those tiny dark specks that look amazing against the bright sprinkles and bring a much richer vanilla taste that turns this from just okay to absolutely fantastic.
No Fancy Machine Method
Don't worry if you haven't got a Ninja Creami yet. After mixing everything together, just pour it into a wide, flat container that's freezer-safe. Pop it in the freezer and come back to stir it thoroughly every half hour for about 3-4 hours. This stops big ice crystals from forming and adds air for a smoother result. It takes more babysitting but you'll still end up with something really yummy.
Picking The Right Sprinkles
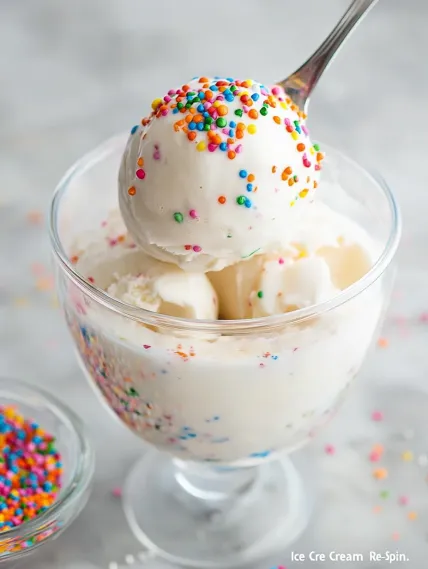
The type of sprinkles you grab makes a big difference. Those longer stick-shaped ones (jimmies) keep their bite and don't color-bleed so quickly. The tiny ball sprinkles give you a nice crunch but their colors run faster into the ice cream. For the brightest look, wait to mix in your sprinkles right before you serve rather than during the spinning part.
Ways To Enjoy It
Make this rainbow treat even better by stuffing it between two warm chocolate chip cookies for an awesome ice cream sandwich. Wanna get fancy? Scoop it into waffle cones and add whipped cream with extra sprinkles on top. When you're hosting summer parties, try small scoops in paper cupcake liners so everyone can grab their own little portion without any fuss.
 Pin it
Frequently Asked Questions
- → What makes this Funfetti dessert special?
The creamy vanilla base and bright, colorful sprinkles give it a joyful look and taste. It's both classic and fun!
- → Can I make this without special equipment?
Of course! Use a freezer-safe dish, and stir the mixture every half hour as it freezes for that creamy texture.
- → Why is the texture so smooth?
The balance of cream and milk in the mix ensures you get a soft, velvety consistency. Following freezing methods helps a lot, too!
- → How do I avoid icy spots?
Keep stirring every 30 minutes during the freezing process. This helps break up any ice crystals forming.
- → What else can I top it with?
You can use cookie crumbs, mini chocolate chips, or even caramel drizzle for a bit of variety.