
 Pin it
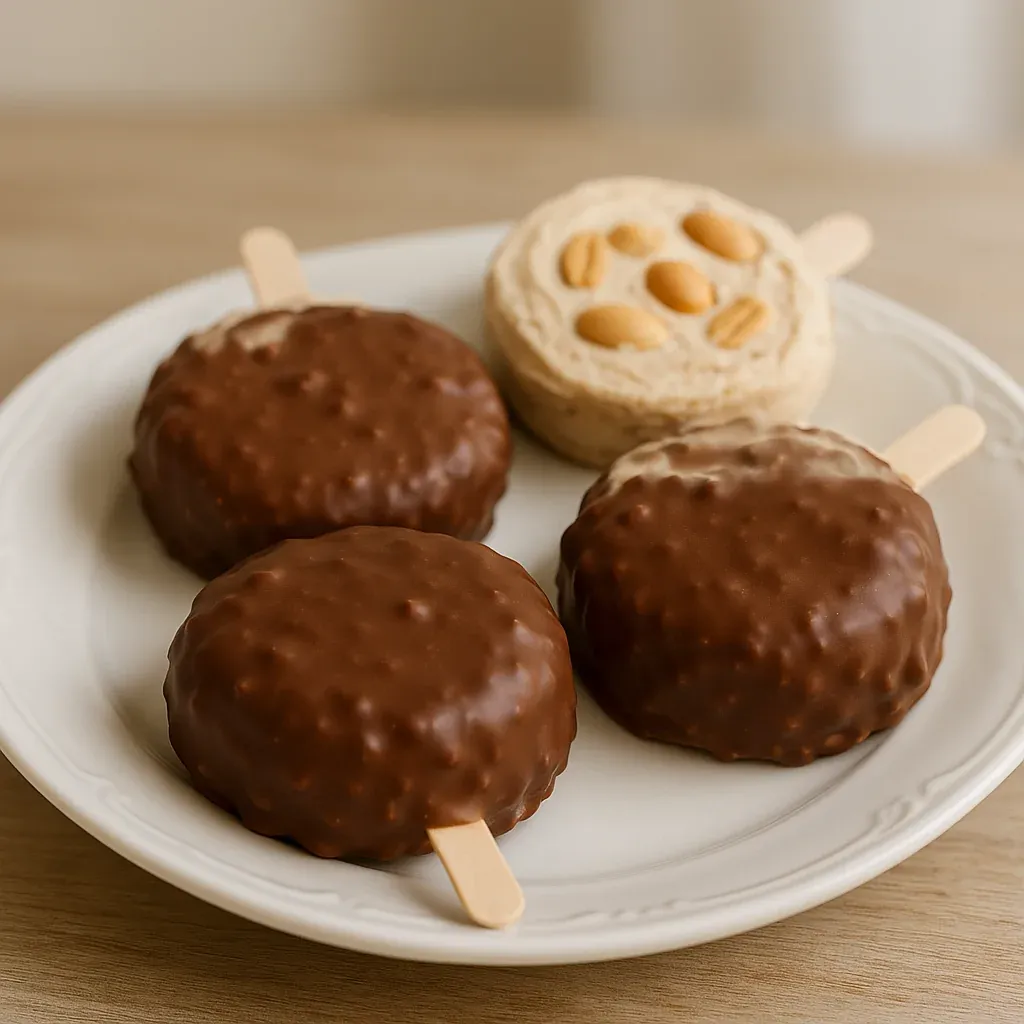
These DIY peanut butter Buster Bars turn basic pantry items into a mouthwatering frozen snack that'll make you forget about store-bought options. The mix of smooth peanut butter frozen yogurt with that snappy chocolate shell gives you the perfect crack with every mouthful.
I whipped these up during an awful hot spell when I was dying for ice cream but didn't want to go shopping. I couldn't believe how easy they were to make, and now they're what I always serve when friends come over. Nobody can tell they're actually better for you than the ones from the store.
What You'll Need
- Vanilla ice cream or yogurt: Go for Greek yogurt to bump up protein or pick a plant-based option for vegan treats
- Peanut butter: Gives these bars their rich, creamy base and that yummy nutty taste we all want
- Your favorite sweetener: Don't bother if your yogurt or ice cream is already sweet, otherwise try honey or maple syrup
- Chocolate chips: The dark kind makes a perfect outer layer and comes with some health perks
- Peanuts: They're not must-haves but they add nice crunch and make bars look fancier
- Coconut oil: Helps the chocolate flow better and set up with a nice snap when frozen
How To Make Them
- Mix Your Base:
- Blend the yogurt, peanut butter, and sweetener until they're totally smooth. You want it thick enough to keep its shape when you scoop it but still easy to work with. This makes the creamy part that freezes up like fudge.
- Shape Your Bars:
- Scoop big spoonfuls of your peanut butter mix onto a paper-lined baking sheet, leaving space between them. Stick a popsicle stick or small spoon in each pile for a handle, then use another spoon to shape them how you want. Don't take too long since they'll get soft if they sit out.
- Add Some Crunch:
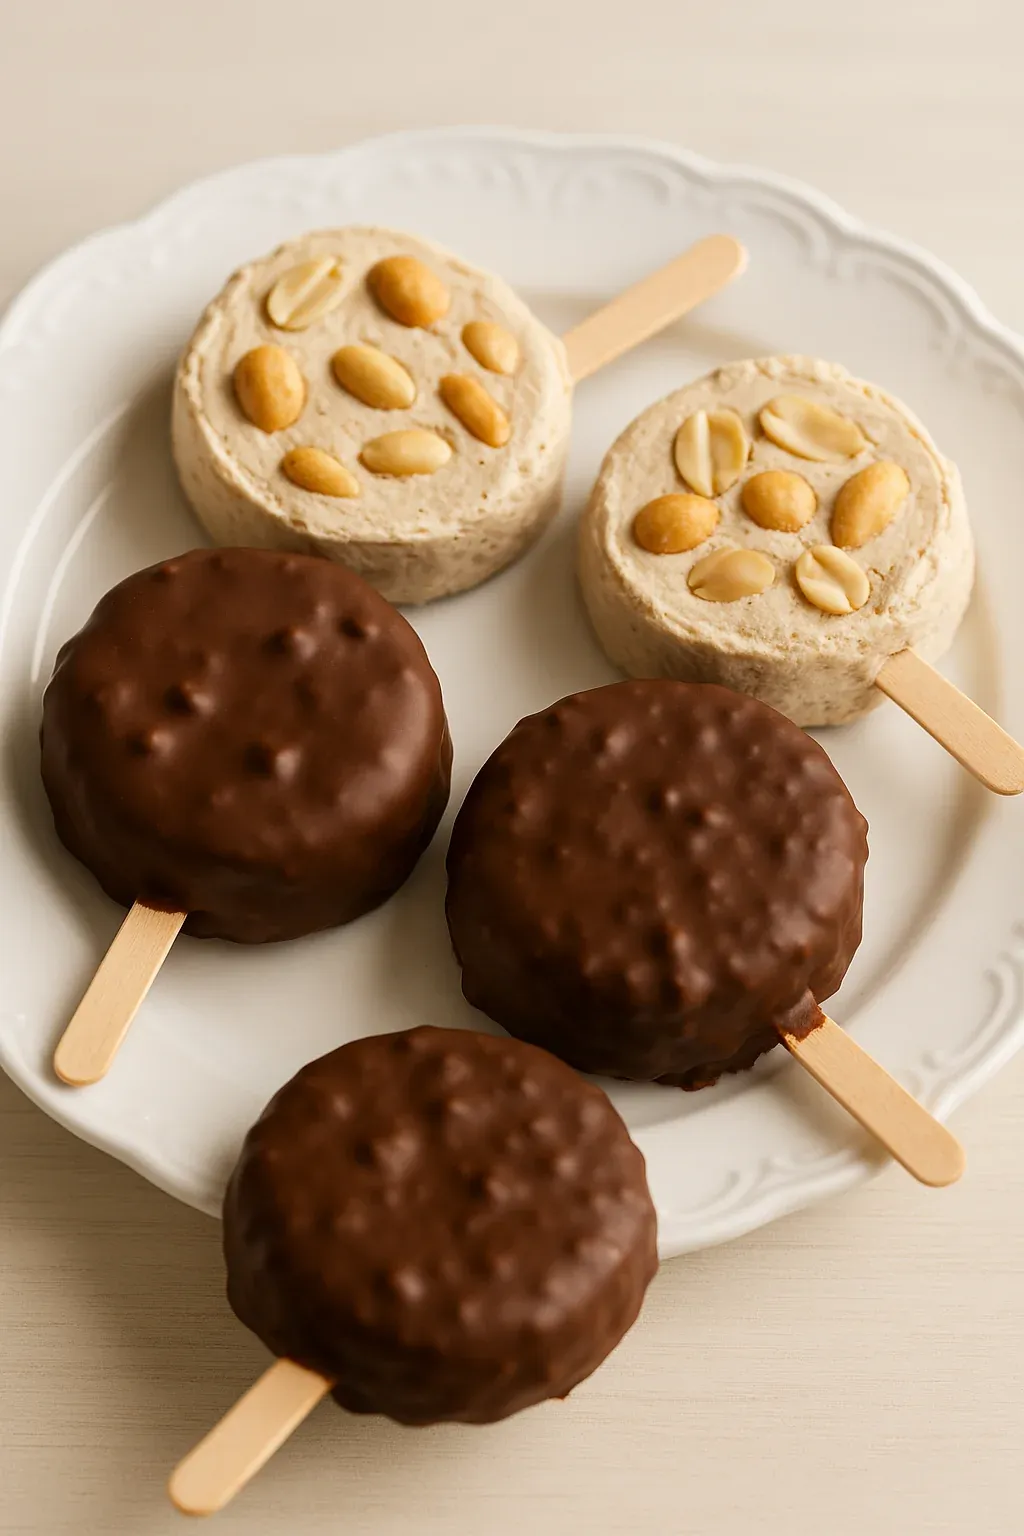
- Toss some chopped peanuts on top of each bar and push them in gently so they stick. This little step makes them look like you bought them and gives you that awesome mix of smooth and crunchy in every bite.
- Freeze Them Solid:
- Put your tray in the freezer for at least 2 hours until they're completely hard. Don't skip this part! If you try to dip soft bars, you'll just make a mess. They should feel totally firm when you touch them.
- Get Your Chocolate Ready:
- Melt your chocolate chips in the microwave using 30-second bursts, stirring after each one until it's all smooth. Add the coconut oil and mix it in completely. The chocolate should pour easily off your spoon like a ribbon.
- Dip and Cover:
- Work with one bar at a time, quickly dipping each frozen bar into the melted chocolate to coat it all over. Let extra chocolate drip off before putting it back on your lined tray. The cold bar will start hardening the chocolate right away, like magic shell.
- Let Them Set:
- Put your chocolate-covered bars back in the freezer for another 30 minutes to harden completely. This makes sure the chocolate gets that perfect snap when you bite into it.
 Pin it
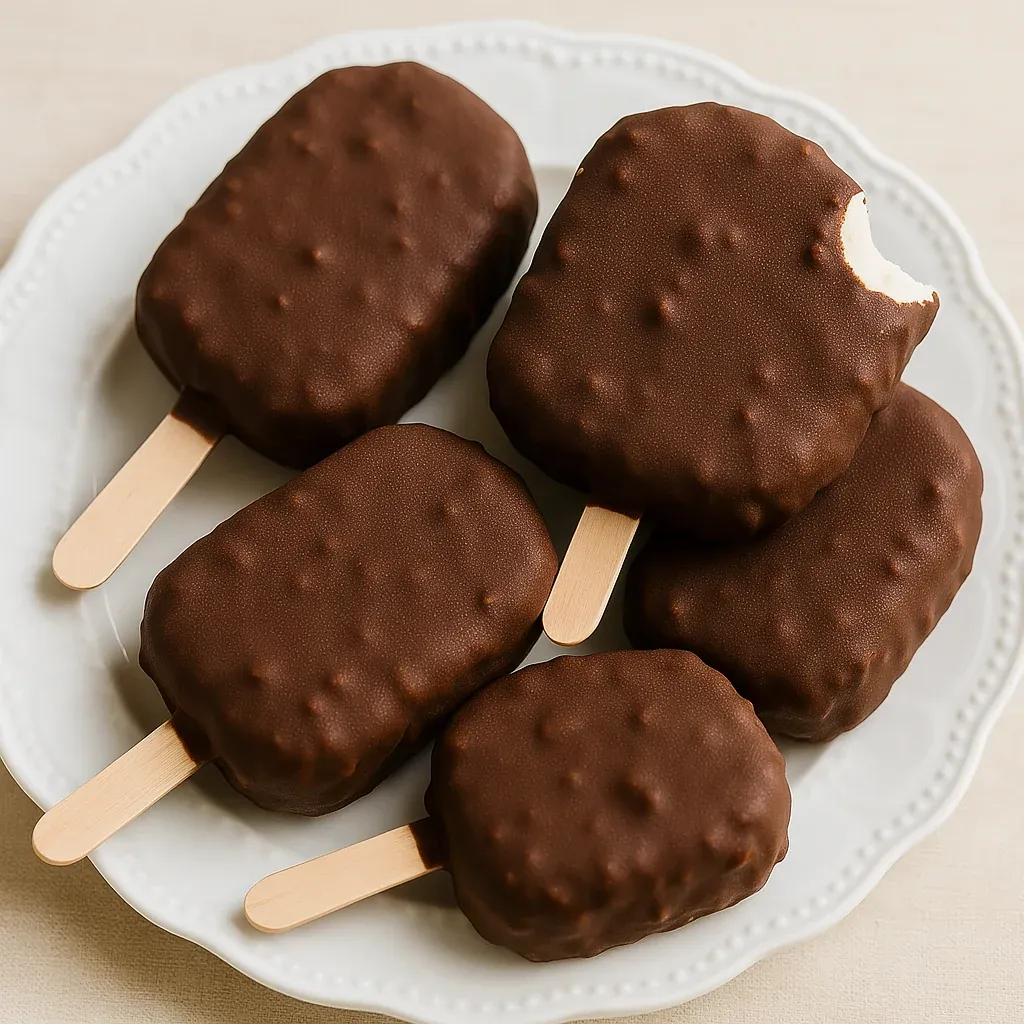
The best thing about making these is watching the warm chocolate hit the frozen peanut butter center and turn into that perfect shell that breaks apart when you take a bite. My grandma used to make something like this, and I remember standing on a kitchen stool next to her, amazed at how the chocolate hardened like it was some kind of kitchen trick.
Prep Them Early
You can make these Buster Bars way ahead of when you need them. They actually taste better after sitting in the freezer for a day as all the flavors blend together. I usually make twice as many at the start of summer and keep them wrapped up in parchment inside a container in the freezer, so they're ready whenever I need a quick dessert or friends drop by.
Diet-Friendly Options
You can tweak these bars to work with pretty much any diet. If you're vegan, just use non-dairy yogurt or ice cream with plant-based chocolate chips. Keto folks can go with sugar-free chocolate and low-carb sweeteners. Got nut allergies? No problem – use sunflower seed butter instead and skip the peanuts on top. You'll still get that awesome texture and taste.
 Pin it
Ways To Serve
These homemade bars are great on their own, but you can dress them up when you want something fancy. Try putting them on a cold plate with fresh berries scattered around, or add a little drizzle of melted chocolate and a pinch of sea salt right before serving. For a party spread, break some bars into chunks and mix with fresh fruit, pieces of brownie, and a small dish of warm caramel sauce for dipping.
Keeping Them Fresh
These bars will stay good in the freezer for up to a month, but they're best in the first two weeks. To keep them from getting freezer burn, wrap each one in parchment paper and put them in a sealed container. If you make a big batch, try putting layers of parchment between the bars in your container. Let them sit in the freezer door or fridge for about 5 minutes before eating so the chocolate stays crunchy but the middle gets just soft enough.
Frequently Asked Questions
- → Can I swap peanut butter with another nut butter?
Absolutely! Cashew butter, almond butter, or sunflower seed butter work great for different flavors or allergies.
- → What yogurt works best?
Any kind works! Greek, regular, or even plant-based yogurts are fine. Pick plain or flavored based on your taste.
- → How can I make the chocolate coating smoother?
Stir in a little coconut or vegetable oil with the melted chocolate for a glossy, smoother finish. Totally optional!
- → Is it possible to make these keto or sugar-free?
Yes! Just grab sugar-free chocolate chips, low-carb sweetener like stevia, and unsweetened yogurt to keep it diet-friendly.
- → Where should I store these bars?
Keep the bars in the freezer for up to a month in a sealed container. That way, they'll stay fresh and crispy!