
 Pin it
Gotta tell you how these DIY hot chocolate bombs turned into my winter go-to gift. After my children flipped out over some pricey store ones last year, I thought 'I can definitely top these!' Fast forward through dozens of attempts and chocolate-smeared hands, I finally nailed it. These days my kitchen transforms into a chocolate workshop every holiday, and my friends start hinting they want some the minute temperatures drop.
Cracking the Code
Through plenty of botched tries at these handmade treats (including one batch that turned to goo before I could give them away!), I've figured out that the chocolate quality is everything. Don't even think about using those baking chips sitting in your cupboard - I tried and ended up with a total disaster. For this simple method to work perfectly, invest in quality chocolate containing actual cocoa butter. I always reach for Callebaut, but Ghirardelli does the job nicely if that's what's available.
Getting Ready
- What You'll Need
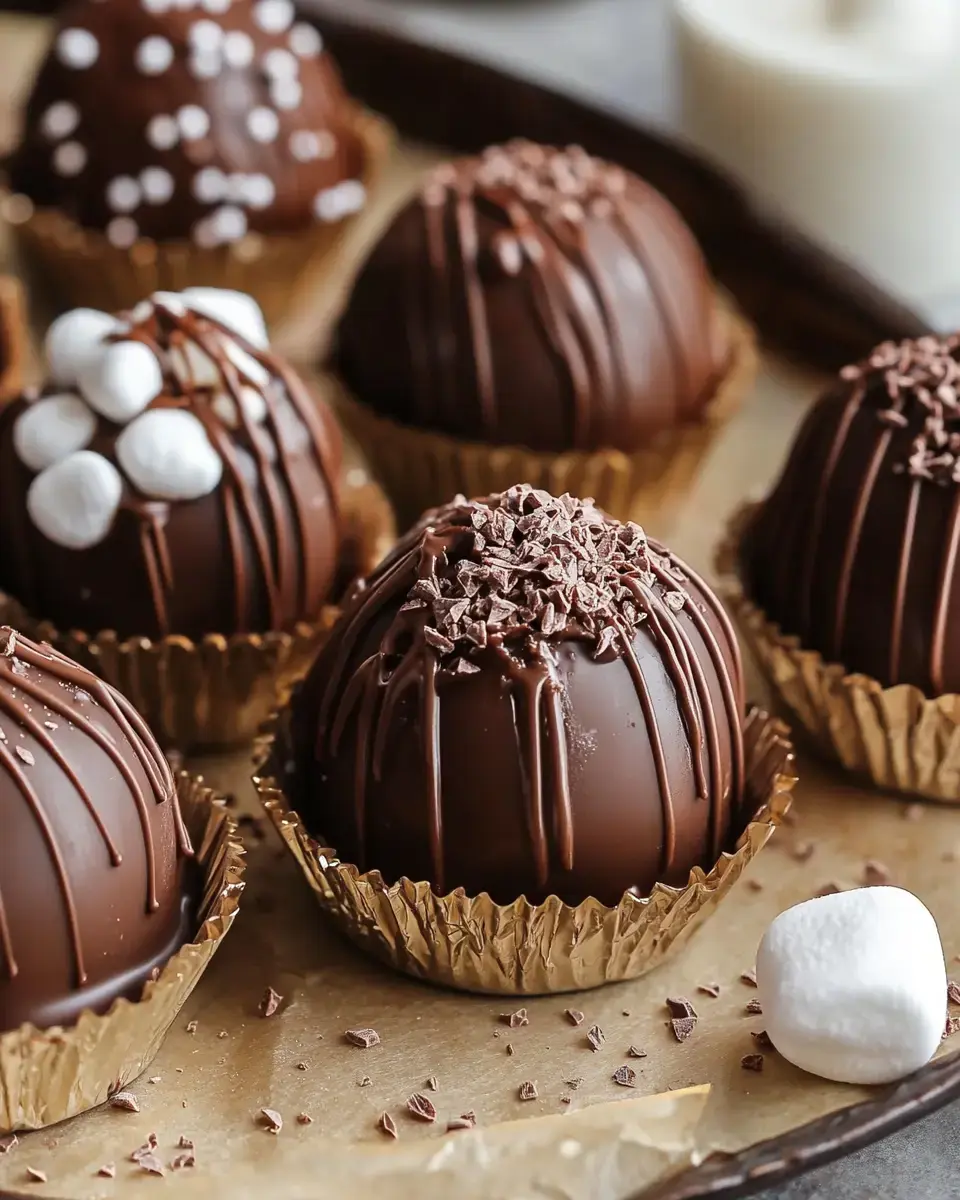
- Pick up some decent chocolate - around 12 ounces makes 6 bombs. Find those round molds (mine came from an online shop really cheap), and get fresh marshmallows - forget about using those stale ones from months ago. For hot cocoa powder, I prefer mixing my own using Dutch cocoa with a tiny bit of sea salt.
- Workspace Prep
- Make room on your counters - things get messy at first. Gather everything: thermometer, spatula, a brush for coating molds (I actually use a clean makeup brush - it's perfect!), plus some parchment paper to work on.
- Watch Your Heat
- Something nobody told me early on: your kitchen should be cool, roughly 70°F. I found this out when my first batch wouldn't harden during a hot chocolate making session. You might need to lower your thermostat!
The Step-by-Step
- Getting Chocolate Ready
- Cut your chocolate into tiny bits - I mean really small, like confetti. Larger pieces won't melt right (found that out myself). Carefully warm 2/3 of it to exactly 100°F - I just use short 20-second microwave bursts, mixing between each. After it melts, mix in what's left until it's completely smooth.
- Mold Technique
- Coat your molds with a thin chocolate layer. Chill for 5 minutes - no longer or you'll get moisture. Then add another coat, making the rims slightly thicker. This stops them from breaking later - I've been there!
- Putting It Together
- When shells have set, fill one half with cocoa mix and marshmallows. For joining them, warm a pan slightly and touch the empty half's edges to it for a quick second - this melts just enough for a perfect join!
Fixing Common Problems
Real talk - even with this straightforward approach, issues pop up. When your chocolate looks weird and streaky, it's probably temperature issues - aim for between 88-91°F. Shells won't come out? Put them in the freezer for exactly 3 minutes. Got fingerprints all over your finished bombs? Just brush lightly with something slightly warm. Remember, even the not-so-pretty ones taste fantastic!
 Pin it
Personal Touches
After you've mastered the basics, play around a bit! I throw in peppermint pieces to the cocoa mix at Christmas, or a dash of cinnamon and cayenne for spicy Mexican versions. My kids go crazy for their favorite twist with colorful sprinkles inside - they've dubbed them 'unicorn bombs.' Try putting colored cocoa butter in molds first for cool swirly patterns.
Keeping and Giving
These handcrafted treats need proper storage. Put them somewhere cool and dry - I use the cabinet farthest from my stove. They'll stay good about three weeks if you can keep your hands off them! When giving as gifts, I stick each one in a clear cellophane baggie with a cute ribbon. Add a simple note saying 'Drop into hot milk, watch it burst open, stir and drink!' Fair warning: once you start giving these as presents, you'll be making them every single winter!
Frequently Asked Questions
- → Why isn’t my chocolate smooth?
It's all about the right heat. Stick to the ideal range of 88-91°F for a silky finish. Mess up the temperature, and it won't shine or set properly.
- → No mold on hand?
You can use cupcake liners instead. Just layer chocolate in them several times to build the walls.
- → What's with the gloves?
They prevent fingerprints on the shiny finish. Gloves keep the look polished and flawless.
- → Which milk works best?
Whole milk will make it super creamy, but 2% does the trick too. Heat it until it's just about to boil for a dramatic melt effect.
- → How should I store them?
Put them in an airtight box in a dry, cool spot. If tempered right, they'll last weeks without issues.