
 Pin it
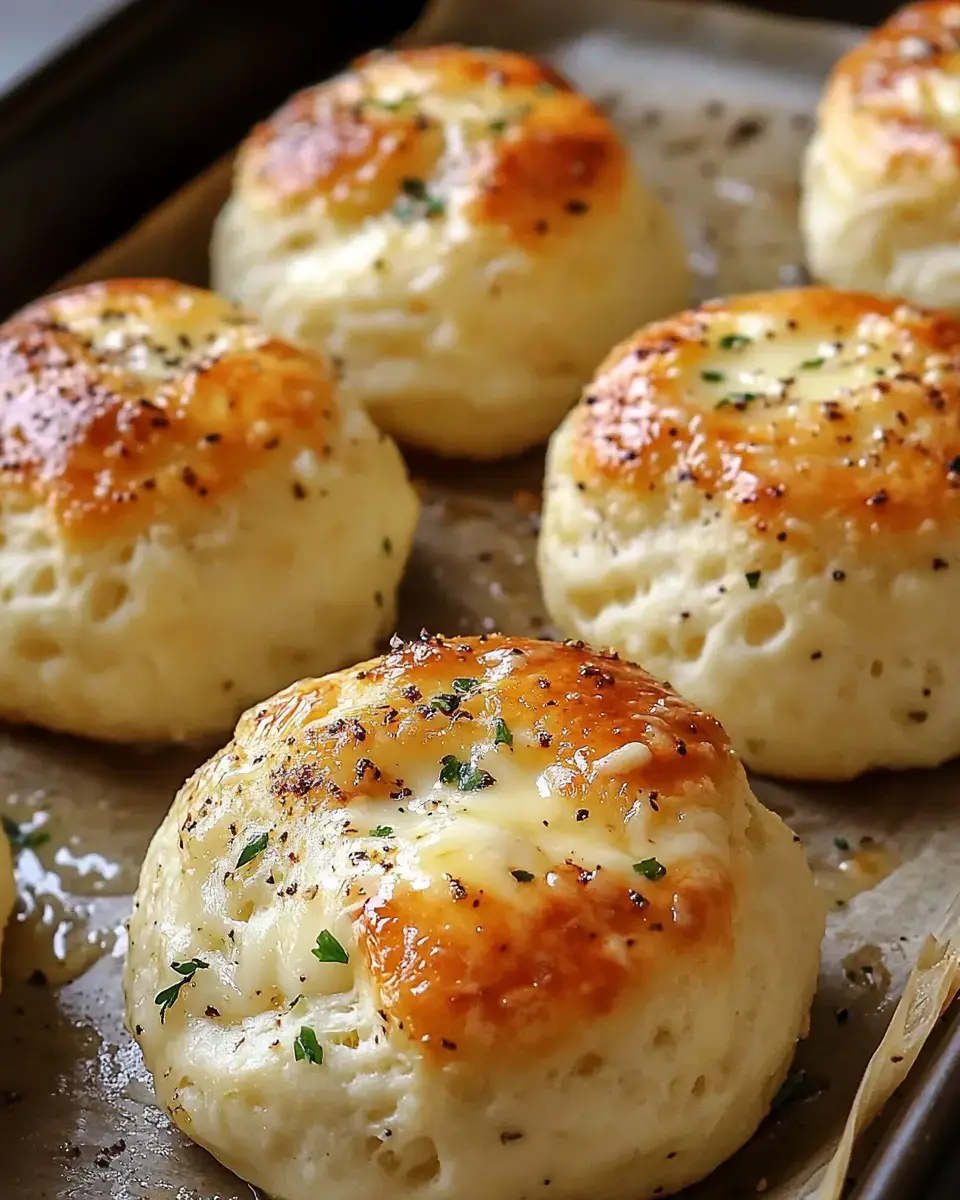
Every time I make these Garlic Herb Cheese Bombs my kitchen fills with the most incredible aroma. That combination of melted cheese garlic and herbs is absolutely intoxicating. I've perfected this recipe through countless game days and family gatherings and watching people's faces light up when they pull apart that first cheese bomb makes it all worth it.
What Makes These Irresistible
I love how these little bombs of joy come together so quickly but taste like they're from a fancy bakery. Using store bought biscuits is my secret shortcut that nobody ever guesses. That moment when someone takes their first bite and the cheese stretches out in perfect strings it's pure kitchen magic.
Ingredients You'll Need
- For the Bombs: 1 can refrigerated biscuit dough, 8 mozzarella cheese cubes.
- For the Topping: 4 tbsp unsalted butter (melted), 1 tsp garlic powder, 1 tsp Italian seasoning, grated Parmesan (optional), fresh parsley (optional).
- Equipment: Baking sheet, small mixing bowl, pastry brush.
Step-by-Step Instructions
- Prep Your Oven:
- Preheat to 400°F. Cut cheese cubes into 1-inch pieces if not pre-cut, keeping them cold to prevent leaks.
- Assemble the Bombs:
- Flatten each biscuit, place a cheese cube in the center, and pull the edges up to seal tightly.
- Bake:
- Place seam-side down on a baking sheet and bake for 10-12 minutes until golden brown.
- Brush with Butter:
- Mix melted butter, garlic powder, and Italian seasoning. Brush generously over the hot bombs straight out of the oven.
 Pin it
Pro Tips for Success
Through lots of trial and error I've learned that proper sealing is crucial no one wants their cheese escaping during baking. Keeping everything cold until the last minute helps too. And that one minute rest after baking has saved many tongues from molten cheese incidents.
Flavor Variations
My kitchen has become a cheese bomb test lab over the years. Sometimes I'll stuff them with pepper jack for a spicy kick or add pepperoni for mini pizza bombs. Fresh herbs from my garden mixed into the butter take them to a whole new level and don't even get me started on what happens when you add crispy bacon on top.
Serving Suggestions
I love arranging these in a circle on my favorite serving platter with little bowls of marinara and ranch in the middle. They disappear so fast at parties especially during game days. That moment when someone pulls one apart and the cheese stretches out always gets everyone excited.
Storage Tips
While these are definitely best fresh from the oven they can be saved for later. A quick reheat in the oven works better than the microwave to keep that nice crusty exterior. Though honestly in my house leftovers are rare these little cheese bombs have a way of vanishing quickly.
Make It Ahead
Being able to prep these ahead of time is such a game changer for entertaining. I just pop them in the fridge until I'm ready to bake. That extra minute or two of baking time when they're cold is worth it for the convenience of having everything ready to go when guests arrive.
 Pin it
Frequently Asked Questions
- → Why is my cheese leaking out?
Make sure to seal the biscuit dough completely around the cheese and place them seam-side down. Any gaps will allow cheese to escape during baking.
- → Can I make these ahead?
While best served fresh and hot, you can prepare them up to the baking stage and refrigerate for a few hours. Add a minute or two to baking time if cooking from cold.
- → What kind of cheese works best?
Low-moisture mozzarella works best as it melts well without becoming too runny. You can also try other firm cheeses like cheddar or provolone.
- → Can I freeze these?
While you can freeze them unbaked, the texture of the biscuit dough may change. It's best to make them fresh for the ideal texture.
- → What can I serve with these?
Serve with marinara sauce for dipping. They also pair well with ranch dressing or additional garlic butter for dipping.
Conclusion
These easy appetizers wrap gooey mozzarella in biscuit dough and brush them with garlic herb butter for a crowd-pleasing snack ready in 20 minutes.