
 Pin it
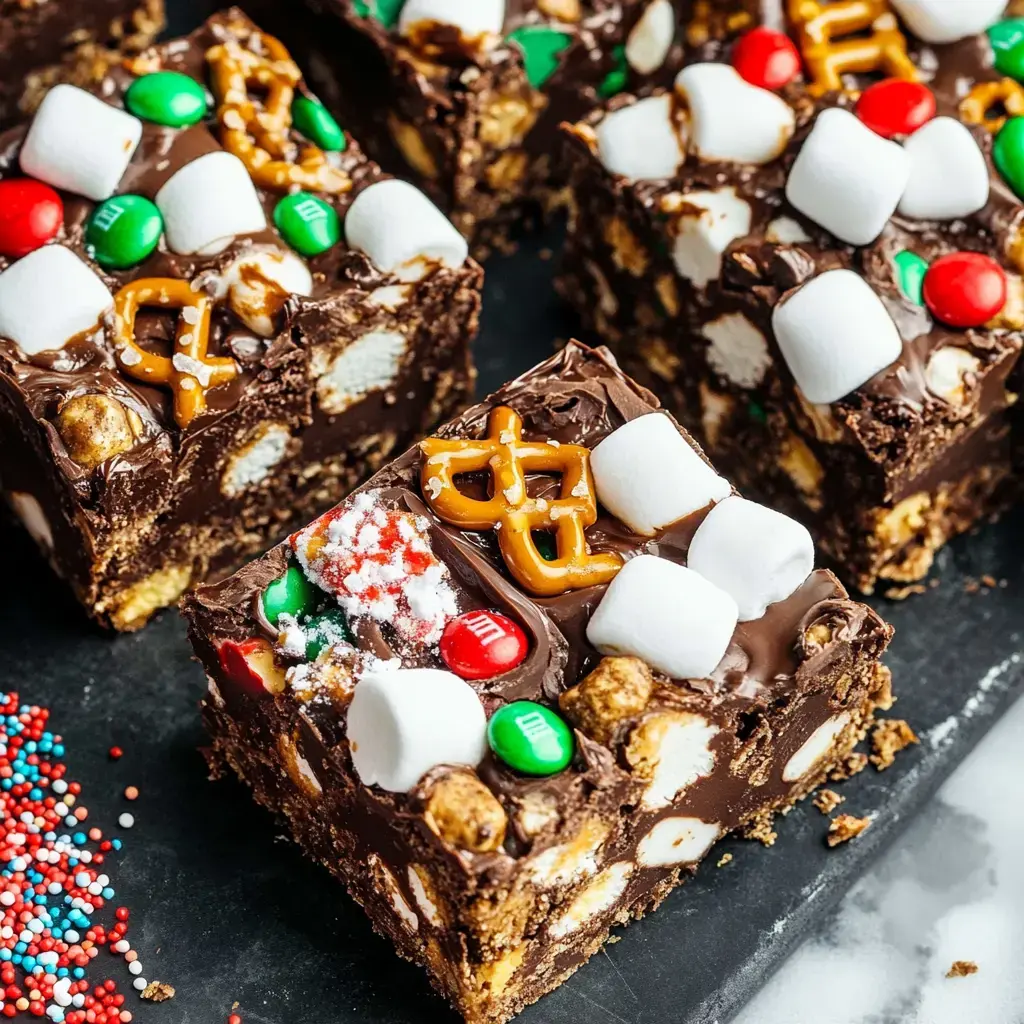
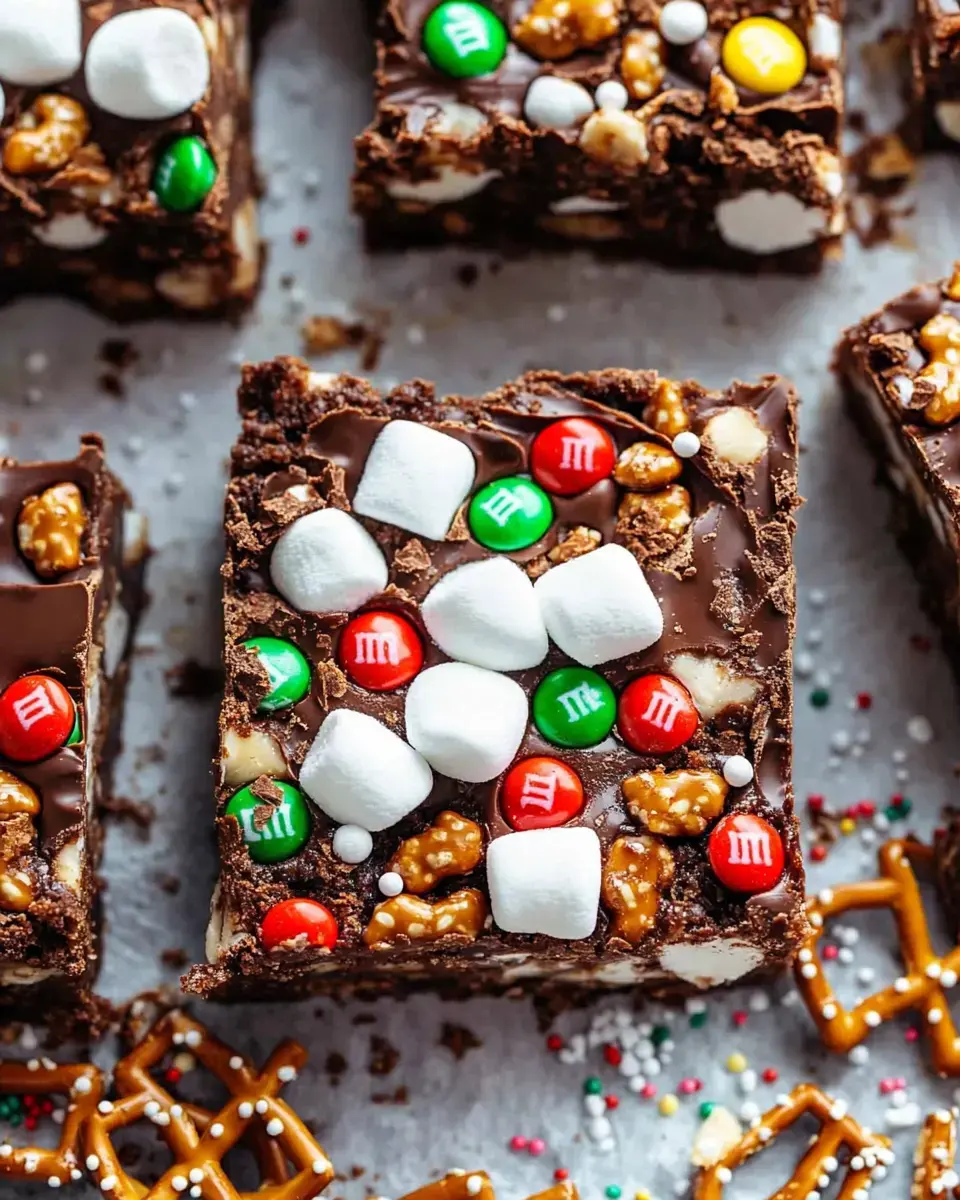
Crunchy Peanut Butter Marshmallow Bars
These no-bake Crunchy Peanut Butter Marshmallow Bars combine amazing textures and flavors in every bite. The gooey peanut butter and chocolate foundation supports puffy marshmallows, salty pretzels, and candy-coated chocolates, while hiding a surprise middle of peanut butter cups. They're super adaptable with whatever goodies you want to throw in, making them fantastic for gatherings, special occasions, or when you just need something sweet!
What Makes These Bars Special
Everyone goes crazy for these treats because:
- Hassle-free: They come together without turning on your oven.
- Make them yours: Add whatever mix-ins float your boat.
- Balanced flavor: They hit that perfect sweet-meets-salty spot.
- Totally shareable: Bring them to any get-together and watch them disappear.
What You'll Need
- Chocolate Chips: They create that fudgy foundation everything else sits in.
- Coconut Oil: This makes your chocolate super smooth and gives it a nice finish.
- Peanut Butter: Brings that smooth, nutty taste everyone loves.
- Marshmallows: You can't skip these for that classic puffy texture.
- Salted Pretzels: They add that awesome salty crunch against the sweetness.
- M&M's: These bring fun pops of color and extra sweet bits.
- Peanut Butter Cups: The surprise middle layer that makes everyone smile.
How To Make Them
- Create Your Chocolate Base
- Put chocolate chips, coconut oil, and peanut butter in a microwave-safe bowl. Heat for 30 seconds at a time, giving it a stir until everything's melted together nice and smooth.
- Mix Your Goodies
- Gently stir in marshmallows, pretzels, and M&M's until they're all covered in chocolate.
- Build Your Hidden Layer
- Spread half your chocolate mixture into a paper-lined dish. Place peanut butter cups in one layer, then cover with the rest of your chocolate mix.
- Set It Up
- Pop it in the fridge for about 2 hours until it's firm. Cut into squares and dig in.
Tricks For Amazing Results
- Go for Soft Marshmallows: Old ones won't give you that nice, soft chew.
- Don't Skip the Paper: Lining your pan means easier cleanup and prettier bars.
- Too Sweet? Throw in more pretzels or some plain nuts to tone it down.
- Be Patient: Let them get completely cold before cutting or they'll fall apart.
 Pin it
Ways To Switch Things Up
Try these swaps to create your perfect bar:
- Toasted Nuts: Try some almonds, peanuts, or pecans for extra crunch.
- Cookie Pieces: Toss in broken cookies for something different.
- Tart Fruits: Add some dried cranberries or cherries for a tangy kick.
- Caramel Chunks: Sprinkle in some toffee for a buttery twist.
Keeping Them Fresh
In the Fridge: Pop them in a sealed container and they'll stay good for a week.
Long-term Storage: Wrap each piece in plastic, put them in a freezer container, and they'll last 3 months. Just thaw them in your fridge before eating.
Whether you're making them as gifts, keeping them for snacks, or bringing them to a party, these Crunchy Peanut Butter Marshmallow Bars won't stick around long!
Frequently Asked Questions
- → What's good about the boiler method?
It heats gently, making sure the chocolate doesn’t burn or clump.
- → How to make gluten-free ones?
Swap in gluten-free pretzels and double-check all your mix-ins are GF.
- → Why bump the pan on the surface?
It helps everything settle evenly and stick together well.
- → How long does it last?
Keep it chilled in a sealed container for up to seven days.
- → Can I change up the extras?
Totally! Toss in whatever nuts, candies, or fun add-ins you like.