
 Pin it
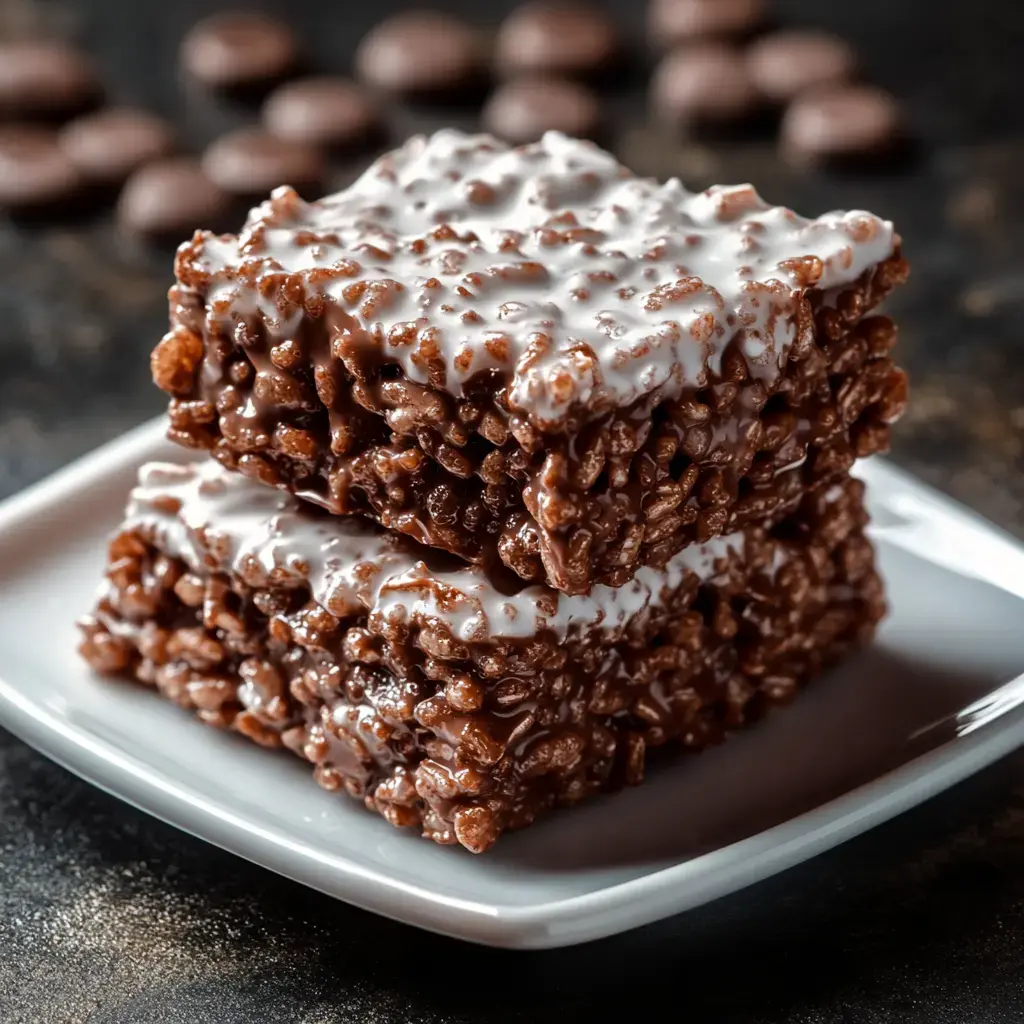
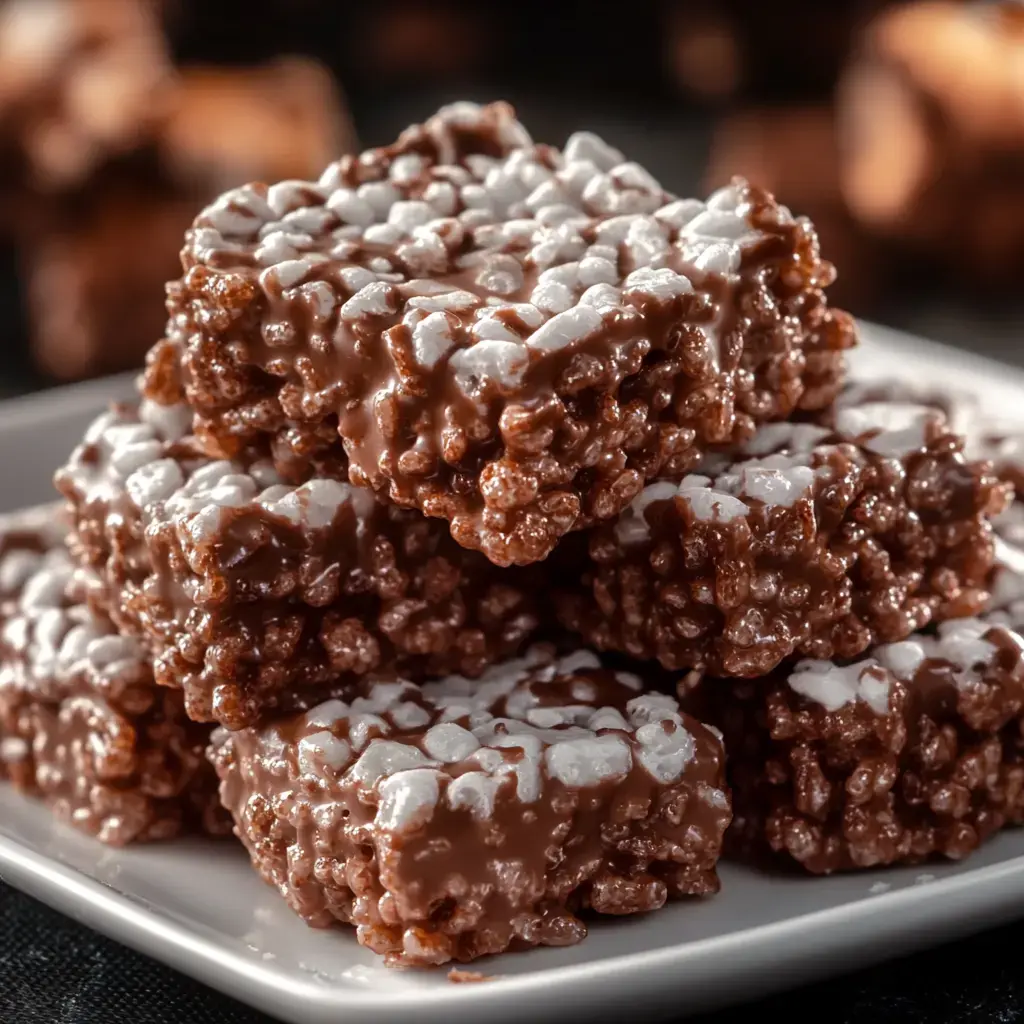
We've got a new favorite treat at our house that mixes two things we can't stop munching on - crunchy Rice Krispies and that sweet chocolate mix covered in powdered sugar that many folks call Puppy Chow. Right after I put this on my blog, parents started messaging me like crazy saying their kids couldn't keep their hands off it. It's just so good - crispy cereal all wrapped up in melted chocolate and peanut butter, then rolled in tons of powdered sugar. You'll definitely want to make extra.
What Makes This Snack So Irresistible
I came up with this mix one day when my kids were asking for both Rice Krispies treats and Puppy Chow. Being a mom who's always short on time, I thought 'why not throw them together?' It turned out amazing. The cereal keeps its crunch while getting that yummy chocolate-peanut butter coating. My official taste-testers (you know, my three kids and their buddies) finished the first batch in seconds. And the best thing? You don't need your oven, which is great when it's too hot outside.
Grab These Items
- Rice Krispies cereal: You'll need 6 cups and they should be crisp. I always give the box a little listen when shopping to make sure I hear that famous pop sound.
- Peanut butter: Get 1 cup ready. I stick with regular smooth peanut butter from the store. The natural kind tends to separate too much for this mix.
- Milk chocolate chips: 1 cup will do. I've tried so many different brands in my kitchen, and honestly, they all work great.
- Powdered sugar: 1 ½ cups. Run it through a strainer if you see clumps, because nobody wants bumpy coating.
Let's Get Started
- Begin With The Chocolate Mix
- Take your pan and set it on low flame. Add your peanut butter and chocolate chips at the same time. Keep mixing until it all turns smooth. Watch it carefully - I once ruined a batch years ago when I answered the phone and forgot about it.
- Mix In The Cereal
- Pour your Rice Krispies into your largest mixing bowl. Drizzle that warm chocolate-peanut butter mix all over. Stir everything together carefully so you don't smash the cereal.
- Add The Sugar Coating
- This part's a blast! Put everything into a big ziplock with the powdered sugar. My kids always want to help here - close it tight and shake it up until every bit gets covered in that sweet, powdery layer.
- Finishing Up
- Lay it all out on a cookie sheet or just dump it in a bowl. Make sure it cools completely before eating - I'm serious about this. If you hurry, you'll end up with sticky hands and a messy kitchen.
 Pin it
Helpful Tips I've Learned
After whipping this up countless times, I've picked up some handy tricks. Never use old cereal—it'll ruin your whole snack. Keep your burner on low when you're melting the chocolate and peanut butter—burnt chocolate tastes awful. Mix thoroughly so every piece gets coated. Let it cool all the way before adding sugar—I found this out the hard way. And really shake that bag like crazy for the best coating.
Try These Variations
We love playing with different versions at our house. Sometimes I use almond butter when my sister drops by—she can't get enough of it. Dark chocolate works really well if you want something fancier. For my friend Sarah's little one who can't have gluten, I make sure to grab gluten-free cereal. When my nephew visits, I make his with sunflower seed butter since he's allergic to nuts—it works perfectly. I'll even throw in tiny marshmallows or broken pretzels when I feel like changing things up.
When To Enjoy It
This mix fits so many different occasions. I always take a huge container to our block parties—it vanishes quickly. For school lunches, I pack small portions in zip bags. It goes great with cold milk—that's my favorite afternoon break combo. When my book group comes over, I set it out with some fresh strawberries, and everyone goes for it.
Storage Solutions
Keep your treats in a sealed container on the counter—they'll stay crunchy about a week. Stick them in your fridge to last longer—around two weeks tops. I've frozen batches for up to three months—just let them warm up before snacking. If they get soft, spread them on a baking sheet, warm them at 250°F for 10 minutes, then cool them down—they'll get crispy again.
 Pin it
Make It Your Own
The coolest part about this snack is customizing it. Sometimes I toss in tiny chocolate chips for more chocolatey goodness. My daughter gets excited when I mix in bright candy pieces. Just last week, I tried dark chocolate with cashew butter—so worth trying. Get creative with toppings like smashed graham crackers, toffee bits, or whatever catches your eye while shopping. This mix is pretty flexible, so feel free to play around.
Frequently Asked Questions
- → What kind of chocolate works best?
Feel free to use milk, dark, or white chocolate chips. Each type changes the flavor slightly but keeps the texture consistent.
- → How do I keep them fresh longer?
Put them in a sealed container at room temperature. They'll last about 5 days if kept airtight.
- → What can I use instead of peanut butter?
Swap it out for almond or cashew butter. Just go for the smooth variety to keep the texture right.
- → Why are they sticky after making?
Sticky treats usually need more powdered sugar. Toss them back in a bag, sprinkle extra sugar, and shake gently to fix it.
- → Can I prep these a few days ahead?
Make them 2-3 days before your event. Use a sealed container, and add a fresh sprinkle of powdered sugar before serving if needed.
Conclusion
Crunchy, chocolatey Rice Krispie desserts mixed with peanut butter and powdered sugar. These easy no-bake treats are ready in no time—perfect for parties or quick snacks.