
 Pin it
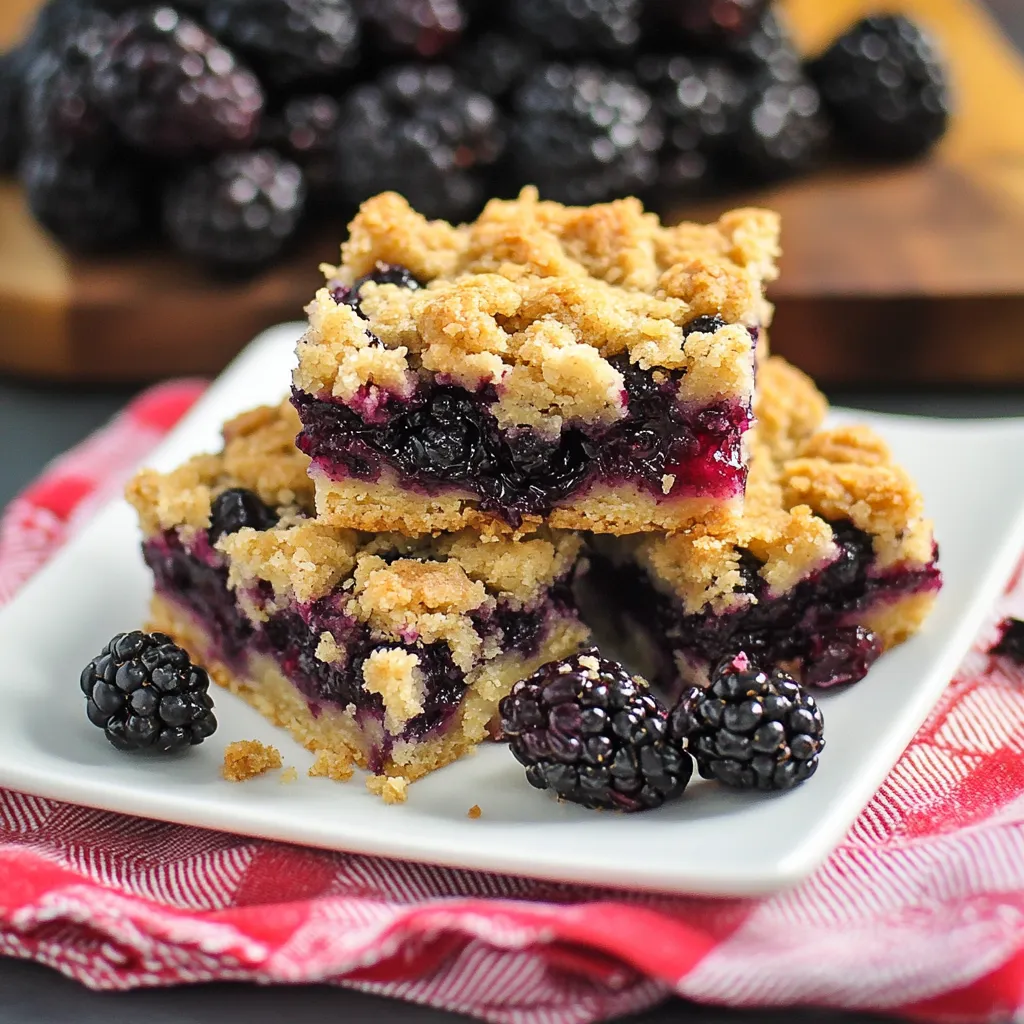
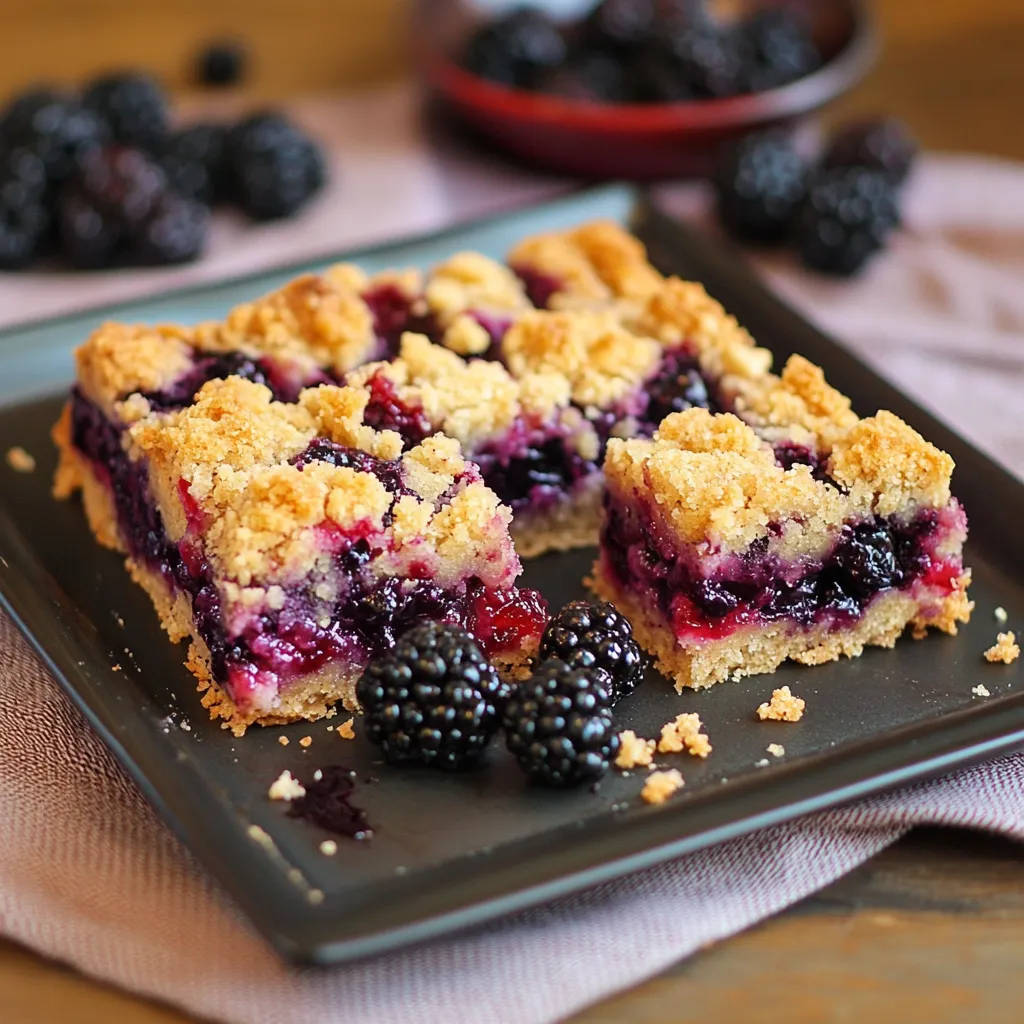
Juicy blackberries layered between buttery, crumbly dough create a mouthwatering treat that captures the true spirit of summer in every taste. These blackberry bars perfectly balance tangy fruit filling with sweet, soft crust, making them just right for any gathering, from casual outdoor meals to fancy dessert spreads. Using the same mixture for both bottom and top layers makes baking easier while delivering incredible taste.
I brought these treats to our block party last week, and they were gone in seconds. Even my neighbor's fussy teen who "can't stand fruit desserts" wanted to know how I made them. There's something wonderful about how the berries cook down while baking to make little pockets of jam-like goodness throughout.
Key Ingredients and Smart Picks:
- Blackberries - Go for fat, dark-colored ones. When buying fresh, they should give slightly when touched but not be mushy
- Butter - Stick with unsalted to manage the saltiness yourself; make sure it's fully melted but cooled down
- Brown Sugar - Either light or dark works fine; dark gives more of a caramel flavor
- Almond Extract - You can skip it, but it really adds nice background flavor that goes great with the berries
- Cornstarch - You absolutely need this to thicken everything up; without it, your bars will turn out soggy
 Pin it
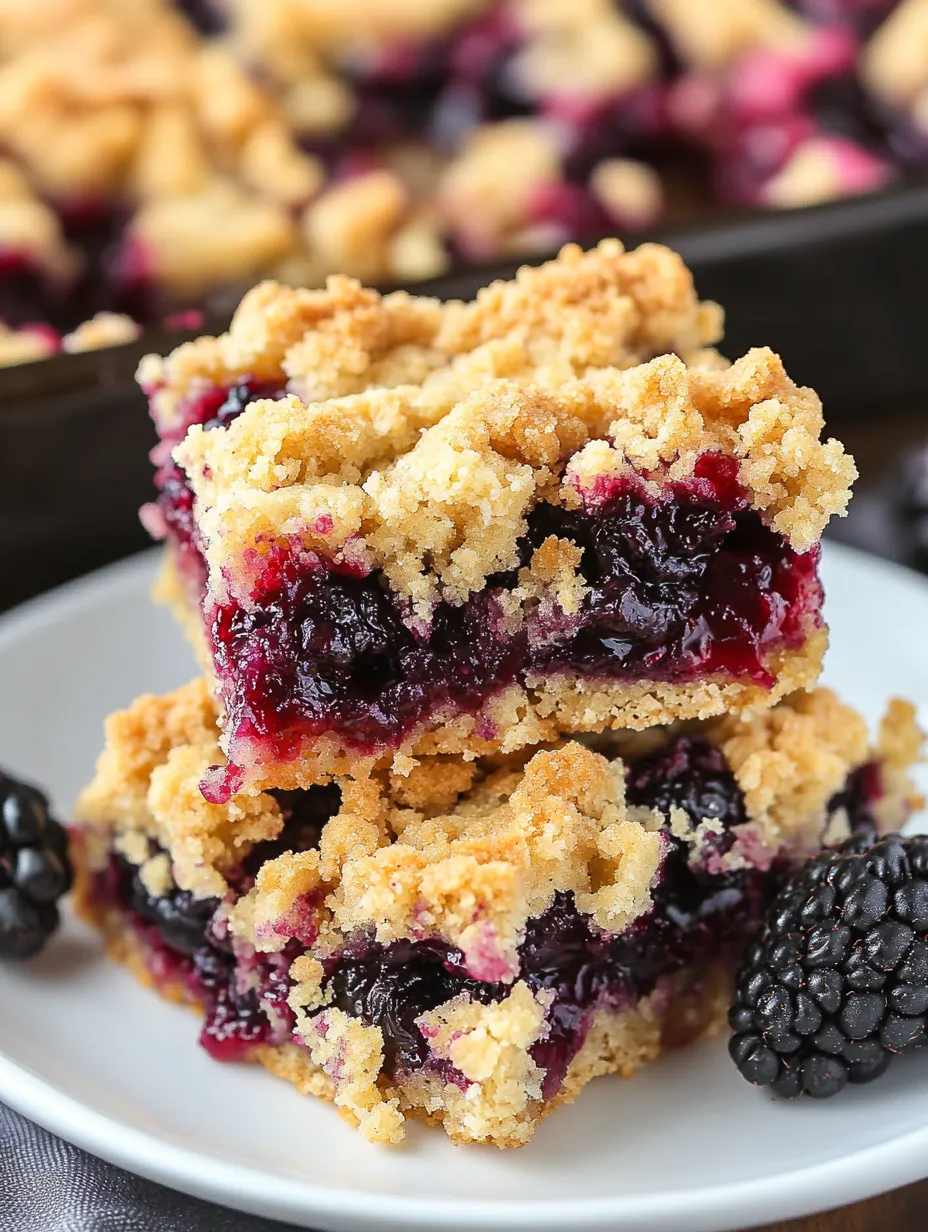
Complete Baking Instructions:
- 1. Getting the Bottom Layer Just Right
- - Push the dough down firmly across the whole pan
- Try using a measuring cup bottom to flatten it out
- Look for any spots that seem too thin where filling might leak through
- Make a small ridge around the edges to hold in the filling - 2. Nailing the Berry Filling
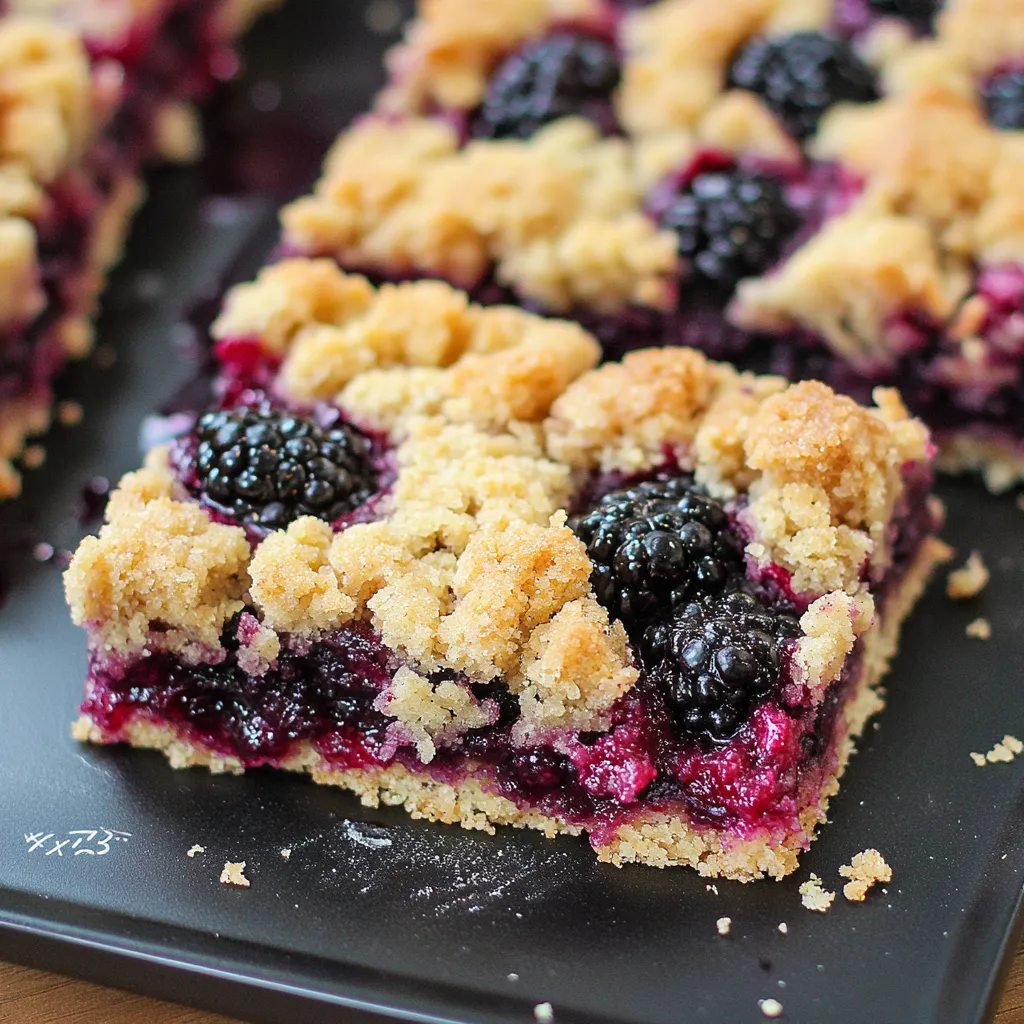
- - Mix berries with sugar combo gently so they stay whole
- Put filling all over but leave a tiny edge around the sides
- Squish any super big berries so everything cooks the same
- Don't stress if juice pools up as it'll get thicker during baking - 3. Topping It Off Perfectly
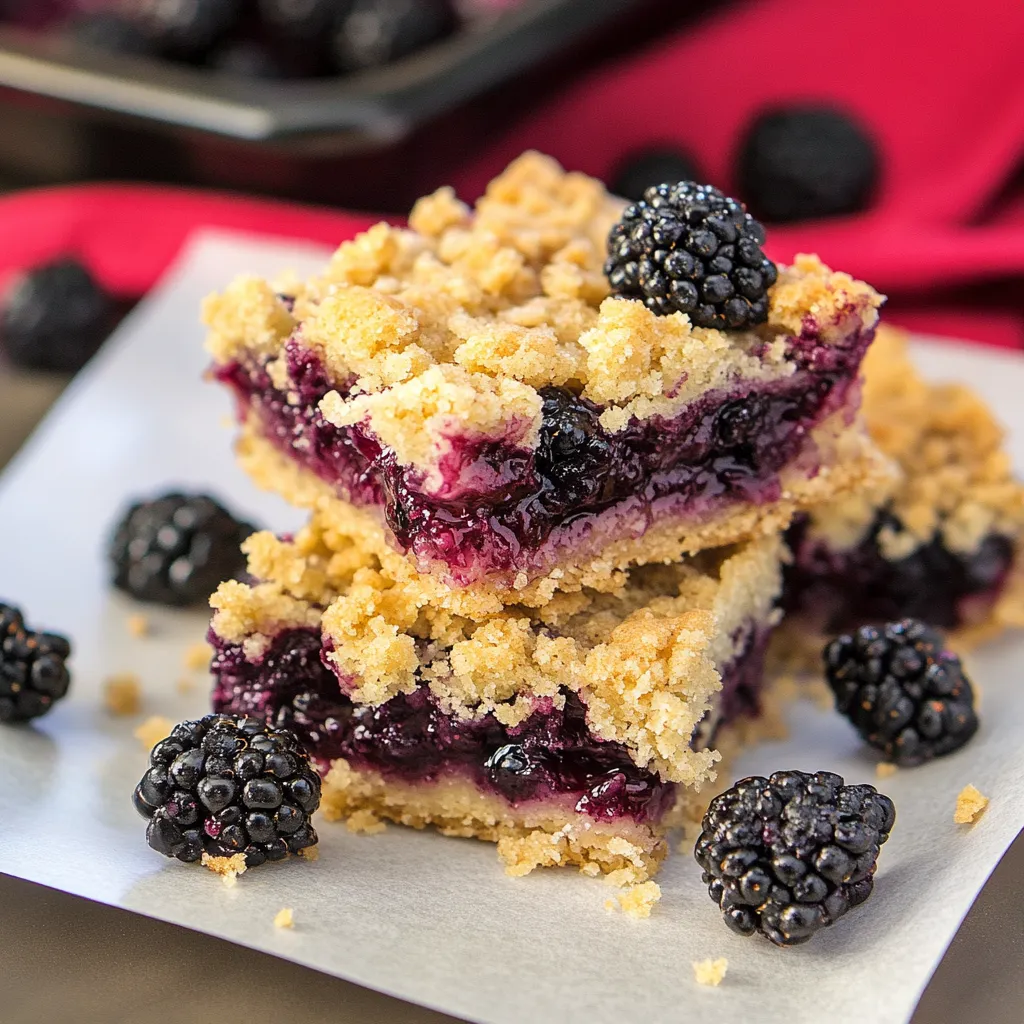
- - Keep some bigger and smaller chunks for a fun texture
- Drop the crumbs from up high to spread them out better
- Don't pat down the topping after sprinkling it
- Keep an eye on it at the end so it doesn't get too brown
 Pin it
My grandma always added a tiny bit of cardamom to the crust mix, a little trick that brings in a mystery flavor nobody can quite figure out. Watching her make these taught me you can't rush things - letting them cool all the way really does help them cut more cleanly.
I make these bars every time berries are in season. Each summer, I grab wild blackberries growing on our favorite hiking paths, saving them just for this treat. There's something extra tasty about using berries I picked myself that makes eating them even more enjoyable.
Smart Baking Advice:
- Put the bars in the fridge for half an hour before cutting to get cleaner edges
- Put parchment paper in the pan with extra hanging over the sides so you can lift everything out easily
- Warm your knife under hot water and dry it off for the neatest slices
Making these blackberry bars takes me back to berry picking trips with my kids, their fingers and faces all purple from the juice. The recipe isn't complicated, but these memories make baking them so much fun. Whether you pick your own berries or grab them from the store, these bars hold summer's flavor in every bite.
 Pin it
Tasty Seasonal Twists:
Throughout the year, I've tried different versions of these bars as the seasons change. During late spring, adding some lemon zest to the crust makes everything taste fresher. In winter months, when I use frozen berries, I add a bit more cornstarch (about ½ teaspoon extra) to handle the extra juice. My best version happened by accident - I ran out of blackberries and threw in some raspberries too, making an amazing berry mix that my family now asks for at every get-together.
Secrets for Perfect Texture:
Getting that ideal texture comes down to watching your temperatures. Your melted butter needs to be warm enough to mix well but not so hot it cooks the eggs. I've learned from making these many times that cooling the bars fully at room temp, then chilling them for at least an hour, gives you the cleanest cuts. When it's time to eat them, I let them sit out for about 15 minutes first so all the flavors wake up.
Prep Ahead and Storage Tips:
These bars fit into busy days if you plan ahead. You can make the crust mix up to a day before and keep it in the fridge. Just let it warm up for about half an hour before pressing it into the pan. If you want to store them longer, I've found that wrapping each bar in parchment paper before freezing keeps them from sticking together and lets you grab just what you need.
Fun Serving Ideas:
While these bars taste great on their own, I love finding new ways to dress them up. For dinner parties in summer, I serve them slightly warm with a scoop of lavender ice cream on top. At brunch, I pair them with mascarpone cheese whipped with honey. My sister-in-law loves having them with her morning coffee. For kids' parties, I cut them smaller and arrange them with fresh berries and mint leaves for decoration.
Picking the Best Berries:
Choosing good berries makes a huge difference in how your bars turn out. For fresh blackberries, look for ones with deep color that still feel firm. If they're too soft, they'll turn to mush while baking. I've found using a mix of fully ripe and slightly underripe berries gives you the best sweet-tart balance. Don't wash your berries until right before using them, as extra water can make your bars soggy.
Fixing Common Problems:
After years of making these bars, I've run into and fixed lots of issues. If your filling seems too watery, try adding ½ tablespoon more cornstarch. For crumble that's falling apart, cool the extra mixture in the fridge for 15 minutes before putting it on top. If the edges brown too fast, loosely cover the pan with foil for the last 10-15 minutes of baking time.
Making Moments Special:
These bars have a way of turning ordinary days into something more. I've packed them in cute boxes as teacher gifts, sent them to college kids in care packages, and even served them at a backyard wedding. They work for so many occasions and always make people happy.
 Pin it
Lighter Versions That Still Taste Great:
Though these bars are definitely a treat, I've made some healthier changes without ruining the taste. Cutting the sugar by ¼ cup in both the crust and filling lets the berries' natural sweetness shine. For folks avoiding gluten, I've used cup-for-cup gluten-free flour with good results, though the bars do come out a bit more delicate.
The Kitchen Science at Work:
Knowing what each ingredient does helps you get great results every time. The cornstarch doesn't just thicken the filling but creates that perfect jammy texture by mixing with the berry juices. The melted butter in the crust makes those crispy edges everyone fights over, while eggs give structure and richness. Even the almond extract plays a big role, making the berry flavor pop with its subtle bitter notes.
These blackberry bars have become more than just another recipe I make - they represent the joy of sharing homemade food with people I care about. Whether you bake all the time or are just starting out, these bars combine simple steps with impressive results. The smell while they're in the oven always brings people into the kitchen, and that first bite never fails to make everyone smile.
Frequently Asked Questions
- → Can frozen berries be used?
- Absolutely, both fresh and frozen blackberries are great for this dish.
- → How should I keep leftovers?
- Pop them in an airtight box; store at room temp for 2 days or in the fridge up to 5 days.
- → Are other berries okay?
- Sure, blueberries, raspberries, or a mix of different ones will work just as well!
- → Why bother with parchment?
- It helps you pull the bars out cleanly and slice them without hassle.
- → Can I freeze them?
- Yes, wrap them well and they'll last up to 3 months in the freezer.