
 Pin it
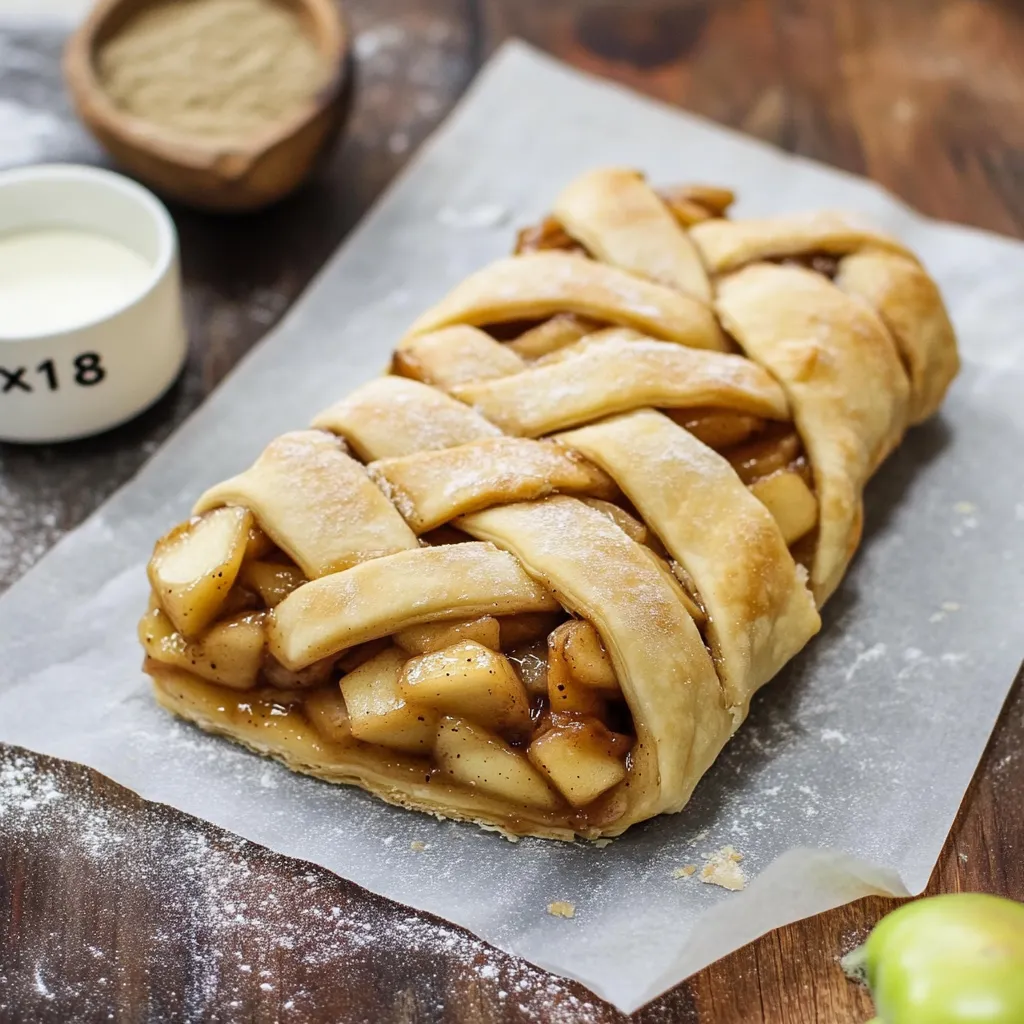
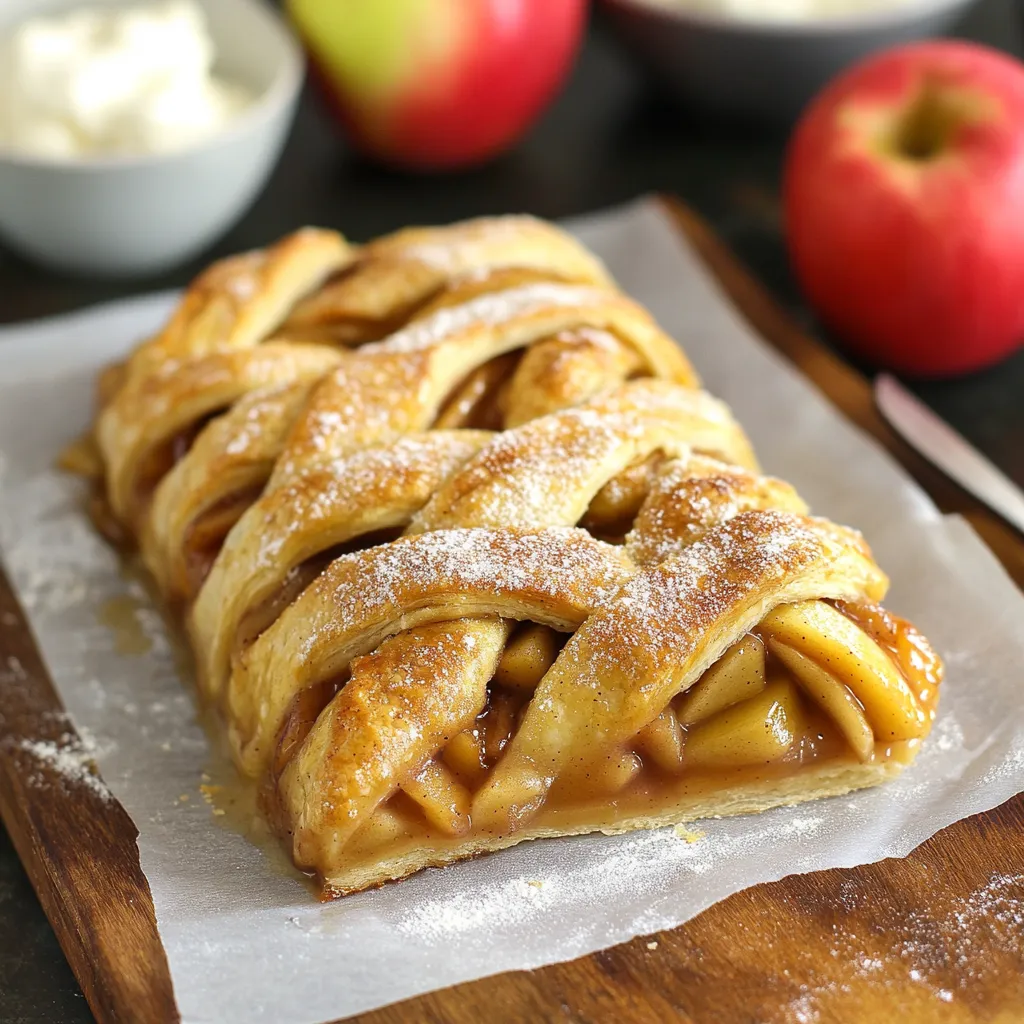
The braided apple pie takes your ordinary apple dessert and turns it into a fancy showpiece that's both mouthwatering and gorgeous. Its crumbly, rich crust intertwines above a seasoned apple mixture, giving you an amazing blend of textures and autumn tastes in every bite. This version perfectly mixes old-school comfort with eye-catching style.
I've baked this pie so many times for family get-togethers, and people always gasp when I bring it to the table. My niece even wanted it instead of cake for her birthday last autumn - that's how much our family loves this special treat.
Key Ingredients and Smart Choices:
- Apples - Go for crisp, sweet-tart kinds like Granny Smith or Honeycrisp. Their firmness works great during baking, and their tanginess balances out the sweet parts
- Flour AND cornstarch - This pair makes magic happen; cornstarch gives clear thickness, while flour adds structure
- Brown sugar - Brings richness and hints of caramel that work wonders with the apple taste
- Butter - Stick with unsalted so you can control the saltiness; better butter means tastier filling
- Coarse sugar - Worth using on top; it adds both a nice crunch and pretty sparkle
 Pin it
Simple Instructions to Follow:
- Whipping Up the Filling
- Let your butter sit out first so it melts smoothly
Slice your apples into equal 1/4-inch pieces for even cooking
Mix gently but often while cooking to stop sticking
When you see juice coming from the apples, that's your cue to add thickeners - Getting the Braid Right
- Keep dough cool but bendable; if it gets too soft, stick it in the fridge for 15 minutes
Use a measuring tool for even strips
Move fast but carefully when braiding so the dough stays cool
Don't worry if filling leaks a bit - it adds charm - Baking it Just Right
- Put your rack in the middle of the oven for best results
Turn the pan around halfway to get even browning
Look for golden color and bubbling juice to know it's done
Let it cool fully on a rack so the bottom stays crisp
 Pin it
Last autumn, I tried adding just a tiny bit of cardamom to the spices and it made everything taste better. My grandma, who's been making pies for over 60 years, now loves this trick and says it reminds her of her mom's pies from their old farmhouse kitchen.
Peeling and cutting apples for this pie has become something we look forward to every fall. The sweet smell of spiced apples always brings family members wandering into the kitchen, everyone hoping they'll get the first piece.
I find the way pie fillings thicken so interesting - I've figured out through lots of tries that letting the filling cool all the way makes for cleaner cuts and better texture when you serve it.
Handy Baker Tricks:
- Put the finished pie in the freezer for 15 minutes before baking to help keep the braid shape
- Make sure to brush egg wash into all the small spaces for the most beautiful golden color
- Don't throw away apple scraps - use them to make a quick fruity tea
This braided apple pie taught me that sometimes the recipes we love most come from giving classics a new twist. While it might seem complicated, making this pie is actually quite relaxing, and the results always justify the extra work. Seeing how happy people are when they look at and taste this pie makes all the careful weaving and precise cutting worthwhile.
Tasty Combinations and Serving Ideas:
While ice cream and pie go hand in hand, I've found some surprising matches that make this dessert even better. Try pouring warm salted caramel sauce over top for an amazing hot-cold contrast. For something different, add a piece of sharp cheddar cheese - this sweet-salty mix is big in New England and worth a try. My brother-in-law wasn't sure about this idea at first, but now he won't eat his apple pie any other way.
Adjustments Through the Year:
I enjoy changing this recipe as the seasons shift. In early autumn, when we first get apples from our local farm, I go light on spices to showcase their fresh taste. By winter, I add more warming spices and extra brown sugar for a cozier flavor that's perfect on cold days. During holiday time, a little splash of bourbon in the filling adds grown-up warmth that always gets compliments at family dinners.
Fixing Common Problems:
After years making this pie, I've run into and fixed various issues. If your dough gets warm while braiding, just stop and cool it in the fridge for 15 minutes - cold dough is much easier to handle. If your filling seems too juicy, add another teaspoon of cornstarch to avoid a soggy crust. And remember, when your braid doesn't look perfect, that's okay - those handmade touches often make it taste better. My messiest pies have gotten the most praise, maybe because you can tell they're made with care.
Custom Touches:
What's great about this recipe is how you can change it up. Home bakers add all sorts of things - dried cranberries for tang or toasted nuts for crunch. My aunt once mixed in thin pear slices with her apples, creating such an amazing flavor that everyone wanted her recipe. Feel free to try different apple types or spice blends until you find what works best for you.
Picking the Best Apples:
Your pie's success mostly depends on which apples you pick. I look for ones that feel heavy, since that means they're juicy. I like mixing varieties - maybe firm Granny Smiths for structure with sweeter Honeycrisps for flavor depth. Stay away from apples with soft spots, as those parts get mushy when baked. A trick from my local orchard owner: gently press the bottom of the apple - if it gives at all, it's not great for baking.
Getting Organized:
Being prepared makes this recipe much easier. I've worked out a system that helps everything go smoothly. The night before, I get all my stuff together so I'm not missing anything when I need it. I also mix my egg wash and measure dry ingredients ahead of time. This prep turns what might seem like a big project into a peaceful baking session. There's something calming about peeling and slicing apples when you're not in a rush.
 Pin it
Building Family Stories:
This pie has grown beyond just dessert in our family - it's become a way to make memories. My teenage daughter now helps me in the kitchen, learning how to braid dough and pick spices. We share stories, laugh together, and sometimes mess up (like when we forgot to set the timer and had to trust our noses to save the pie). These kitchen moments, working together, have become just as valuable as the pie itself.
New Takes on Old Favorites:
While this braided version might seem different from classic apple pie, it keeps the heart of the traditional dessert while adding its own flair. The familiar smells of butter, apples, and cinnamon still fill the kitchen, but the look brings a pleasant surprise that makes it feel extra special. Many of my friends have started making this recipe for their own family gatherings, each adding their own spin to create new traditions.
Keeping It Fresh:
Storing your pie right means every piece stays as good as the first. If you'll eat it within two days, keep it at room temperature under a dome to maintain that perfect crust. For longer storage, wrap single slices in parchment before freezing - this way you can thaw just what you want. To warm it up, put a slice in a 300°F oven for 10-15 minutes to bring back the flaky crust. A clever tip from my friend who's a pastry chef: put a few apple slices in the oven alongside the pie while reheating to bring back that fresh-baked smell.
More Than Just Dessert:
This pie works for more than just after dinner. I've served it at brunch with sharp cheese and hot coffee, where it stands out as something special. Leftover pieces (if you have any) make an amazing breakfast when warmed slightly and topped with some Greek yogurt. The protein from the yogurt balances the pie's sweetness for a surprisingly satisfying morning meal that even my health-conscious sister gives a thumbs up.
Frequently Asked Questions
- → Can I swap for homemade crust?
- Absolutely! Your favorite homemade crust will work just fine.
- → Why mix apple types in the filling?
- It gives a mix of sweetness and tartness, making the flavor more balanced.
- → Can I prep this in advance?
- Definitely! Make the filling a day ahead and keep it chilled until you're ready to put it together.
- → What’s the point of cooling the filling?
- It keeps the crust’s butter from melting fast, helping the braid hold its shape well.
- → What’s the best way to store the rest?
- Keep it covered at room temp for 2 days, or refrigerate it for 4 days max.