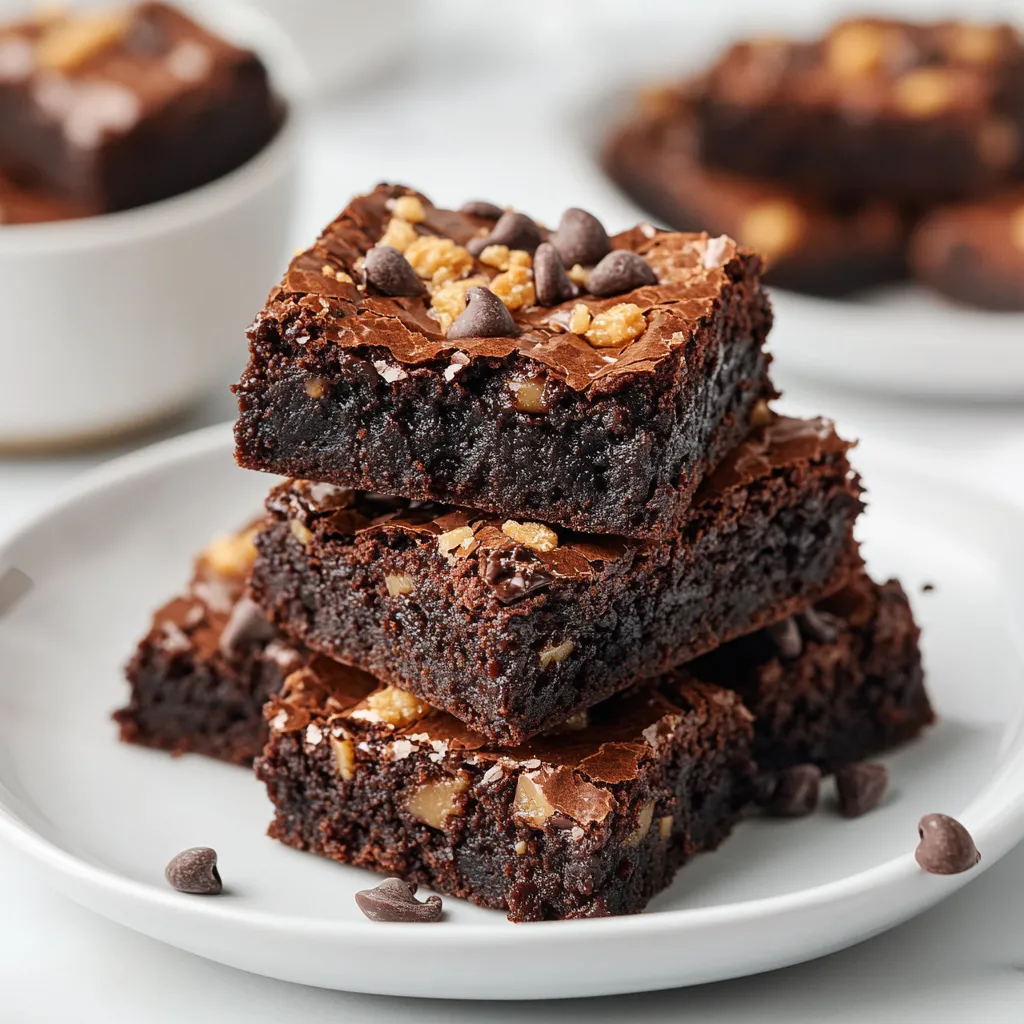
Say hello to your dream dessert! These fudgy brownies are packed with crunchy toffee bits and chocolate pieces for the ultimate chocolate lover's treat. Made with Dutch cocoa for intense flavor, they’re super chewy and irresistibly rich. Just grab a whisk and a bowl—no mixer is needed! Chill them for extra chewiness or enjoy them plain and gooey. Whether you use store-bought or homemade toffee, these brownies will disappear from the plate faster than you think!
Fudgy chocolate inside meets crispy, crackling exterior with hints of buttery toffee scattered throughout - that's what makes a knockout toffee brownie. After baking countless batches over the years, I've figured out it's all about getting the mix of ingredients just right and watching your timing. Every time I make them, I learn something new about how chocolate and sugar work their magic together.
I took these to my friend's place last weekend for dinner, and guess what? They stashed away two pieces to eat for breakfast! The trick? Knowing how different sugars and fats team up for that perfect brownie feel.
Key Ingredients and Shopping Advice
Rich cocoa powder: Go for Dutch-processed for more intense flavor
Oil and butter: They're vital for the right mouthfeel
Toffee chunks: Look for fresh ones with buttery snap
First things first, get your pan ready. This does more than stop sticking - it helps your brownies cook the same all over. Make a parchment paper hammock that hangs over two sides so you can lift them out easily. A quick spray of cooking oil keeps everything from sticking.
Step 2: Making Your Mix
Melt your butter just until it turns liquid - not hot, since too much heat ruins the texture. Mix it with oil and both kinds of sugar, and whisk until it looks a bit grainy but mixed through. This first mix sets up the famous brownie texture we're going for. Using both regular and brown sugar isn't just about sweetness - it helps get the moisture right and creates that famous shiny top.
Step 3: Getting the Texture Right
Here comes an important part - adding eggs and vanilla. Whisk hard until the color gets lighter and the mix thickens up a bit. This step puts air in and helps make that paper-thin top layer that brownies are known for. You'll see it change from grainy to smooth and shiny.
Step 4: Adding Dry Stuff
Be gentle with the flour mix - shake your cocoa powder and cornstarch through a sieve right into the bowl so there aren't any lumps. Cornstarch is our secret for making them tender. Fold softly until you can't see any flour streaks, but don't mix too much. This careful touch keeps them fudgy instead of cakey.
Step 5: Mixing in the Goodies
Add your toffee bits and chocolate chips with a plan: keep some for the top, spread them evenly in the batter, don't over-stir, and make sure they're all through the mix.
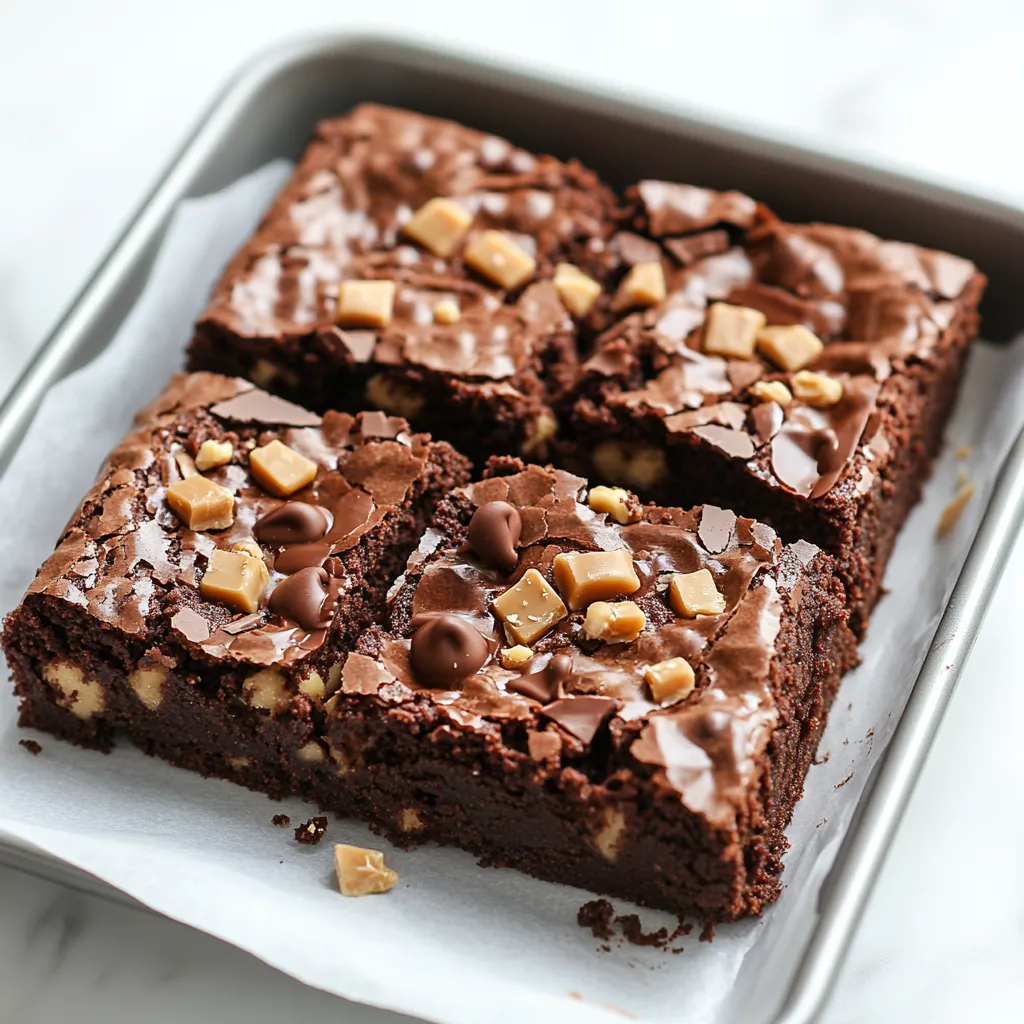
Put your batter in the pan with care, using a spatula to smooth it out evenly. Taking an extra minute to level it means they'll bake the same all over. Scatter your saved toffee bits and chocolate chips on top - they'll turn into gorgeous puddles of chocolate and caramel while baking. Getting your oven to exactly 350°F matters a lot here. It creates just the right spot for crisp edges and gooey centers.
Checking if They're Done
Telling when brownies are just right takes watching for several signs. Look for slight puffing around the edges and a set, shiny top. When you stick a toothpick in, brownies are different from cake - you want some moist bits stuck to it. If it comes out clean, they're overbaked. Keep an eye out for:
Edges pulling slightly away from the pan
Middle feels firm but still gives a little
Top looks glossy with cracks
They smell deeply chocolatey
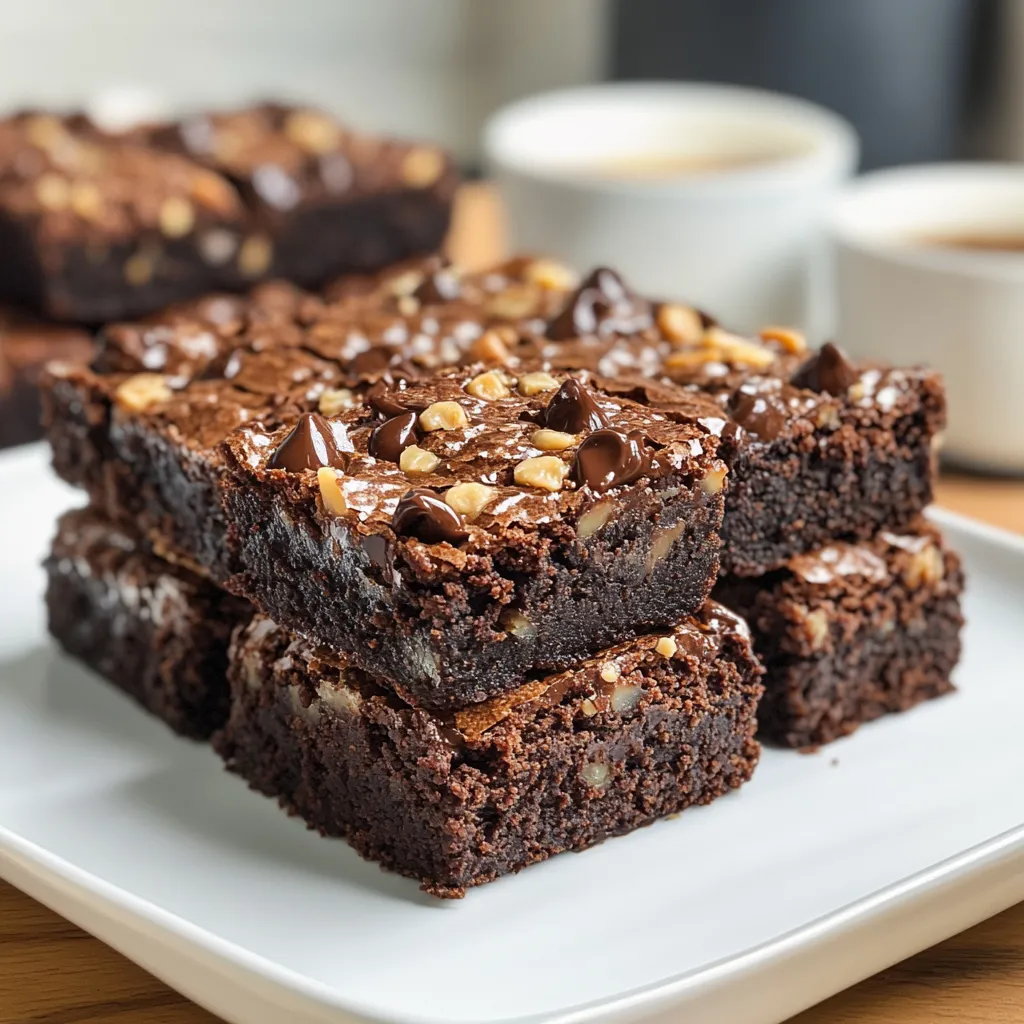
Cooling Them Down
You'll need to wait patiently while they cool. Let them sit completely in the pan on a wire rack. This slow cooling lets them set up right while keeping that perfect fudgy texture. For the neatest cuts, pop them in the fridge for at least 30 minutes before slicing.
Keeping and Serving Tips
I've learned over many years of brownie baking that storing them right makes them even better. Keep them in a sealed container with parchment paper between layers at room temperature. If you want them extra fudgy, stick them in the fridge - the cold makes the chocolate taste stronger and gives them an almost truffle-like bite. Let them warm up to room temperature before eating for the best flavor.
Frequently Asked Questions
→ Can I swap Dutch cocoa with natural cocoa?
Definitely! Dutch cocoa adds smoother depth, but natural cocoa will still work fine without changing anything else.
→ How do I know if they're ready?
After around 30 minutes, poke with a toothpick—you want moist crumbs, not gooey batter. Prefer firmer brownies? Add another 5-7 minutes of baking.
→ What's the best way to store them?
Pop them in a sealed container—good for 3 days at room temp or 5 days in the fridge. Bonus: Store them cold for an extra chewy texture!
→ Is this recipe too sweet?
If sweetness is a concern, switch to bittersweet or dark chocolate chips. Stick to the sugar amount though, or the texture might change.
→ Can I make my own toffee bits?
You bet! Store-bought works great, but homemade toffee pieces can add a personal touch. Just chop them small and mix in!
Chewy Toffee Chocolate Brownies
Decadent, chewy brownies filled with delicious chocolate pieces and rich toffee bits. Quick and easy to make, with a texture that'll keep you coming back for more!
Preheat your oven to 325°F and line a metal 8x8-inch pan with parchment paper. Leave a bit sticking out on the edges to help remove the dessert later.
Step 02
Microwave the butter in a big, microwave-safe bowl for about a minute to melt it. Stir in both types of sugar and let the mix cool until it’s just warm. Toss in the eggs, egg yolk, and vanilla, then whisk hard for 30 seconds. Finally, stir in the cocoa powder and oil until you’ve got a smooth blend.
Step 03
Grab a rubber spatula and gently fold in the salt, cornstarch, and flour until the batter just comes together. Stir about three-fourths of the toffee bits and chocolate chips into the mix, but save a little for sprinkling on top.
Step 04
Spread the batter evenly in the pan and sprinkle your saved chocolate chips and toffee bits over it. Bake for 30 minutes—look for a tester to come out with moist crumbs, not raw batter. If you prefer drier brownies, leave them in for 5-7 minutes longer.
Notes
You can swap with natural cocoa powder, but Dutch-process gives a softer and deeper taste.
Keep them in an airtight container for up to 3 days at room temp or 5 days refrigerated.
Chill them—it’ll make them even fudgier.
If less sweetness is your thing, try dark chocolate chips instead.
Tools You'll Need
8x8-inch metal baking pan
Parchment paper
Big microwave-safe bowl
Whisk
Rubber spatula
Allergy Information
Please check ingredients for potential allergens and consult a health professional if in doubt.

 Pin it
 Pin it
 Pin it