 Pin it
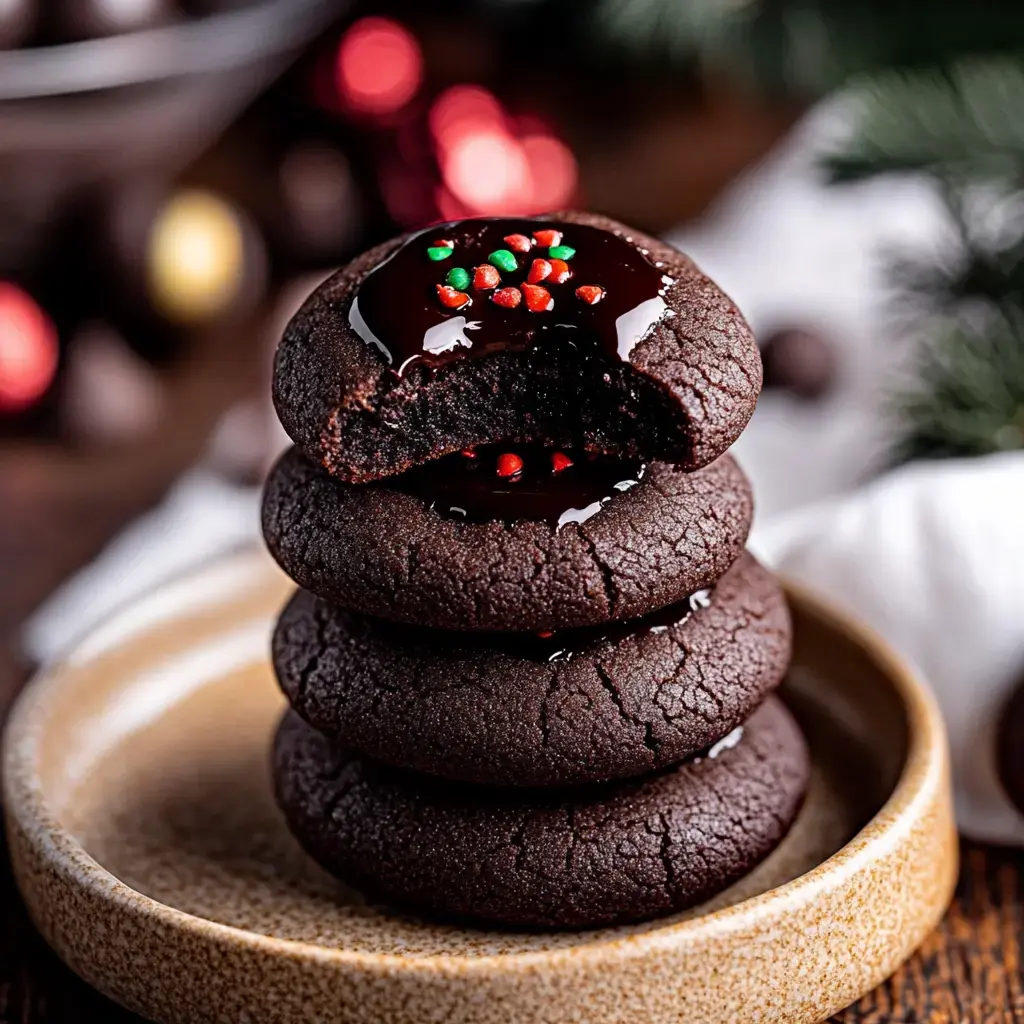
I began whipping up these dual-flavor thumbprint treats after stumbling upon this killer cocoa powder during a discount. My initial attempt was chaotic - chocolate ended up everywhere, even tangled in my hair, but that deep cocoa aroma had family members circling the kitchen like sharks. They've become our go-to family project now. The little ones adore poking holes with their thumbs, though sometimes you'll find multiple indentations because they get a bit too enthusiastic!
What Makes These Treats So Special
- Deep cocoa taste throughout
- Great family activity the children adore
- Seem impressive yet surprisingly simple
- Fill your home with dreamy chocolate scents
- Ideal for the chocoholics you know
- Wonderful for exchanging or presenting as gifts
- Maintain their gooey texture for several days if they stick around!
Your Ingredient List
- For The Cookies:
- Standard flour nothing special required
- Premium dark cocoa worth the extra cash
- Unsalted butter left out to soften
- Brown and white sugar combine for magic
- A few egg yolks warmed to room temperature
- Quality chocolate for centers melts nicer
- Thick cream creates ultra-silky filling
- Kitchen Gear:
- Measuring tools
- Large bowl for mixing
- Baking trays
- Little saucepan for chocolate melting
Cookie Creation Steps
- Prep Work
- Allow butter to naturally soften - I once tried speeding things up in the microwave and ended up with chocolate liquid instead of cookies. During this wait, combine the flour and cocoa. I grabbed a whisk this time around to avoid those pesky cocoa explosions!
- Creating The Base
- Whip butter with sugars until airy and pale - takes roughly 5 minutes with electric mixer or ages manually (my arm can testify). Add egg yolks one after another. Slowly incorporate dry ingredients unless you want to look like you work at a chocolate factory.
- Shaping Time
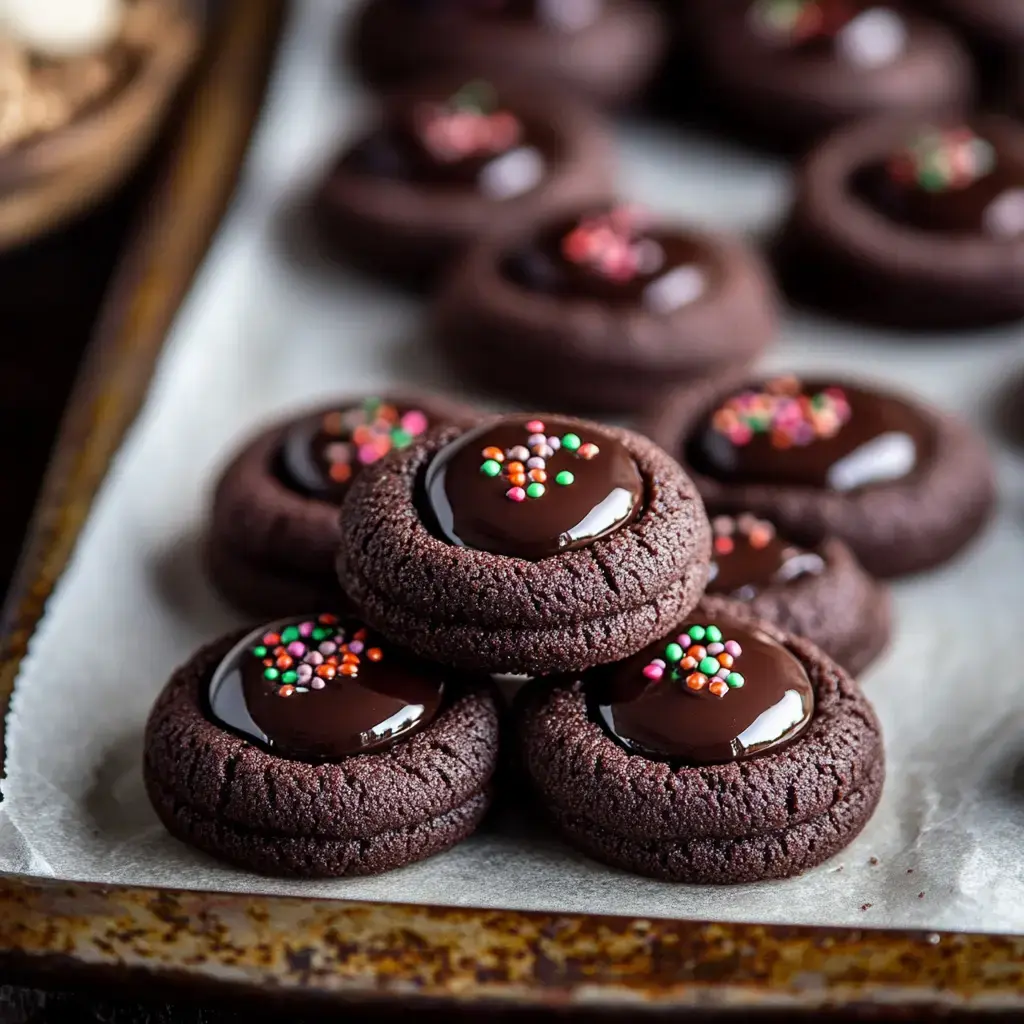
- Form dough into small spheres - roughly golf ball size works perfectly. Kids absolutely love this stage though dough mysteriously vanishes throughout. Create indentations in the center gently - tiny thumbs make the most adorable results!
- Into The Oven
- Bake for 10-12 minutes. Your place starts smelling incredible about now. Don't leave them in too long or they'll dry out - slightly underdone beats overdone any day.
- Chocolate Center Prep
- As cookies cool down, prepare your chocolate filling. Warm cream until tiny bubbles form then pour onto chocolate pieces. Let it sit a couple minutes then mix until glossy. If it looks chunky just keep stirring and it'll come together.
- Finishing Touches
- Add chocolate mixture to each indentation. Try to save some for others while it sets. Tossing some sprinkles on top makes them extra attractive if you can find them before the kids use them all for 'artistic purposes'.
 Pin it
Helpful Tricks I've Learned
I've picked up some handy shortcuts after making these countless times. Eggs at room temperature mix in so much better than cold ones. Always chill your dough if you want shapely cookies or they'll spread across the entire tray. When thumbprints puff up during cooking, just push them down again while they're still warm. And maybe hide your cookies somewhere unreachable if you want any left for tomorrow - even our highest cabinet isn't safe from my sweet-toothed bunch!
Try Different Variations
I enjoy experimenting with alternative fillings. Sometimes I'll use white chocolate inside for a stunning contrast. Once tried a peanut butter center - the kids went absolutely wild. Adding a tiny bit of mint extract to the chocolate makes them taste like fancy dinner chocolates. I've even stuffed some with caramel once which was a bit messy to eat but nobody seemed to mind!
Storage Solutions
They'll stay tasty in an airtight container for about seven days if anyone can resist them that long (never happens at my place). Put wax paper between layers so they don't stick. You can freeze the unfilled cookies for a month or two and add filling after thawing. They're perfect for prepping ahead for gatherings or when you know a cookie craving will strike - which is basically every day in our home!
Frequently Asked Questions
- → Why carefully measure flour?
Too much flour makes cookies dry and heavy. Scooping packs the flour, so spoon and level or weigh it to prevent mistakes.
- → What's the point of chilling?
Chilling stops the cookies from spreading and keeps their thumbprint shape intact. Skip it, and you'll get flat cookies.
- → Why adjust cookies fresh out of the oven?
Hot cookies are flexible enough to fix their shape or dents. A round cutter works great to neaten them up fast.
- → Can ganache be prepped early?
Sure, but it might thicken as it cools. Give it a gentle heat-up if needed, but don't overdo it or it'll separate.
- → Why use Dutch cocoa?
Dutch cocoa gives darker color and smoother taste. Regular cocoa works too, but it changes the final look and flavor.
