
 Pin it
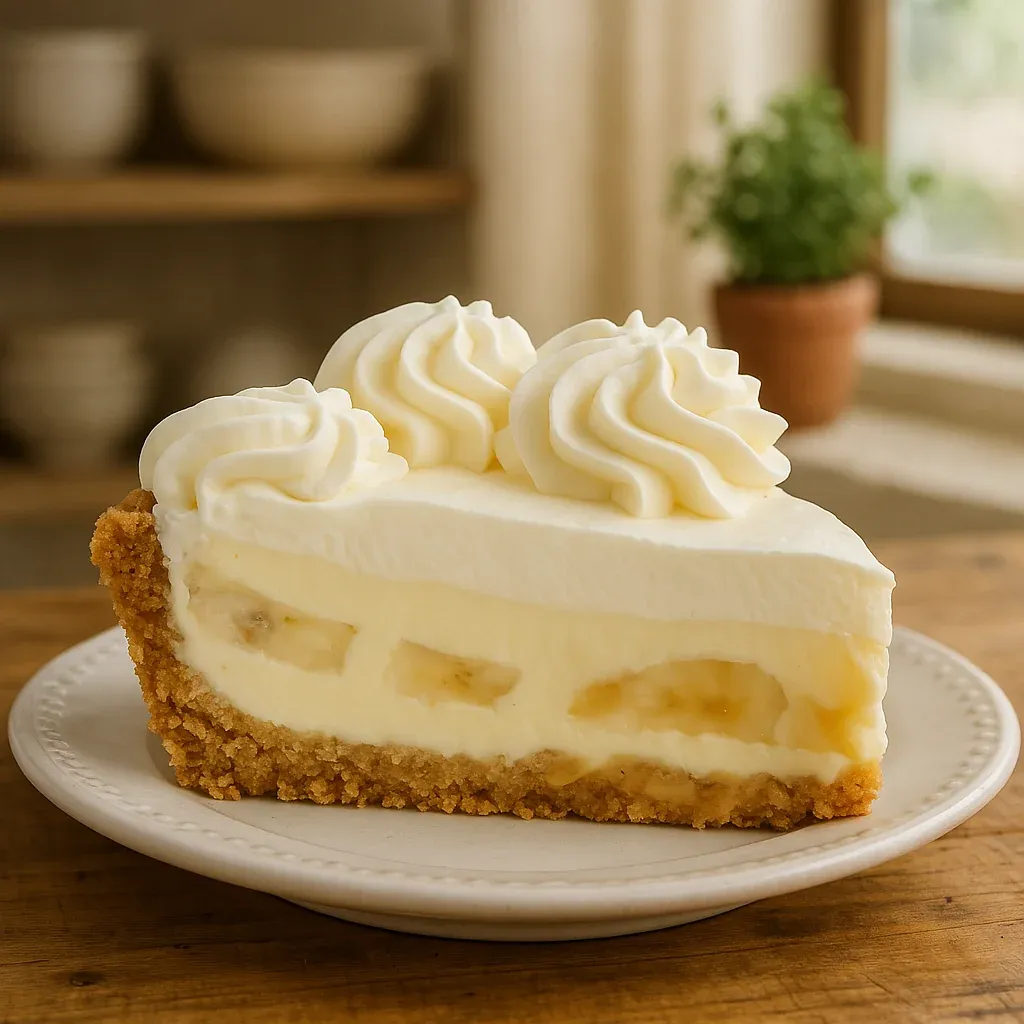
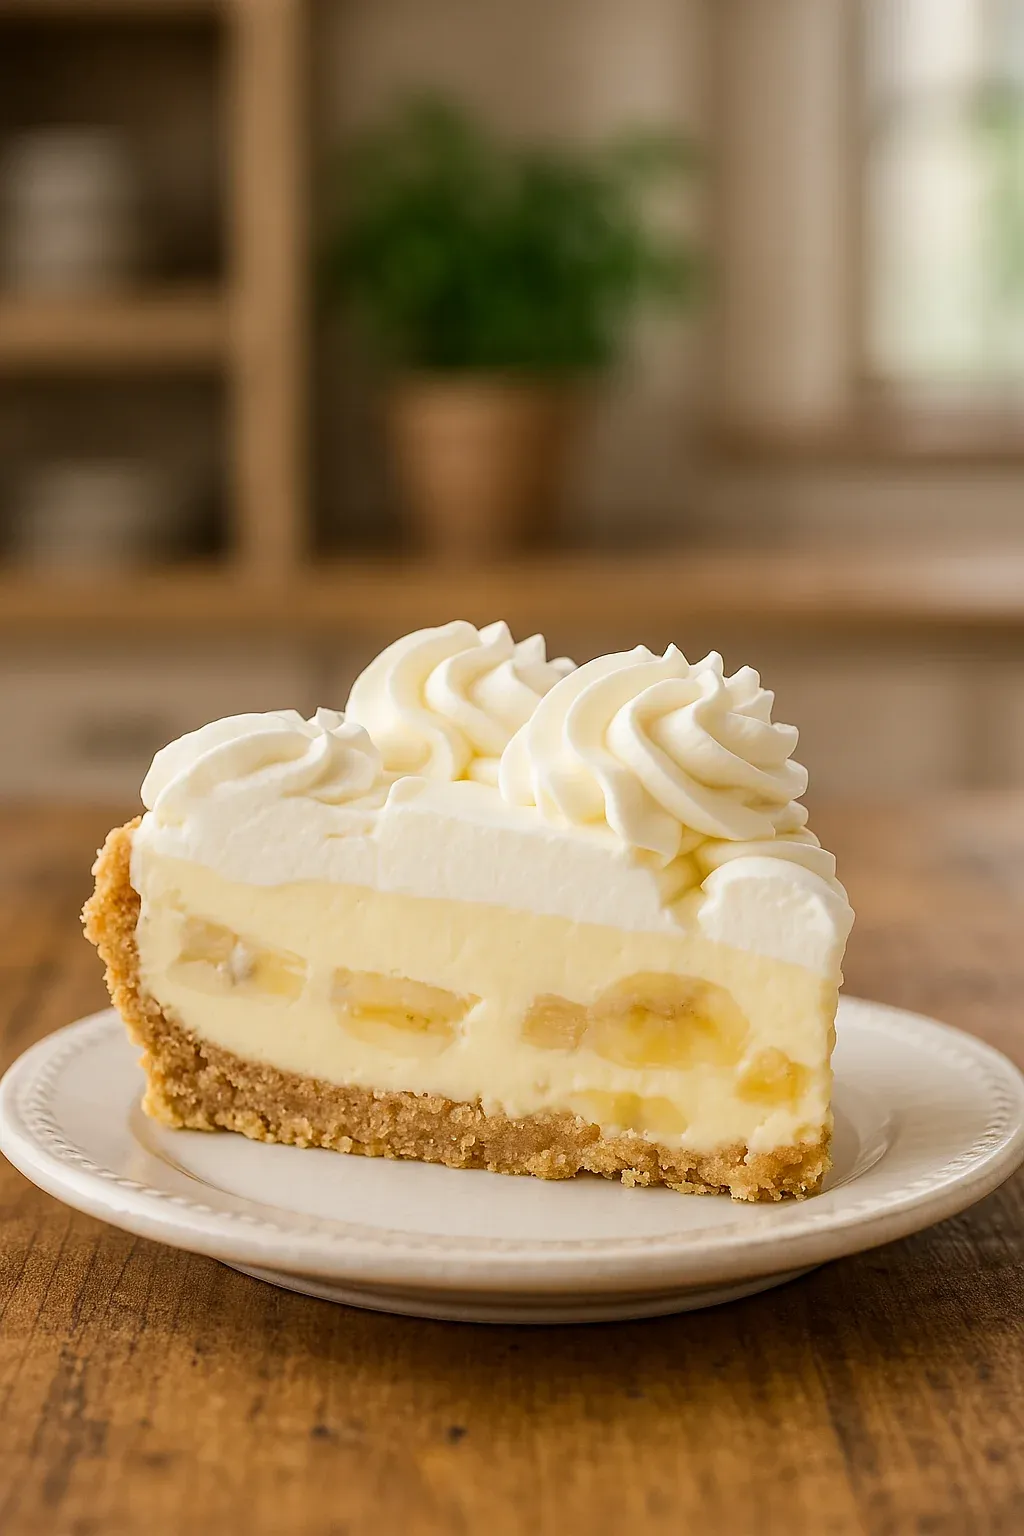
This velvety banana cream pie has turned into my family's top pick for celebrations. Mix smooth vanilla custard with ripe bananas, all tucked inside a crunchy vanilla wafer base and you've got an unforgettable dessert that brings back memories while still feeling fancy.
The first time I served this pie, my family thought I'd bought it from a fancy shop. Adding fresh whipped cream makes it way better than anything from a store, so it's great for times when you want to impress without needing tons of baking know-how.
Ingredients
- Vanilla wafer cookies: They make a fantastic base with just enough sweetness that goes perfectly with bananas
- Brown sugar: Gives the crust a rich taste with hints of molasses
- Cornstarch: This is what makes your filling thick and smooth
- Egg yolks: They add richness and help make that perfect pudding texture
- Heavy cream: Brings a fancy smoothness you just can't get from box mixes
- Fresh bananas: The main attraction, pick ones that are yellow with just a few brown spots
- Lemon juice: Keeps your banana slices looking fresh instead of brown
Step-by-Step Instructions
- Create the Perfect Crust:
- Turn vanilla wafers into fine crumbs, stir in brown sugar and melted butter until everything looks damp. Push firmly into your pie dish using a measuring cup to flatten it evenly. Bake at 350°F for 13 minutes until it's set but still light colored.
- Make the Silky Filling:
- First mix sugar, cornstarch and salt in a heavy pot, then add egg yolks and milk products. Doing it this way stops lumps from forming. Cook on medium while stirring non-stop until it gets thick enough to coat your spoon, which takes around 10 minutes.
- Build the Layers:
- Add half your cooled filling to the crust, put a layer of lemon-dipped and dried banana slices on top, then cover with the rest of the filling. This way, banana flavor gets all through the pie while keeping different textures.
- Finish with Whipped Cream:
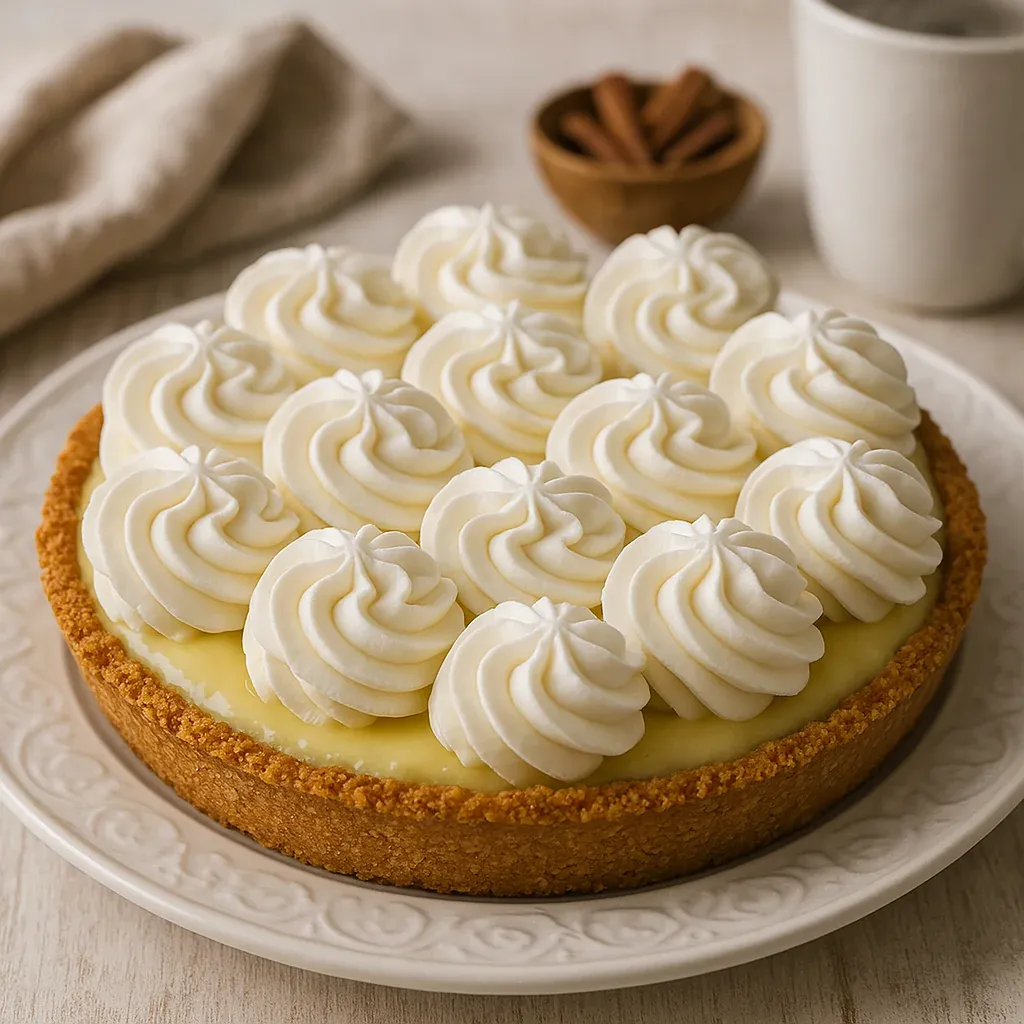
- Beat cold heavy cream with powdered sugar and vanilla until it forms stiff peaks. This homemade topping really makes the pie special with its clean taste that works with the rich filling without taking over.
I learned about using lemon juice after serving brown bananas in desserts for years. What amazed me was how the banana taste gets stronger throughout the filling after chilling for a few hours, even though you only use two bananas. My grandma always told me waiting is what makes cream pies so good, and now I know she was totally right.
Storage Tips
Your pie will stay good in the fridge for up to 3 days if you cover it well. The crust might get a bit softer over time, but lots of people actually like it that way. If you're making this more than a day ahead, you might want to add the whipped cream just before you serve it to keep things looking fresh.
Perfect Slicing Technique
Want neat slices that show off that pretty banana layer? Put your finished pie in the freezer about 30 minutes before cutting. Use a sharp knife dipped in hot water and wiped clean between cuts. It takes a little extra time but makes your dessert look so much better when you bring it to the table.
 Pin it
Banana Selection Matters
How ripe your bananas are really changes how your pie tastes. Go for bananas that are yellow with just a few small brown spots for the best mix of sweetness and flavor without them being too mushy. Green bananas won't have enough flavor, and super spotty ones can turn too soft in your filling.
 Pin it
Frequently Asked Questions
- → What’s the trick to stopping banana slices from turning brown?
Gently coat the banana slices with lemon or lime juice, then pat them dry. This simple trick keeps them fresh and bright without changing the flavor.
- → Are there other crust options?
Absolutely! A graham cracker crust or traditional pie crust works just fine. Just blind-bake and let it cool before adding the filling.
- → Is store-bought whipped cream an option?
Feel free to use it if you’re short on time, though homemade whipped cream gives you the best taste and texture.
- → What do I do if the filling ends up with lumps?
If it gets lumpy, don’t worry—just push the filling through a fine mesh strainer before cooling. This ensures it’s smooth and glossy.
- → How long does it need to chill?
Leave it in the fridge for at least 4 hours to firm up and let the flavors meld together. Overnight chilling is even better.
- → Can I make it the day before?
Yes, no problem! Prepare the pie a day in advance and refrigerate it. Add the whipped cream topping right before serving to keep it fresh.