
 Pin it
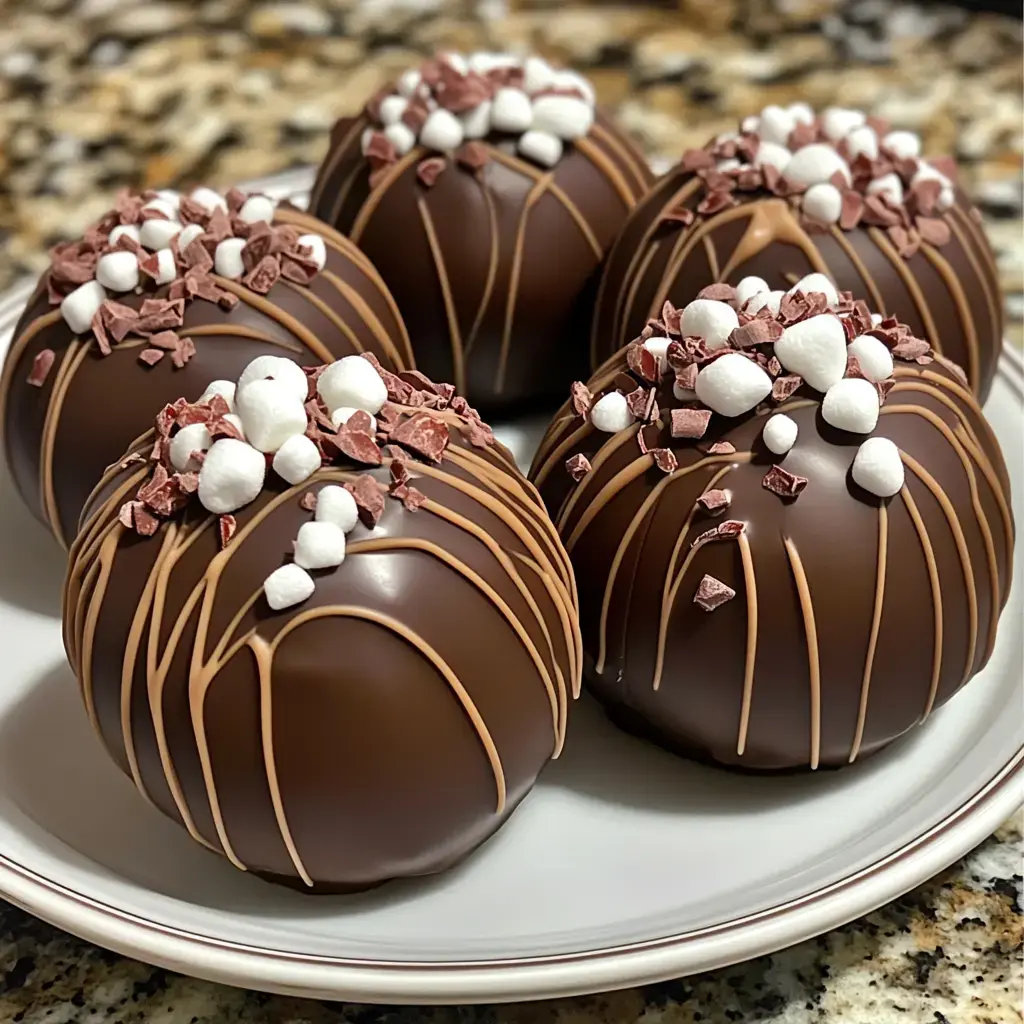
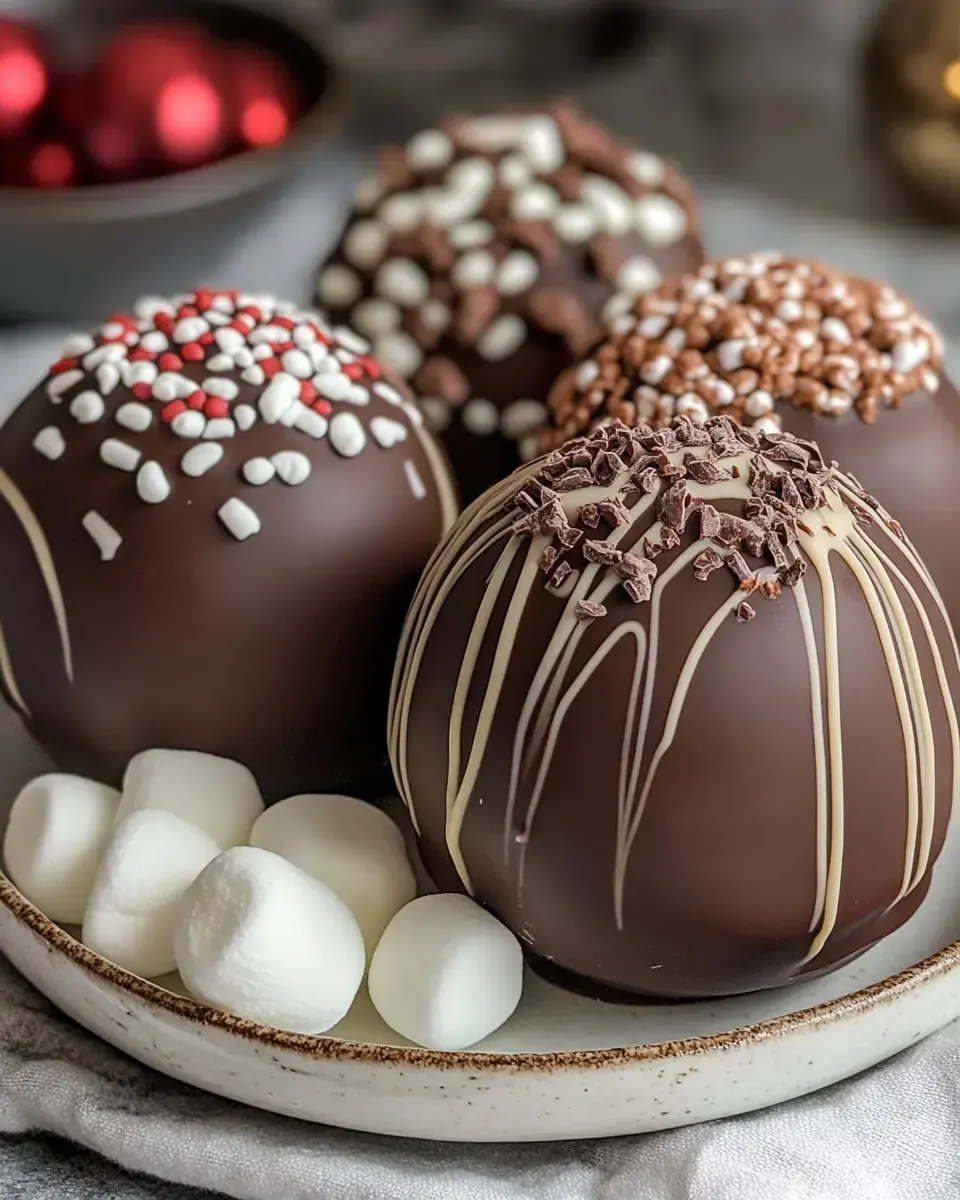
I whipped up this simple hot chocolate bomb creation by chance last December when my children kept asking me to make my own version of those expensive ones they spotted at our local boutique. Through plenty of chocolate-covered failures (with my willing family as taste-testers!), I eventually figured it out. These gorgeous sweet treats have now become what everyone expects from me during holidays, and my friends start dropping hints once it gets chilly outside.
The Soul of Delicious Hot Chocolate Bombs
- Picking Your Chocolate
- My biggest discovery was this - don't skimp on chocolate quality. I once tried regular baking chips and ended up with a total mess! Go for chocolate containing at least 31% cocoa butter - Callebaut is my favorite, though Ghirardelli does a fantastic job too.
- What Goes Inside
- For filling your bombs, Dutch-process cocoa really stands out. Blend it with premium powdered sugar and don't forget a tiny bit of salt - you'll thank me later!
- Tasty Additions
- You'll need new, fluffy mini marshmallows. The stale ones from your pantry won't give you the right effect.
Preparing Your Work Area
- Getting Ready
- Make sure your counter is totally empty - things can get chaotic until you're practiced. Set everything out like you're doing a delicate operation: thermometer, sphere molds (silicone ones work best for me), brushes. I actually found that a clean makeup brush coats the molds better than any kitchen brush I've tried!
- Watching The Heat
- Something I wish somebody told me early on: keep your kitchen around 70°F. I figured this out after a summer attempt turned into a melted puddle nightmare.
Creating The Wonder
- The Tempering Process
- Cut your chocolate into tiny bits - think as small as confetti. Warm about two-thirds in the microwave, just 30 seconds each time. Always stir between heating, even when it doesn't seem melted. After it's smooth, mix in the leftover chocolate gradually. This trick gives you that beautiful glossy finish!
- Forming Your Spheres
- Apply a thin chocolate coating to your molds. Cool them in the fridge for just 5 minutes - any longer causes moisture buildup. Then add a second layer, making the rims a bit thicker. I started reinforcing edges after several heartbreaking collapses!
Handling Problems
- Dealing With Issues
- Seeing streaks in your chocolate? You probably missed the right temperature window. Dark chocolate needs 88-91°F, milk works best at 86-88°F, and white chocolate wants 84-86°F. I keep these numbers on a note stuck to my microwave!
- Easy Solutions
- Can't remove shells from molds? Stick them in the freezer for 3 minutes. Got fingerprints on your finished bombs? A gentle touch with a warm brush will smooth things right out.
 Pin it
Exploring New Ideas
- Cool Twists
- After mastering the basics, let your imagination run! My children adore galaxy bombs - coat the molds with colored cocoa butter before adding chocolate. During Christmas, I mix peppermint oil into the shells and stuff them with smashed candy canes.
- Finishing Touches
- Some shimmer powder or edible gold paint transforms these into something special. Just make sure they've completely hardened before you start decorating.
Keeping and Sharing
- Maintaining Quality
- Don't ever store these in the refrigerator - I found out when my gleaming bombs turned dull! Keep them somewhere cool (about 65-70°F) in a sealed container. I always throw in a silica pack to fight moisture.
- Sharing Advice
- These need careful handling! I cover each one in cellophane and pack them in boxes with tissue paper. I always add a small card saying: 'Drop into hot milk (180°F), watch it open up, stir and enjoy!'
Frequently Asked Questions
- → What kind of chocolate should I use?
Go for couverture or a premium chocolate bar. Skip chocolate chips or candy melts—they don't temper properly and don't taste as great.
- → Which molds are better?
Silicone molds are simple but slower. Acrylic molds can handle larger batches if you’re confident with the method. Both are good options!
- → Why won’t the chocolate come out?
With acrylic, it’s likely the chocolate wasn’t tempered right. It needs to shrink a little in the freezer for easy release.
- → How important is temperature control?
Stay under 90°F, or the temper will break. A proper temper gives the chocolate that shiny, snappy finish.
- → Why do mine look lifeless?
Dull shells mean the tempering wasn’t done properly. Follow the process and don’t skip any steps to get a mirror-like finish.
Conclusion
For shiny hot chocolate bombs, correct tempering is key. Carefully control heat and use quality chocolate to create sleek spheres loaded with marshmallows and cocoa mix.