
 Pin it
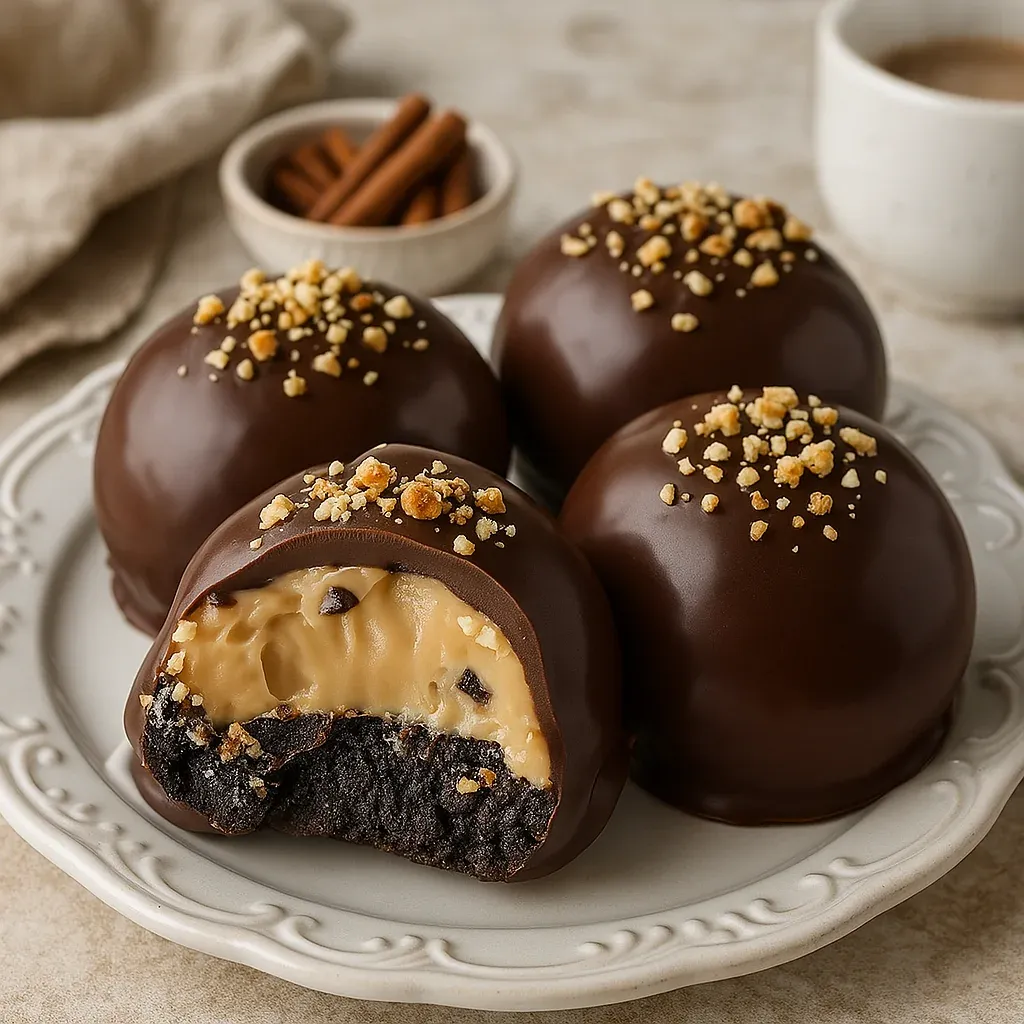
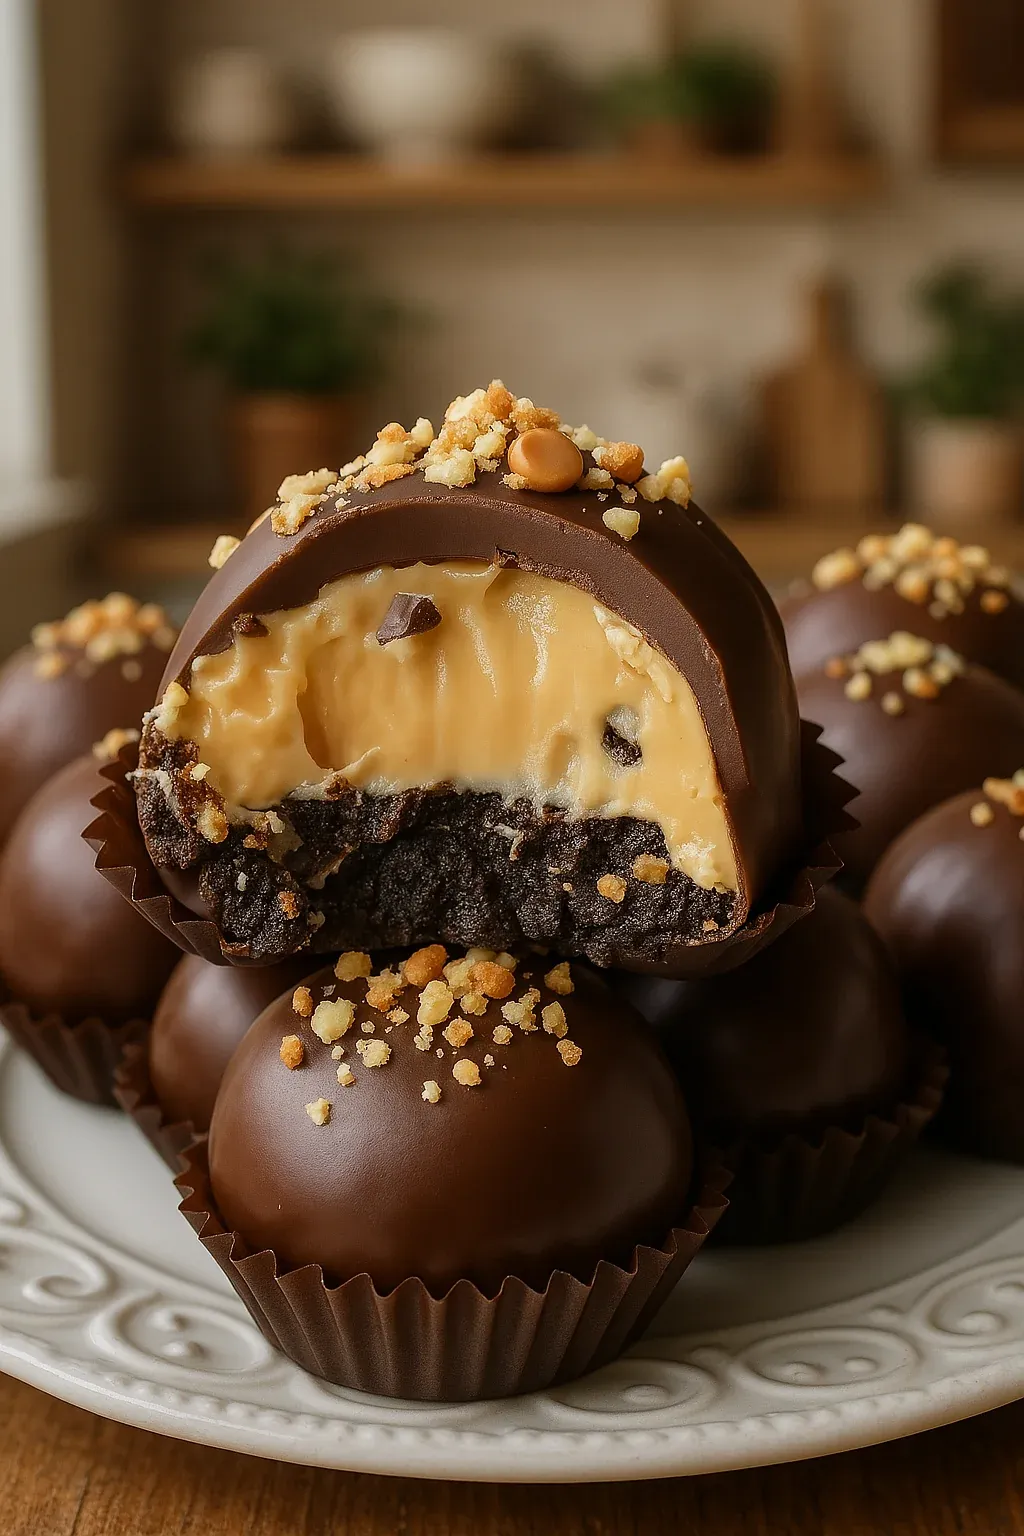
These mouthwatering Peanut Butter Oreo Balls blend everyday ingredients into luscious, snackable morsels that marry the beloved tastes of Oreos, chocolate, and peanut butter. They're my ultimate go-to when I need something sweet without dealing with the oven. From holiday parties to casual family movie nights, these no-bake treats always disappear fast.
I created these goodies during a bad snowstorm when my children were desperate for sweets but we couldn't leave the house. They loved them so much that now they ask for these homemade Oreo balls instead of store candy. My husband always says he doesn't like sugary stuff, but I catch him sneaking these from the fridge whenever he passes by the kitchen.
- 36 Oreo cookies: Use the whole box to get the right chocolate foundation and proper consistency when broken down
- 8 oz cream cheese softened: Brings smoothness and works as a binder – stick with full-fat for best results
- 1/2 cup creamy peanut butter: Delivers that true chocolate-peanut flavor combo – the brand really matters here
- 12 oz milk chocolate chips: For the outer shell – go with good ones that melt without issues
- Optional toppings: Chopped peanuts Oreo bits or colorful sprinkles add extra crunch and eye appeal
Easy Preparation Guide
- Break down the cookies:
- Dump whole Oreos with filling into your food processor and blitz until you see fine powder with no chunks left. Finer crumbs make smoother balls later. No processor? Put cookies in a ziplock bag and smash them with a rolling pin, though this way takes more muscle.
- Blend your base:
- Put the soft cream cheese and peanut butter in with your cookie crumbs in a big bowl. Mix with electric beaters on medium until everything comes together smoothly. The mix should stay in shape when rolled but remain easy to handle. Clean the sides of your bowl a few times to mix everything well.
- Form your treats:
- Scoop tablespoon-sized amounts and roll them between your hands to create 1inch rounds. Wash your hands when they get sticky for easier handling. Arrange them on a baking sheet lined with parchment, leaving gaps between each one.
- Cool them down:
- Put your shaped balls in the fridge for at least 60 minutes. This key step hardens the mixture so they don't fall apart during dipping. Well-chilled balls won't crumble when you coat them with chocolate.
- Prepare the coating:
- Put your chocolate chips in a bowl that's microwave-safe and warm them in 30second bursts, stirring after each until totally smooth. Don't rush or you'll ruin the chocolate. A double boiler works too if you want more control.
- Cover with chocolate:
- Take out a few balls at a time while keeping the rest cold, and drop each one into the melted chocolate. Roll it around with a fork until fully covered, then lift and tap gently to shake off extra chocolate. Place back on the parchment and quickly add toppings before it hardens.
- Top them off:
- Scatter your chosen toppings on the balls while the chocolate is still wet. Work fast since the cold centers make the chocolate start to set quickly. Try to use the same amount of topping on each ball for a neat look.
- Let them set:
- Return your finished balls to the fridge for about 30 minutes until the chocolate fully hardens. Properly set coating will look slightly glossy and won't feel sticky when touched.
 Pin it
What really makes these treats stand out is good quality peanut butter. I tried using natural, oil-separated peanut butter once and ended up with a mix that just fell apart. Now I only use regular creamy peanut butter brands that give that classic chocolate-peanut butter taste we all crave. The first time I brought these to a family dinner, my grandma, who usually doesn't care much about desserts, wanted the recipe before she left. That's when I knew these balls would become a family tradition.
Keeping Them Fresh
One great thing about these Peanut Butter Oreo Balls is how well they keep. Store them in the fridge in a sealed container with parchment paper lining for up to a week. If you want them to last longer, pop them in the freezer for up to two months. When freezing, put parchment between layers so they don't stick together. Let frozen balls thaw in your fridge for a few hours before eating them. Don't leave them out at room temperature for more than two hours since the cream cheese can go bad.
Smart Swaps
You can easily change this recipe if needed. If you can't do dairy, swap the cream cheese for a plant-based version. The texture might change a bit, but they'll still taste great. Got peanut allergies? Try using almond butter, sunflower seed spread, or cookie butter instead, though each gives its own special flavor. You can dip them in white or dark chocolate rather than milk chocolate for a different but still yummy result. Need them gluten-free? Just use gluten-free sandwich cookies instead of regular Oreos.
 Pin it
Fixing Common Issues
- If your mixture feels too wet to shape properly, add more crushed Oreos one spoonful at a time until it firms up.
- If your mix is breaking apart, add a spoonful of cream cheese or peanut butter to help it stick.
- When your melted chocolate gets too thick for easy dipping, mix in a teaspoon of shortening or coconut oil to thin it out without changing the taste.
- If you see cracks in the chocolate after it hardens, you probably put very cold balls into warm chocolate. Let them warm up slightly before dipping.
Frequently Asked Questions
- → What’s the easiest way to crush Oreos without a machine?
Put the Oreos in a zip-top bag and use a rolling pin to smash them into fine crumbs. It’s quick and works great!
- → Could I use other Oreo flavors?
Absolutely! Swap regular Oreos for Mint, Golden, or Peanut Butter ones to switch up the flavors and make it your own.
- → What’s the best chocolate for dipping?
Milk chocolate or semi-sweet works perfectly. But you can try white or dark chocolate if you prefer a different twist.
- → How long will these last in the fridge?
Keep them in an airtight container in the fridge for up to 7 days. For longer storage, freeze them for about a month.
- → Can these be made in advance?
Yes! You can prepare them early, chill, and dip in chocolate when you’re ready to serve or store.
- → What toppings can work for decoration?
Go wild with toppings like crushed nuts, cookie crumbs, sprinkles, or even sea salt. Just pick what you love!