
 Pin it
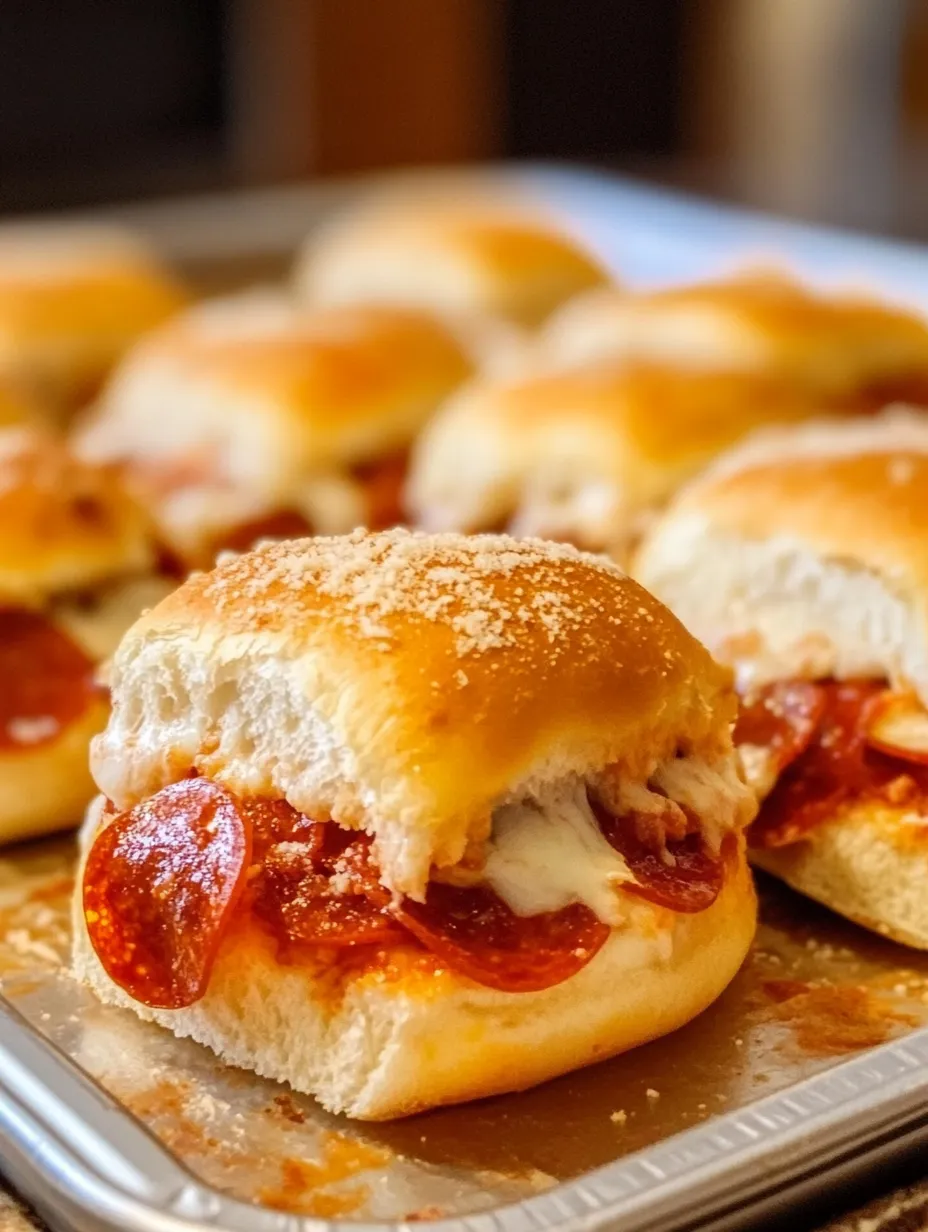
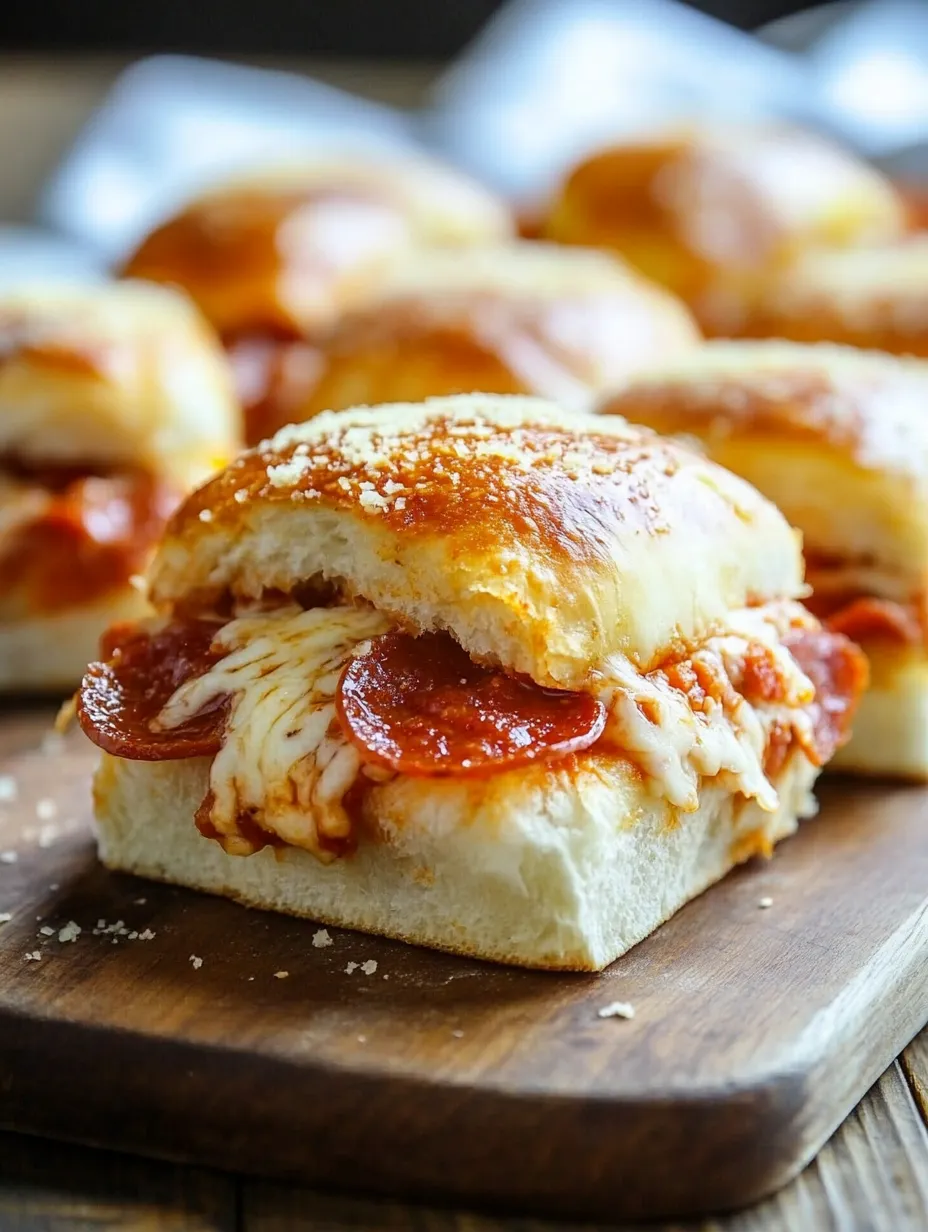
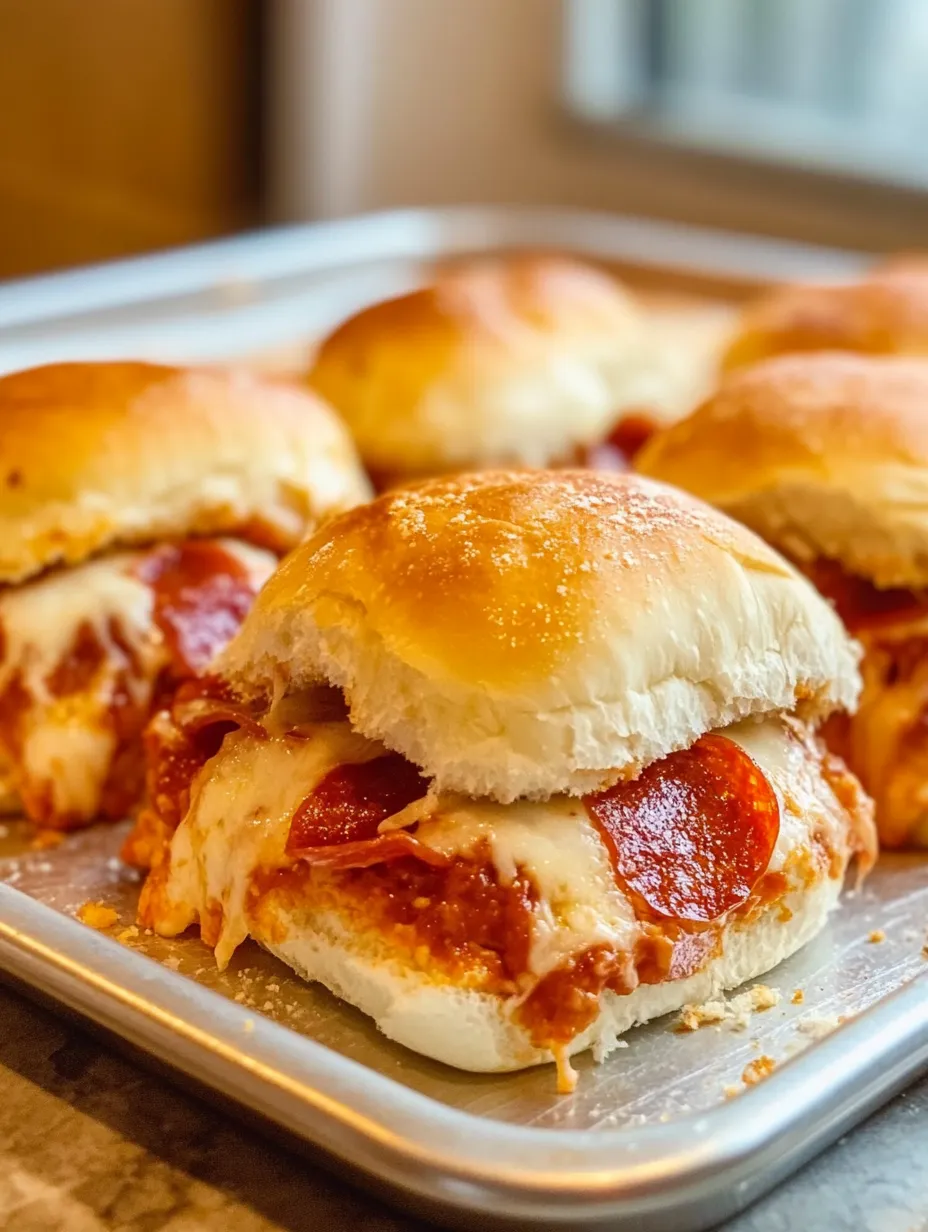
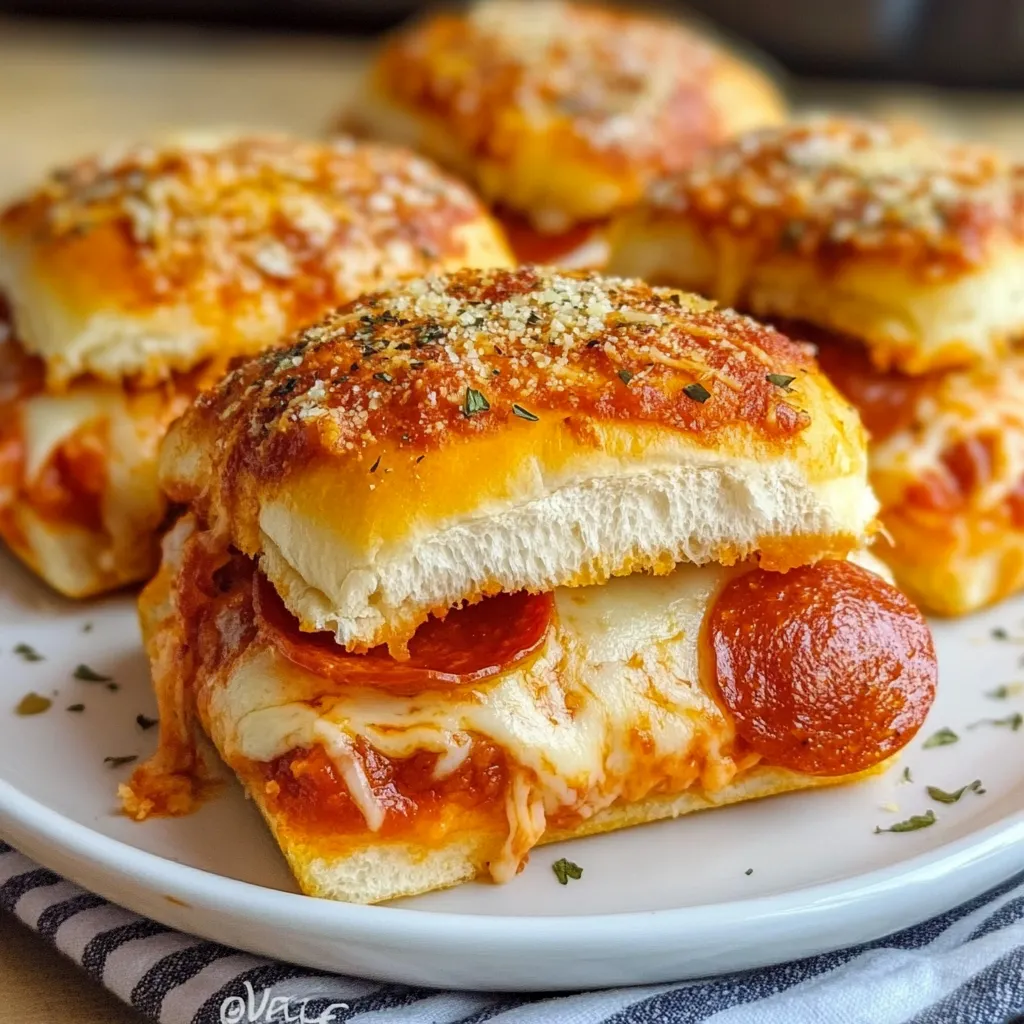
Turn ordinary Hawaiian rolls into mouthwatering pull-apart pizza bites packed with all your favorite pepperoni pizza flavors in a handy snack form. These rolls brushed with garlicky butter showcase layers of melty cheese and tasty pepperoni, making an addictive starter that won't last long at any gathering. After trying many versions, we've cracked the code to prevent soggy bottoms while maximizing taste.
I made these for a house packed with hungry teens last weekend, and they were gone before I could blink. It's funny how the biggest hits often come from everyday ingredients mixed together just right.
Key Components
- Hawaiian Sweet Rolls: Creating a tender, subtly sweet foundation
- Double Cheese Blend: Mozzarella for stretch, provolone for depth
- Premium Pepperoni: Cut super thin for best coverage
- Real Garlic: Gives the butter topping its punch
- Dried Oregano: Adds that classic pizza kick
- Marinara Sauce: Must-have for dipping
Step-By-Step Preparation Guide
- Flavorful Butter Mix:
- Start by combining melted butter with finely chopped fresh garlic, oregano, and some red pepper flakes. This tasty butter blend is what turns basic rolls into something special.
- Handling The Rolls:
- Leave all rolls attached while cutting horizontally through the whole block. This gives you one big bottom piece and one big top piece, keeping the fun pull-apart element intact.
- Smart Assembly:
- Coat bottom half with garlic butter before adding provolone, followed by pepperoni and plenty of mozzarella. This trick stops the bottoms from getting mushy while building flavor from the ground up.
- Cooking Just Right:
- Use foil to cover during most of the baking process so cheese melts completely without rolls getting too brown. Pull the foil off at the end for a golden finish.
 Pin it
I came up with this fix after battling the common issue of soggy slider bottoms. Through lots of testing, I found that coating the bottom with garlic butter creates a shield, while offering marinara separately (not inside) keeps everything just right.
Heat Management
Getting the temperature right matters a ton for these sliders. Cooking at 350°F lets cheese melt evenly without burning the rolls. Starting covered (20-22 minutes) makes sure everything warms through fully, while finishing uncovered (3-5 minutes) gets you that gorgeous golden top. This two-part approach nails the balance between gooey inside and slightly crisp outside.
 Pin it
How To Serve
Get these on the table steaming hot with a side of warmed marinara for dipping. The mix of buttery, cheesy sliders with tangy sauce creates that complete pizza experience. Round out your spread with:
- A simple Caesar salad for that pizza joint vibe
- Italian pasta salad when you want something heartier
- Basic greens tossed in Italian dressing for lightness
- Raw veggie sticks to add color and crunch
Mix It Up
Twist these sliders to match what you like on your pizza:
- Swap in crumbled Italian sausage or diced ham instead of pepperoni
- Toss in some cooked mushrooms or peppers
- Scatter fresh basil between cheese layers
- Try other cheeses like fontina or smoky mozzarella
- Add a handful of grated Parmesan on top during final baking
 Pin it
Closing Thoughts
These Pepperoni Pizza Sliders bring together ease and amazing flavor in one package. Every mouthful delivers that familiar pizza comfort in a party-friendly format. Whether you're throwing a Super Bowl bash, dealing with starving teenagers, or just want something different for dinner, this shows how careful prep of simple stuff can turn into something really special.
Frequently Asked Questions
- → Can these be prepped earlier?
- Make them up to a day before baking, cover well, refrigerate, and bake fresh when ready.
- → Can I swap or add toppings?
- Totally, toss in cooked veggies, ham, sausage, or anything you love on pizza.
- → What should I use instead of Hawaiian rolls?
- Soft dinner rolls work great too, but Hawaiian rolls add that sweet touch.
- → How should I store any extras?
- Keep extras in the fridge for up to 3 days. Reheat in the oven at 350°F until warm.
- → Can I freeze them unbaked?
- Absolutely, keep them in the freezer (up to 1 month), thaw, and bake when you're ready.