
 Pin it
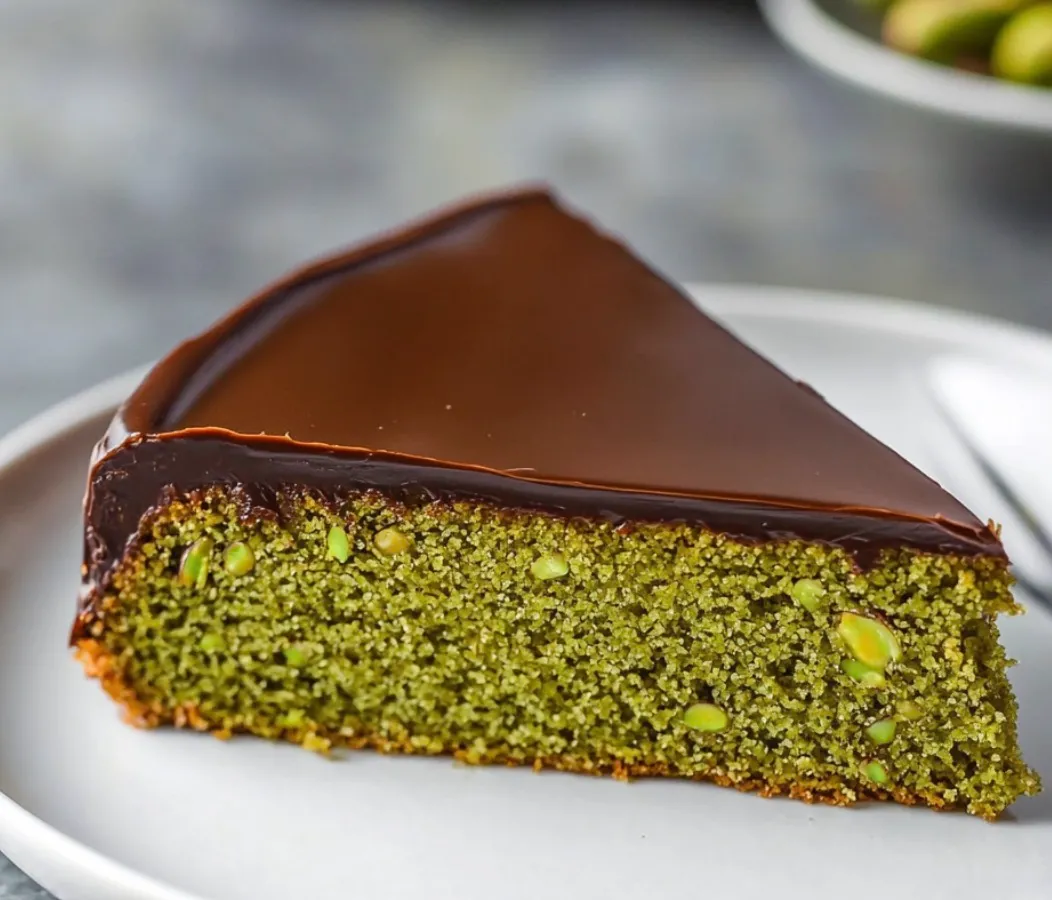
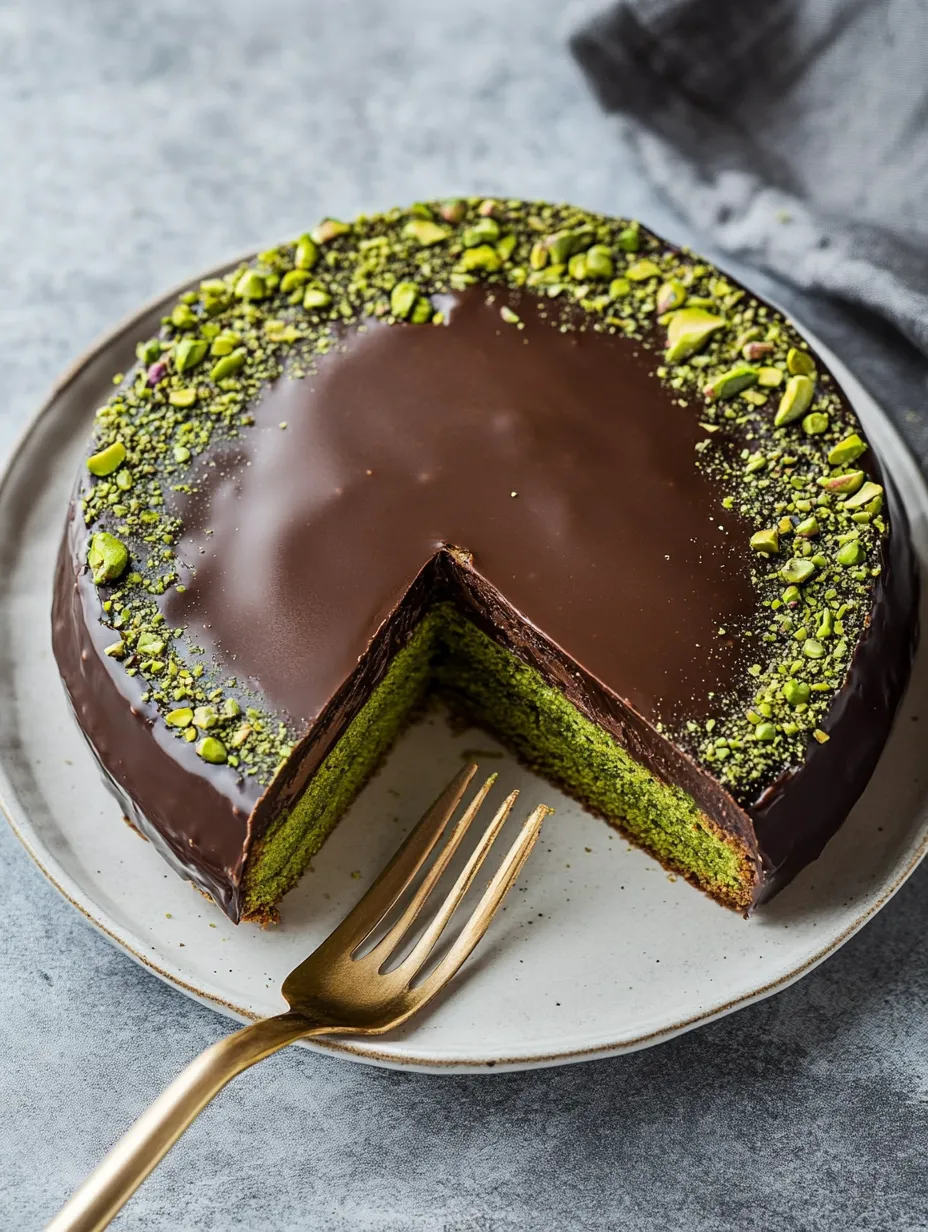
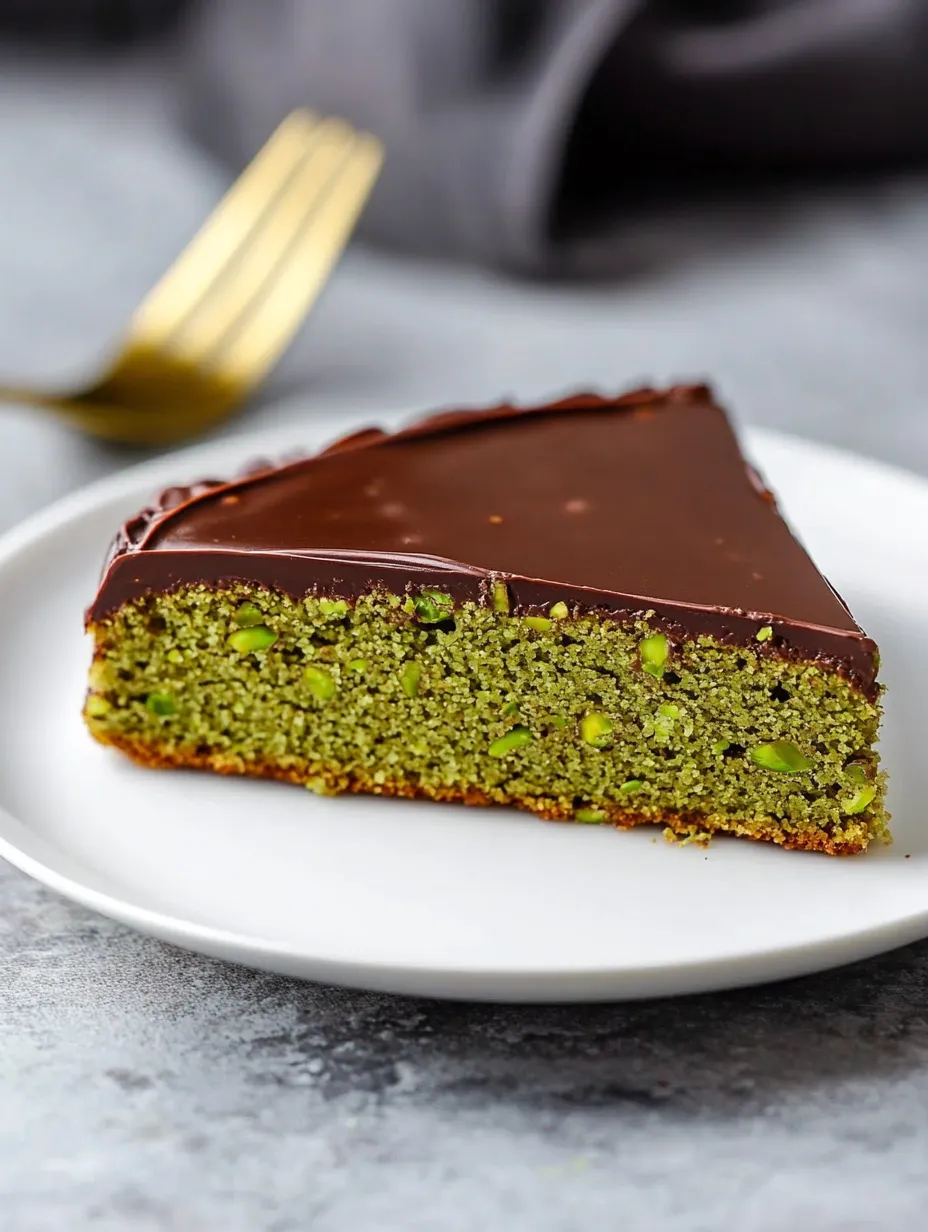
This jaw-dropping naturally gluten-free treat packs amazing pistachio flavor and a gorgeous green hue without any artificial coloring. Finished with smooth chocolate ganache and bordered with pistachio slivers, it's a fancy dessert that's actually pretty easy to whip up. I came across this gem while hunting for something special to make for my friend's birthday celebration, and I was totally sold after just one taste.
When I made this for a dinner gathering last month, my super picky brother-in-law asked for the recipe before he'd even finished eating. Everyone fell in love with the incredible texture and authentic pistachio taste.
Key Ingredients and Smart Selection Advice
- Pistachio Flour: Darker green nuts make a greener cake; grinding your own from raw pistachios gives the best color
- Almond Flour: Works with the pistachio flavor to make it even better
- Room Temperature Eggs: They must be genuinely warm for proper volume
- Semi-Melted Butter: Not fully melted but not solid - this special state creates just the right texture
- Orange Zest: Makes the pistachio flavor pop wonderfully
Step-by-Step Baking Guide
- Ready Your Pan: Grease a 9-inch round cake pan (one with a removable bottom works best) and add parchment. Having that removable bottom makes getting the cake out so much easier.
- Mix Dry Stuff: Sift together your pistachio flour, almond flour, cornstarch, and salt. This step gets rid of lumps and helps your cake turn out smooth.
- Make Citrus Sugar: Mix orange zest into your sugar until you can smell it. This lets out the citrus oils that make pistachios taste even better.
- Beat Eggs Thoroughly: Whip warm eggs with sugar for 7-10 minutes until they're super light and fluffy. When you lift the beater, the mix should fall in ribbons that slowly disappear. This creates your cake's structure.
- Get Butter Ready: Heat butter in short microwave bursts at half power until it's kinda like salad dressing - soft but not totally melted. Mix in olive oil.
- Join Wet Items: While mixing slowly, pour the butter mix into your eggs bit by bit. Go slow to keep all that air you've beaten in. Add pistachio extract.
- Add Flour Mix: Gently fold in your sifted dry ingredients just until mixed. Don't overdo it or your cake will fall flat.
- Bake It Right: Pour into your pan and bake at 350°F for 40-45 minutes until a toothpick comes out clean. The top will be set but still a bit soft.
- Cool and Flatten: Let it cool completely in the pan. Run a knife around the edge to release it. If the top has puffed up, gently push it down or trim it flat.
- Top with Ganache: Pour warm cream over chopped chocolate and stir until smooth. For neat edges, wrap the cake in an acetate strip before covering with ganache. Let it set before adding pistachios around the edge.
 Pin it
I learned how important the butter consistency is when my first attempt ended up with tiny air holes throughout. Now I'm super careful to warm it just enough without letting it melt completely.
 Pin it
Understanding the Cake Chemistry
This cake's special texture happens because of how the whipped eggs, nut flours, and that particular butter texture work together. Beating the eggs for so long traps air bubbles that create structure without needing baking powder. At the same time, that half-melted butter adds richness without making the batter heavy like fully melted butter would. This careful balance gives you that amazing smooth texture that's different from regular cakes - somewhere between dense pound cake and soft marzipan but somehow lighter and more refined.
Changing It Up Throughout the Year
You can enjoy this cake anytime, but it's great for holidays with different decorations. For Christmas, try adding sugared cranberries around the edge for pretty red and green colors. On Valentine's Day, sprinkle some dried rose petals among the pistachios. For St. Patrick's Day? The cake's natural green color is festive all by itself! In summertime, I've served it with fresh berries on the side, which really balance out the rich cake and ganache.
Preparing It Beforehand
One thing I really love about this cake is how well it keeps. Many cakes get dry after a day, but all the fats from nuts and butter keep this one moist for days. I've made it three days ahead of a dinner party, keeping it in the fridge with the acetate wrap still around it. The flavors actually get better over time, so it's perfect for making ahead when you're hosting. Just don't forget to bring it to room temp before serving so the texture is right.
Closing Advice
- If you can't find acetate, try using a clear plastic sheet from a craft store
- Pop the cake in the freezer for 20 minutes right before cutting for cleaner slices
- For fancy occasions, add a touch of gold dust on top for a subtle shine
- The cake freezes really well for up to a month - wrap slices separately for quick treats
- Try it with a small scoop of vanilla gelato for an amazing hot-cold contrast
 Pin it
Closing Thoughts
This cake has become the dessert I'm known for at special events, the one people talk about long after they've gone home. The eye-catching color, special texture, and perfect flavor combo make something truly outstanding from pretty basic ingredients. It shows that sometimes the most impressive desserts aren't the most complicated ones - just the ones made with the most care.
Frequently Asked Questions
- → Can the nut flours be swapped?
- Sure, any almond and pistachio flour blend totaling 300g works.
- → Why are warm eggs needed?
- They help the batter mix together properly by emulsifying better.
- → What’s the best way to store it?
- Pop it in the fridge for up to 5 days, but let it reach room temperature before serving.
- → Is acetate an absolute must?
- Not mandatory, but it makes the ganache edges look clean and even.
- → Can this be prepped in advance?
- Absolutely! Just keep it refrigerated and it stays fresh for a few days.