
 Pin it
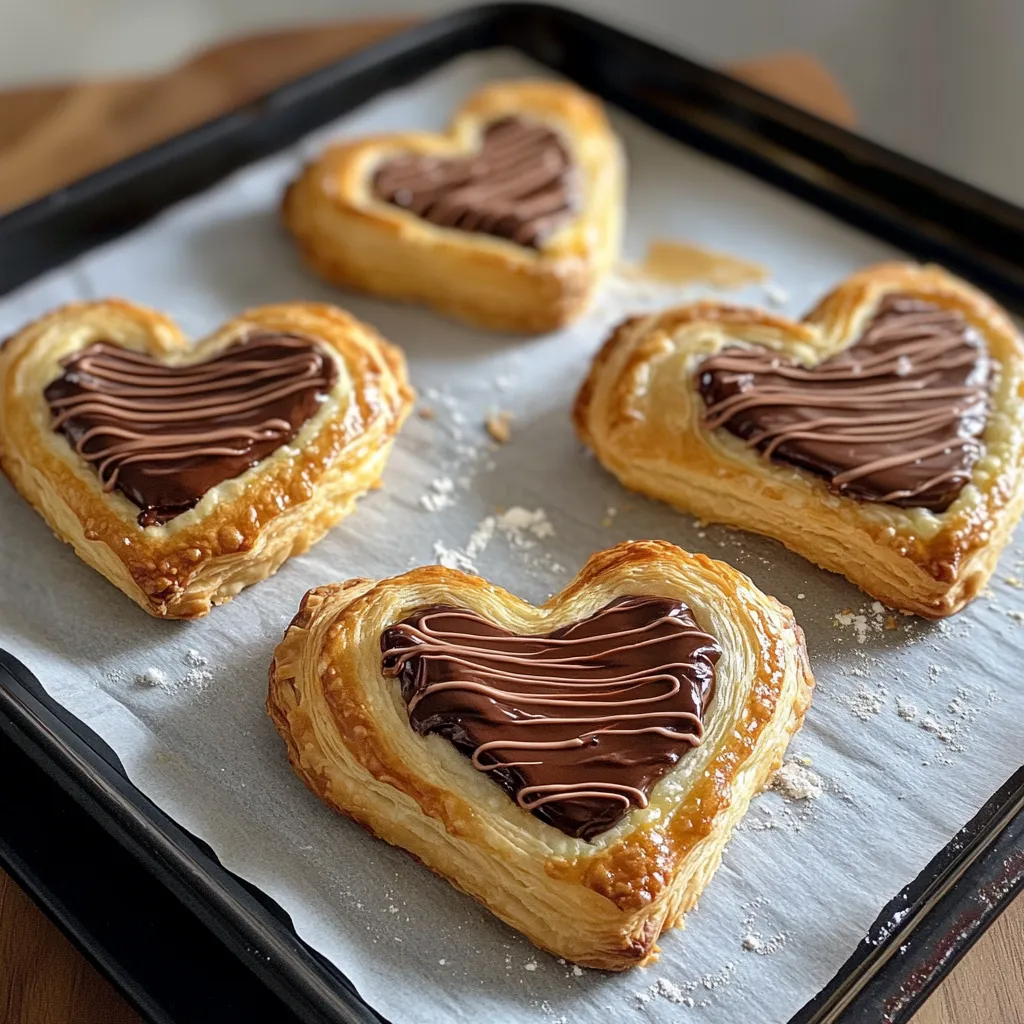
Buttery puff pastry wrapped around smooth hazelnut chocolate spread, shaped as cute hearts. These sweet bites work great for romantic celebrations, anniversaries, or just when you want to add some flair to your day. Once I whipped these up for a quiet night in - the smell of crispy, golden dough and melty chocolate spread throughout our home created just the right vibe for a special evening.
On our last Valentine's celebration, I shocked my sweetie with these pastries alongside his morning brew. His smile said it all when he saw the handcrafted goodies, and now he asks for them whenever we're marking something important.
Key Components and Shopping Advice
- Puff Pastry: Grab it from the freezer section; let it thaw naturally
- Nutella: Soften it first for easier spreading
- Egg: Helps create that gorgeous brown shine
- Powdered Sugar: Skip it if you want, but it makes everything look fancy
- Fresh Berries: They'll cut through the sweetness if you include them
Step-by-Step Baking Guide
- Get Everything Ready: Heat your oven to 375°F. Put parchment on your cookie sheet. Roll out your thawed (but still cool) puff pastry on a slightly floured countertop.
- Make Your Hearts: Take your heart cutter or a knife and cut out an even number of shapes. Don't dawdle - keeping the dough cold helps it puff up better.
- Cool Your Shapes: Put the cut hearts on your lined sheet and stick them in the fridge for 10 minutes. This helps them hold their shape when they bake.
- Time for Filling: Take your hearts out. Put about a tablespoon of chocolate spread in the middle of half your hearts, leaving room around the edges so you can seal them.
- Stack Your Hearts: Cover each filled heart with a plain one, lining up the sides. Press the edges together with your fingertips to start sealing.
- Lock In The Goodness: Push a fork all around the borders to make a pretty pattern and fully close the gaps. Good sealing keeps the filling inside while baking.
- Mix Your Topping: Stir the egg with some water until it's totally mixed. Brush this mixture lightly across the top of each heart.
- Pop Them In: Bake until they've risen and turned a nice golden color, about 12-15 minutes. Keep an eye on them after 10 minutes as they can burn fast.
- Give Them a Rest: Let them sit on the hot pan for 5 minutes, then move them to a cooling rack for another 5-10 minutes.
- Add Final Touches: Sprinkle with powdered sugar if you want. Enjoy them while they're slightly warm, maybe with some berries or whipped cream.
 Pin it
I first tasted these treats at a tiny bakeshop in Paris and couldn't wait to try making them at home. The baker shared his secret with me - "never rush when working with pastry" - take your time with each step.
Sweet Family Moments
These chocolate hearts have grown into a favorite custom in our home, showing up at birthdays and special times year after year. I can still picture my little girl on her tenth birthday, her tiny fingers carefully pressing down the edges of each heart. Now she's away at school but calls home for instructions whenever she wants to wow her friends or celebrate someone's big day. It's amazing how a basic pastry can weave through our story, keeping us connected even when we're apart.
 Pin it
Changing With The Seasons
The classic chocolate filling works great, but these flexible treats can change with whatever's fresh each season. During summer, I love adding fresh strawberry slices next to the chocolate for a juicy surprise in each bite. When fall comes around, I mix in thin apple slices with a dash of cinnamon into the chocolate. In the winter months, I've tried adding crushed candy canes or a thin layer of marshmallow for holiday versions. The pastry works like a blank canvas, ready for whatever ingredients look best at the market.
What Makes Them Rise So Well
Learning about what makes puff pastry work has really stepped up my baking game. The secret comes from all those tiny layers of dough and butter that create steam when they heat up, forcing the layers to separate. That's why keeping everything cold until baking matters so much - warm butter just soaks into the dough instead of making separate layers. I've found that letting the filled hearts chill for about 15 minutes before they go in the oven gives them an even bigger puff and creates that amazing flaky outside that breaks apart so nicely when you bite in.
 Pin it
Closing Thoughts
Making these chocolate hearts reminds me why baking brings me so much joy - turning basic stuff from my pantry into something that makes people smile. They've become my go-to treat, always requested at family get-togethers and given to neighbors during holidays. What makes them really special isn't just how they taste, but how they bring people together for moments of happiness. Whether you bake all the time or you're just starting out, these pastries hit that sweet spot of looking impressive without being too hard to make - definitely worth adding to your favorite recipes.
Frequently Asked Questions
- → Can I prepare these in advance?
- It's best to eat fresh, but you can chill the unbaked pastries for up to 24 hours before baking.
- → What’s the best way to keep leftovers?
- Store in a sealed container at room temp for 2 days. They're tastiest on day one.
- → Do other fillings work?
- Absolutely! Go for chocolate spread, jam, or anything with a smooth texture.
- → Why is chilling important?
- Cool dough holds its shape better and bakes into crispier layers.
- → Can I freeze them?
- Yes, freeze unbaked pastries for up to a month. Bake straight from frozen.