 Pin it
My go-to summer treat for years has been these zesty, creamy no-bake mini key lime pies. They're the ultimate blend of smooth, tart filling and crumbly graham crust in personal portions that always vanish quickly at family get-togethers. And the biggest win? You don't need to fire up your oven when it's blazing hot outside.
I stumbled on this treat during an awful summer heat spell when I couldn't bear turning on my oven. What began as a way to stay cool turned into the dessert my friends now demand at every summer cookout.
What You'll Need
- Graham cracker crumbs: They form that iconic base – grab honey grahams for maximum flavor
- Granulated sugar: Cuts through the sharpness in both layers – standard white sugar does the job
- Unsalted butter: Holds your crust together – make sure it's fully melted
- Sweetened condensed milk: Delivers that smooth texture and sweetness – stick with full fat for best results
- Cream cheese: Builds body and richness in the filling – let it warm up completely on the counter
- Fresh key lime juice: Brings that signature tang – store-bought works if needed but freshly squeezed tastes way better
- Key lime zest: Boosts the citrus punch – grab the zest before juicing your limes
- Whipped cream: For the finishing touch – whip your own for better stability
- Optional lime slices or extra zest: Makes them look fancy and hints at what's inside
Detailed Directions
- Mix Your Base:
- Stir together graham crumbs, sugar and melted butter in a bowl until everything looks like damp sand that sticks when you squeeze it. This usually takes around 2 minutes of mixing. Split the mixture between small pie dishes, muffin cups or ramekins, using roughly 2 tablespoons for each one. Pack it down firmly with a measuring spoon back to create a solid, even bottom. Stick them in the fridge for 15-20 minutes to firm up completely.
- Create Your Filling:
- In a big bowl, whip the cream cheese with electric beaters on medium for 2-3 minutes until it's totally smooth with zero lumps. Scrape the bowl sides at least once while mixing. Pour in the condensed milk and keep beating on medium until everything's combined, about a minute. Add your lime juice and zest, starting on low speed to avoid splashing, then increase to medium until the mix slightly thickens, around 2 minutes. Your filling should pour easily but be thick enough to coat a spoon.
- Fill Your Crusts:
- Take your chilled bases from the fridge. Pour or scoop the lime filling evenly into each crust, filling about three-quarters full to leave space for toppings later. Lightly tap the containers on your counter to pop any air bubbles and smooth the tops with a spatula or spoon for a neat finish.
- Let Them Set:
- Cover your mini pies loosely with plastic wrap, making sure it doesn't touch the filling. Chill in the fridge at least 3 hours, though letting them sit overnight gives the best texture and flavor. They're ready when the filling feels firm but still wobbles slightly in the middle when gently shaken.
- Add Final Touches:
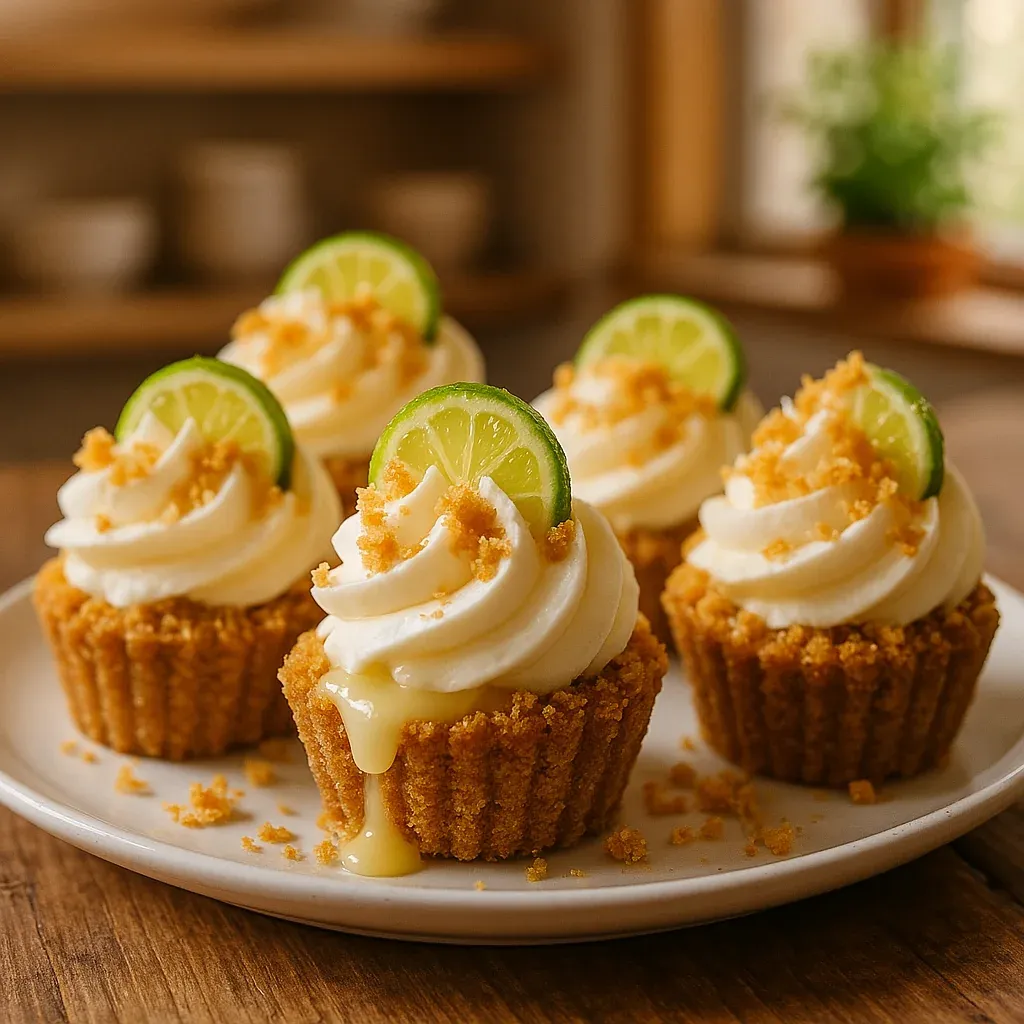
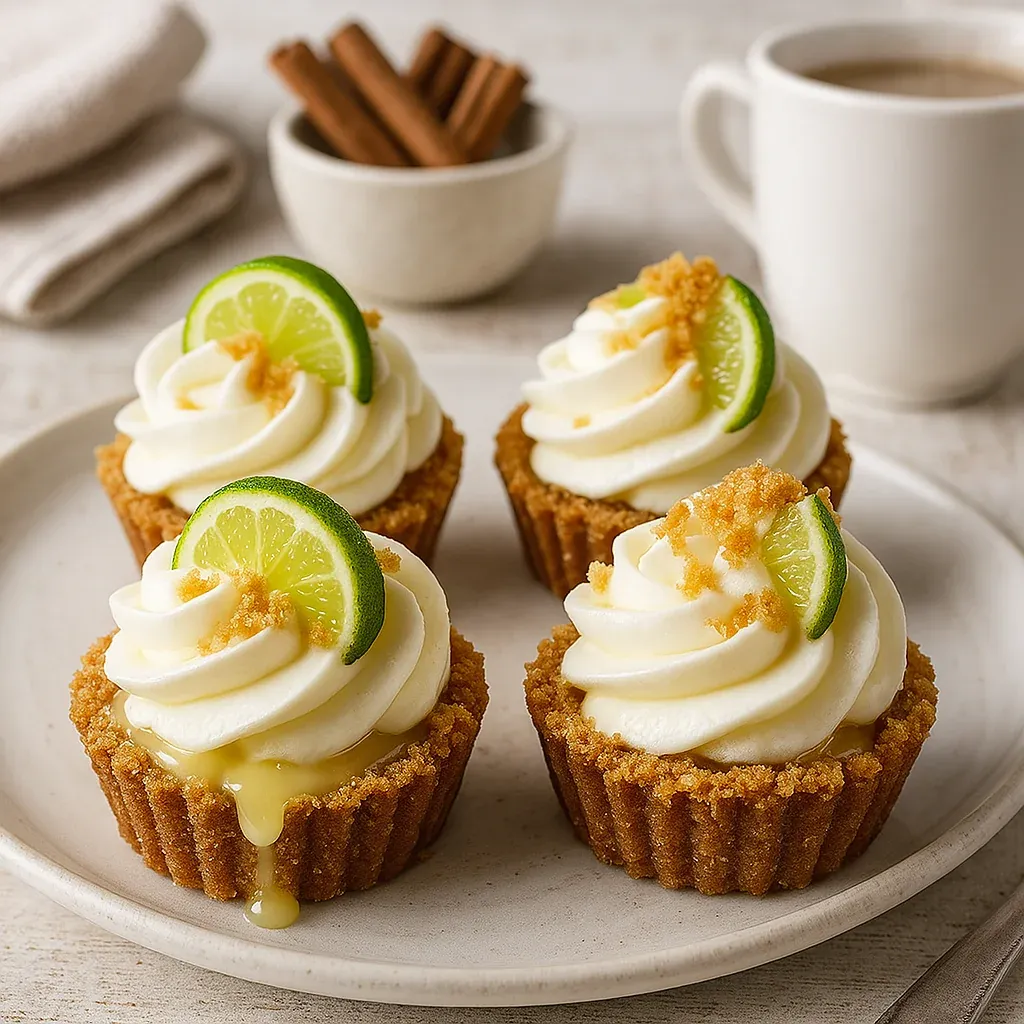
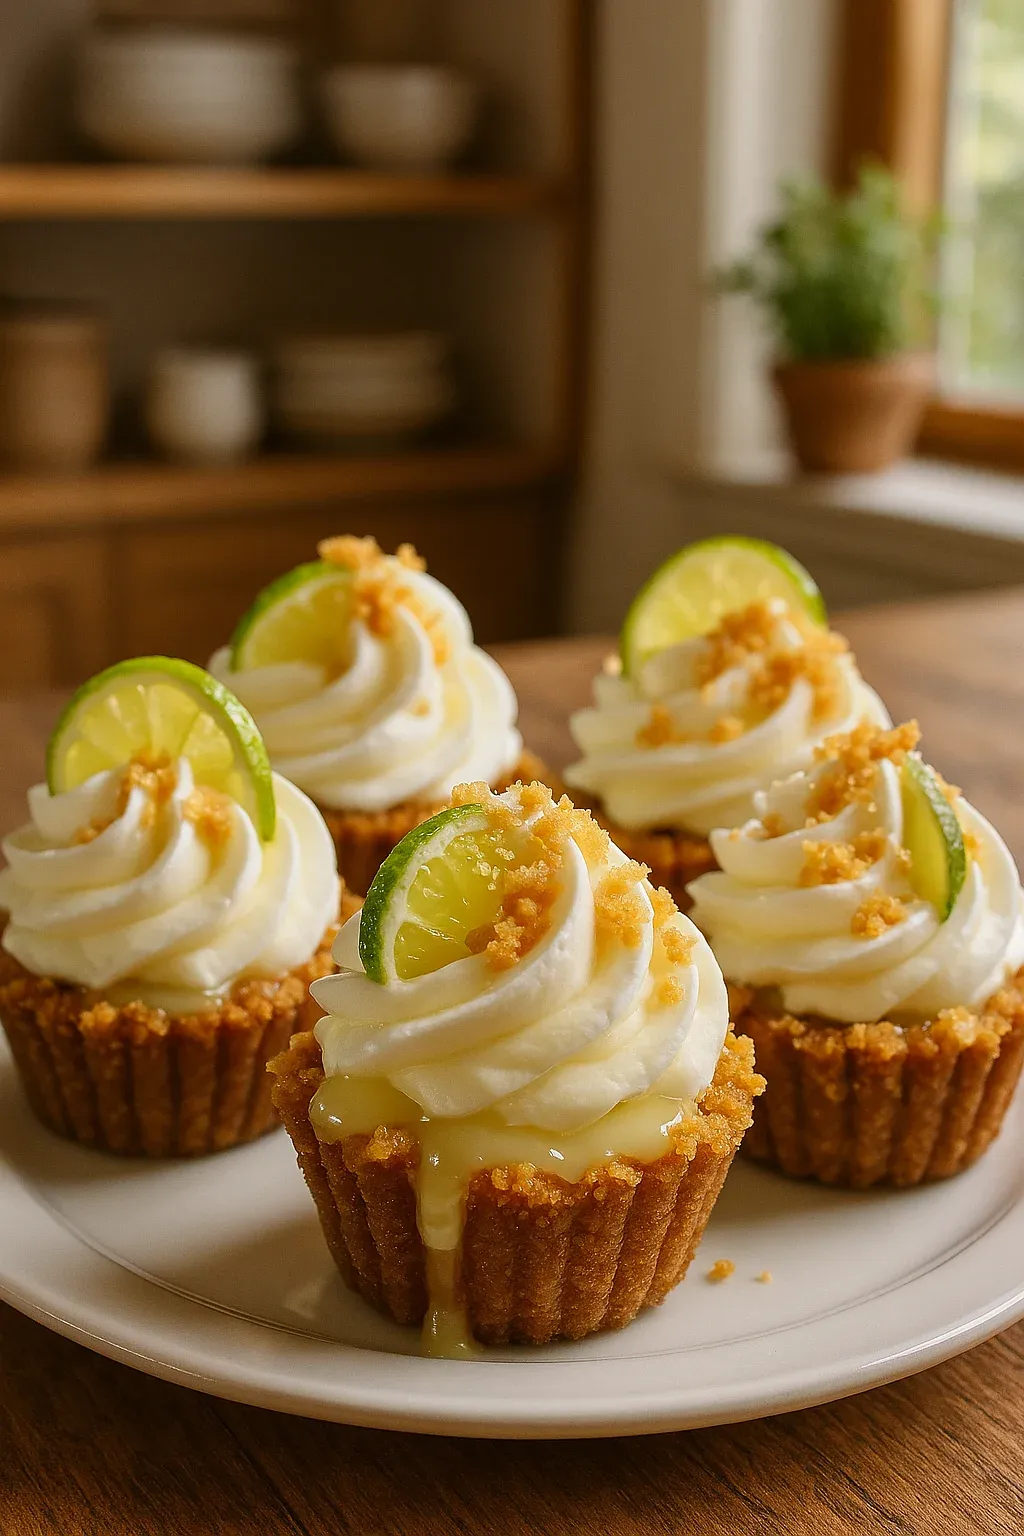
- Right before you serve them, top each pie with a big dollop of whipped cream. For extra flair, use a star tip to pipe a swirl pattern. Finish with a sprinkle of lime zest, a tiny lime wedge, or even a small mint leaf. Serve right away while the toppings are fresh.
 Pin it
Getting the balance just right is crucial for these pies. I once added too much lime juice thinking it would improve the flavor, but learned there's a perfect ratio. My grandma always said a good key lime pie should make you pucker just a bit before the sweetness kicks in. This recipe nails that balance perfectly.
Key Limes vs Regular Limes
Key limes aren't the same as those big Persian limes you usually see at the store. They're tinier, more fragrant, and pack more acidity, giving that unique tangy taste. If you can't get key limes, regular ones work too, but use a bit less since they're not as strong. Key lime zest also has a stronger scent that flows through the whole dessert. For the real deal flavor, try to find key limes in season or look for bottled key lime juice from Florida, which often works better than out-of-season fruit.
Prep Ahead and Keeping Fresh
These little pies are perfect for making beforehand. You can fix the crust and filling separately up to two days early. Put them together without adding the cream topping and keep them covered in your fridge for up to 5 days. To store them longer, wrap each untapped pie in plastic then foil and freeze them. They'll stay good for up to two months. Just thaw overnight in your fridge before adding toppings and serving. They keep their texture amazingly well, making them great for busy hosts who need trustworthy make-ahead treats.
 Pin it
Fun Ways to Serve
Turn these mini pies into a fun dessert station by offering various toppings for guests to add themselves. Try putting out toasted coconut flakes, crushed macadamias, chocolate bits, fresh berries, or a drizzle of melted white chocolate. For grown-up gatherings, try mixing a splash of coconut rum into the whipped cream for a tropical twist. During hot months, pop the mini pies in the freezer for 30 minutes before serving for a cool treat that gradually softens while being enjoyed. These desserts also go wonderfully with coffee, especially a medium roast with nutty hints that works well with the sweet-tart combo.
Frequently Asked Questions
- → Can I swap key lime juice for regular lime juice?
You sure can! Regular lime juice is a great stand-in, though it might not have the same punchy tang as using key limes.
- → How long do they need to chill?
Let the pies set in the fridge for at least 2–3 hours so they firm up nicely before serving.
- → Is there a way to make the crust gluten-free?
Definitely! Use gluten-free graham crackers instead of the usual ones to make a safe, tasty crust.
- → What topping ideas work for these pies?
Try adding whipped cream, fruity lime zest, lime slices, fresh berries, or even a little melted chocolate drizzle for something different.
- → How should the leftovers be stored?
Pop leftovers in an airtight container in the fridge for up to 5 days, or freeze them for as long as 2 months if wrapped individually.
- → Can I prepare these the day before?
Sure! They're perfect to make ahead and keep in the fridge until you're ready to enjoy them.
