
 Pin it
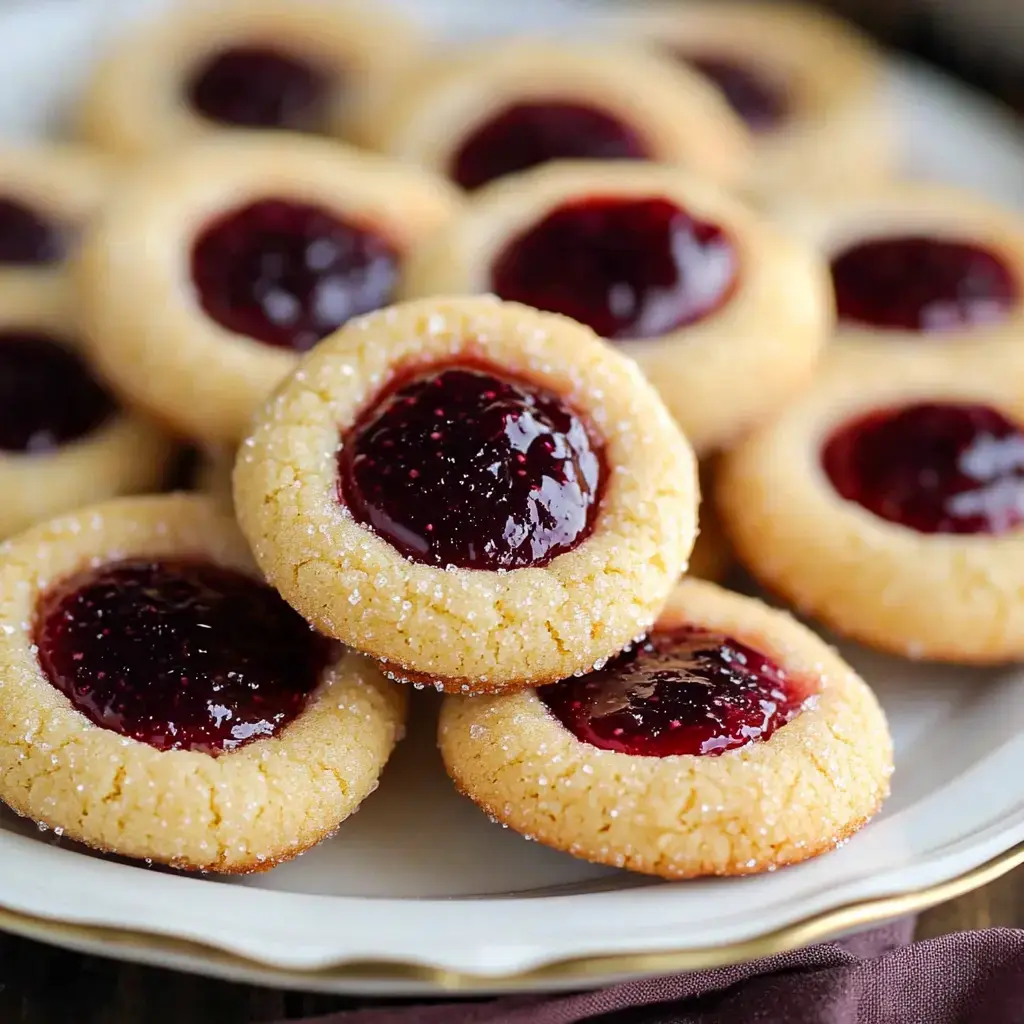
These homemade Thumbprint Cookies feature a buttery base filled with colorful jam centers. Whipped up from basic pantry staples and adaptable with whatever preserves you prefer, they strike a wonderful balance between a slightly crunchy outside and soft inside. They're a fantastic choice for celebrations, coffee breaks, or whenever you want something a bit special.
What Makes These Cookies Special
You'll fall for these thumbprints with their rich, shortbread-style dough and sweet jam middles that always hit the spot. What's great is you can switch up the fillings however you want. The mix comes together super fast with no waiting around for dough to chill, so they're perfect when you need cookies in a hurry. Their cute look and yummy flavor make them crowd-pleasers at any party or holiday gathering.
What You'll Need
- Cookie Base:
- 1 cup (226g) softened unsalted butter
- 2/3 cup (135g) white sugar
- 1 large egg yolk
- 1 teaspoon vanilla extract
- 2 cups (250g) all-purpose flour
- 1/4 teaspoon salt
- Optional Coating:
- 1/3 cup (65g) white sugar
- Centers:
- 1/2 cup preserves or jam (try raspberry, apricot, or strawberry)
- Tools You'll Want:
- Cookie sheets
- Parchment paper
- Electric mixer
- Small spoon for making dents
How To Make Them
- Get Ready
- Turn your oven on to 350°F (175°C). Put parchment on your cookie sheets. Set aside sugar for rolling if you're using it.
- Mix Your Dough
- Beat the butter and sugar together until it's fluffy and pale, roughly 3 minutes. Drop in the egg yolk and vanilla, and mix it all up. Slowly add in your flour and salt, stirring until everything sticks together.
- Form Your Cookies
- Roll the dough into small 1-inch balls. If you want, coat them in sugar. Place them on your lined sheets about 2 inches from each other. Push your thumb or a spoon into each to make a little cup.
- Add Jam and Bake
- Put about 1/2 teaspoon jam in each dent. Bake for 12-15 minutes until the edges turn a light gold. Let them sit on the sheet for 5 minutes before moving to a cooling rack.
Tricks For The Best Results
Don't pack your flour when measuring, just spoon it in and level off. Make sure your dough balls are tight to stop them breaking. If they crack when you make the indent, just push them back together. Heat up thick jam a bit so it goes in easier. Always use cooled baking sheets for new batches so cookies don't spread too much.
 Pin it
Ways To Enjoy
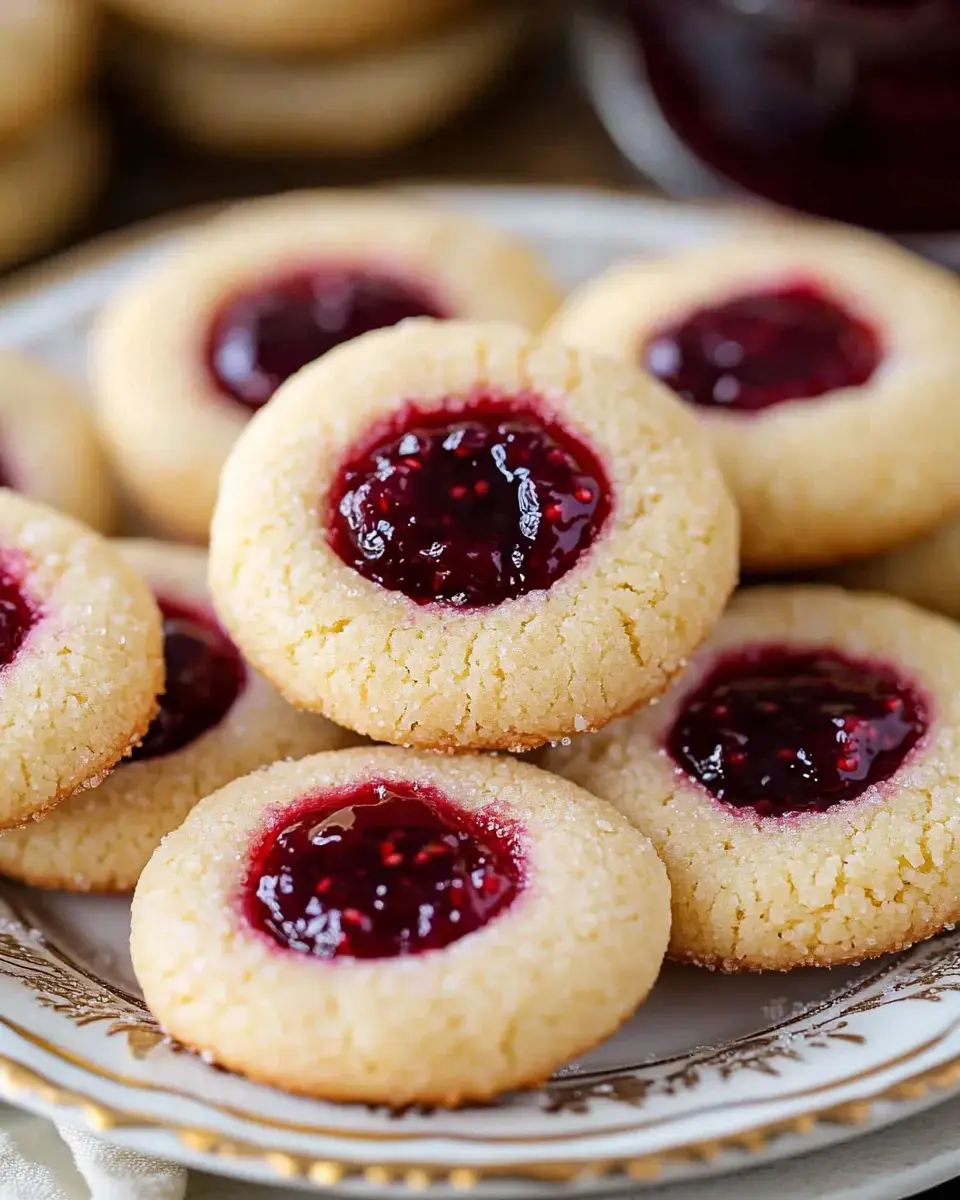
Show them off on a pretty plate when friends come over. Try different jams for a mix of flavors. They go great with tea or coffee in the afternoon. Add them to your holiday cookie trays or take them to cookie swaps. Wrap some up in cute boxes to give as gifts.
Keeping Them Fresh
Keep them in a sealed container at room temp for up to a week. You can freeze the raw dough balls without dents for up to 2 months. Just thaw them a bit before adding dents and jam. When stacking in containers, put parchment between layers so they don't stick. Don't pile them up if the jam isn't fully set yet.
Frequently Asked Questions
- → Why refrigerate the dough?
Keeping it chilled stops the cookies from spreading when they bake and avoids cracks in the thumbprints.
- → Can different jams be added?
Absolutely! Pick any flavor you like. Warm the jam slightly so it's easier to spoon in.
- → Is the dough supposed to be crumbly?
Yep, that's how it should be. Press and roll it, and it'll come together into smooth, buttery cookies.
- → How do I avoid cracks?
Roll the dough until it's smooth. This helps stop the cookies from splitting at the thumbprint when baked.
- → Can I prep them ahead?
Yes! Shape them and freeze without the jam. Fill and bake when you're ready.
Conclusion
These delightful cookies pair a buttery, tender base with a fruity jam center. Great for celebrations or cozy afternoons.