
 Pin it
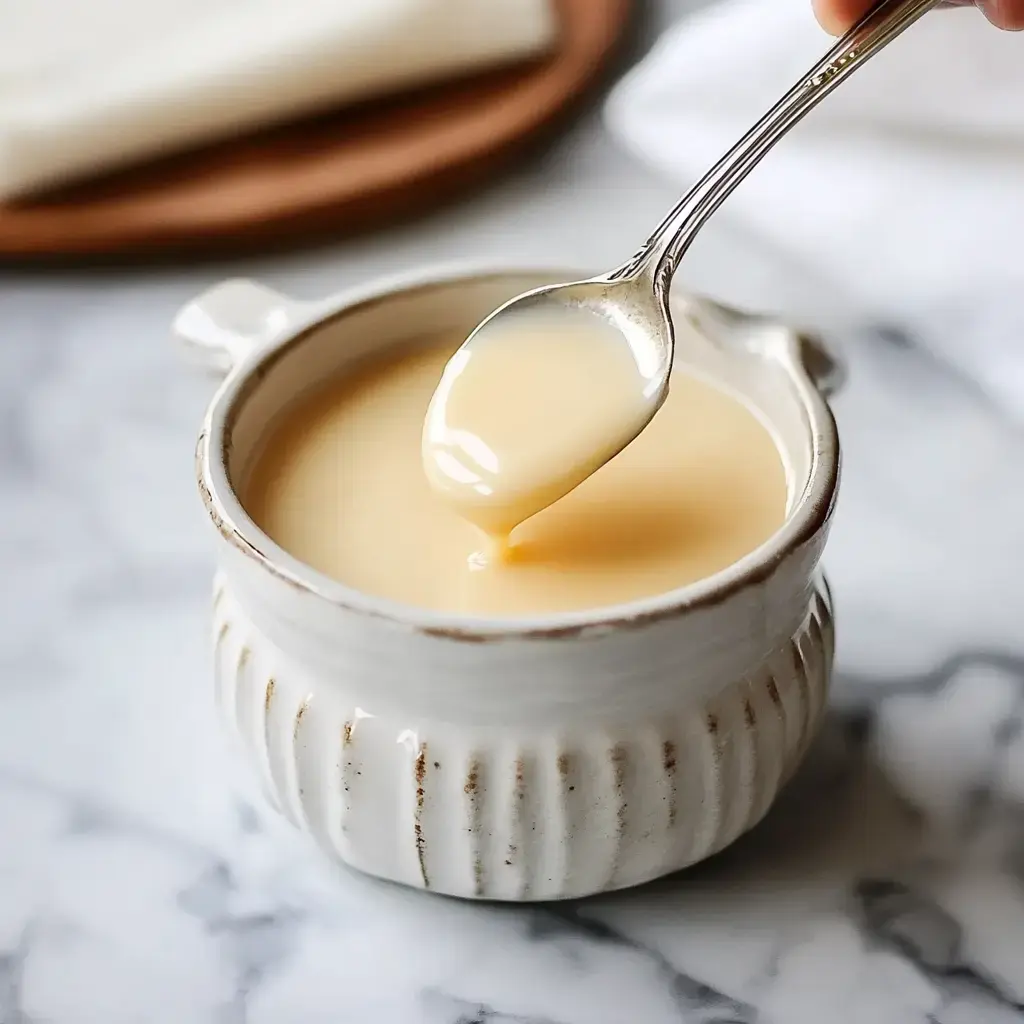
I stumbled upon this incredibly simple DIY condensed milk method during an urgent late-night baking situation when my can supply ran out while making my mother's signature fudge. After some quick googling and kitchen cabinet searching, I whipped up this version that actually works better than the store options! Through many attempts (and yes, several burnt pots along the way), I've nailed down a technique that consistently delivers the smoothest, most velvety results.
What Makes This Method Special
Creating condensed milk at home might seem tricky, but this approach is surprisingly easy. You'll have total control over the ingredients - zero additives or unknown components! You can also tweak how sweet you want it. What I love most? The wonderful aroma that spreads throughout your house while it reduces. It brings back cozy feelings like being in your grandmother's kitchen.
What You'll Need
- Main Components:
- 4 cups full-fat whole milk (don't substitute)
- 1 cup white sugar
- 1/4 teaspoon salt
- 1 vanilla bean (not required but worthwhile)
- Tools You'll Want:
- Thick-bottomed pot
- Wooden spoon with extended handle
- Sugar thermometer
- Sterilized glass containers for keeping
Detailed Process
- Gather Everything
- Use butter at room temperature - it applies much more smoothly than refrigerated butter. Get your chicken cut ahead of time, pick a perfectly soft avocado, and have your cheese prepared.
- Start The Foundation
- Apply butter to one face of each bread piece, then turn them over. The buttered part will become the sandwich exterior that turns beautifully golden when cooked.
- Arrange Thoughtfully
- Place cheese on both inner bread surfaces first - this creates protection that prevents soggy bread. Then add your hot chicken pieces, followed by neatly arranged avocado slices. Add a bit of salt and pepper.
- Cook It Right
- Warm your skillet on medium until water droplets sizzle when flicked onto it. Set your sandwich buttered-side down and let it cook around 3-4 minutes, until golden. Carefully turn it over and cook the other side.
- Finishing Moves
- Lightly push down with your spatula to help everything blend together. You're looking for melted cheese and golden bread, not too dark. Let it sit for a minute before cutting it diagonally.
Smart Tricks For Best Results
Watch your temperature carefully - if you notice large bubbles or hear loud boiling, lower the heat! We want a soft, slow simmer. If you see darkening around the edges, don't mix those bits in. Here's my favorite trick: heat your sugar in the oven briefly before adding it to the milk. It'll mix in way faster!
 Pin it
Unexpected Ways To Use It
Besides the standard baking needs, try adding this creamy treasure to your morning coffee or tea. It makes a fantastic base for homemade ice cream, and it's absolutely divine poured over fresh fruit! My kids go crazy when I use it for no-bake cookies - they come out so much creamier and richer.
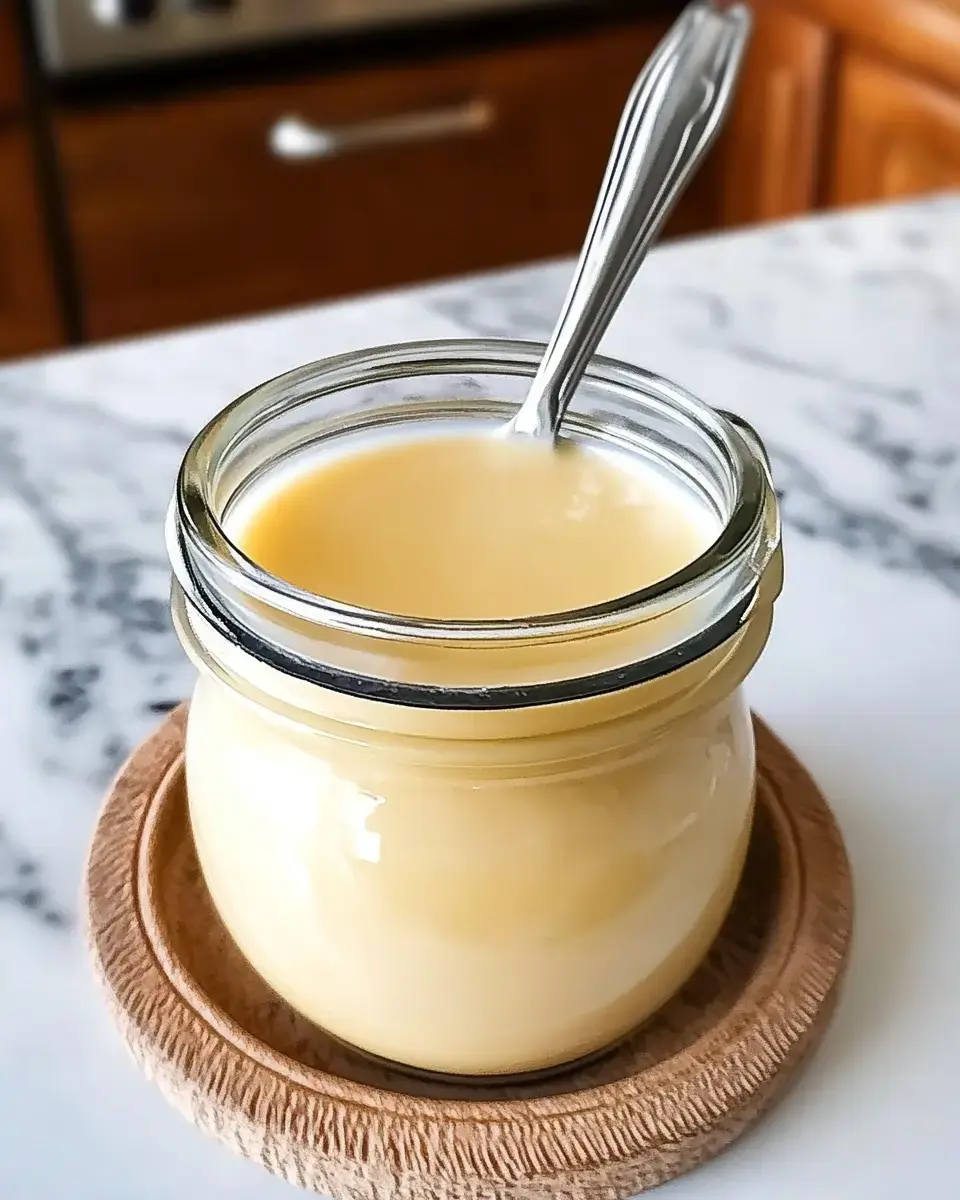
Keeping It Fresh
Transfer your hot condensed milk into clean glass containers while it's still warm. It'll stay good in your fridge for about a month - assuming it doesn't vanish before then! As it cools down, it gets much thicker, so don't worry if it seems runny when you first bottle it. Just warm it up slightly if you need it more liquid for your recipes.
Frequently Asked Questions
- → Why’s the thickening taking so long?
Smaller pans make a big difference. A single large pot can take ages, but two smaller ones cut the time to about 40 minutes.
- → Why is it runnier than expected?
Don’t panic—it’ll firm up as it cools. If it’s cooked down halfway, you’re all set.
- → What’s causing the crystals?
Overmixing after the sugar melts could be the culprit. Just stir occasionally to prevent sticking, and keep it gentle.
- → How do I get the sweetness just right?
Start with half a cup of sugar, taste as it reduces, and adjust if needed. You can’t fix it later, so add cautiously.
- → What if it’s solidified in the fridge?
No worries! A quick zap in the microwave in short bursts will loosen it right up.
Conclusion
You can easily create sweetened milk sauce at home with a handful of ingredients and a little time. It’s super flexible and worth the effort.