
 Pin it
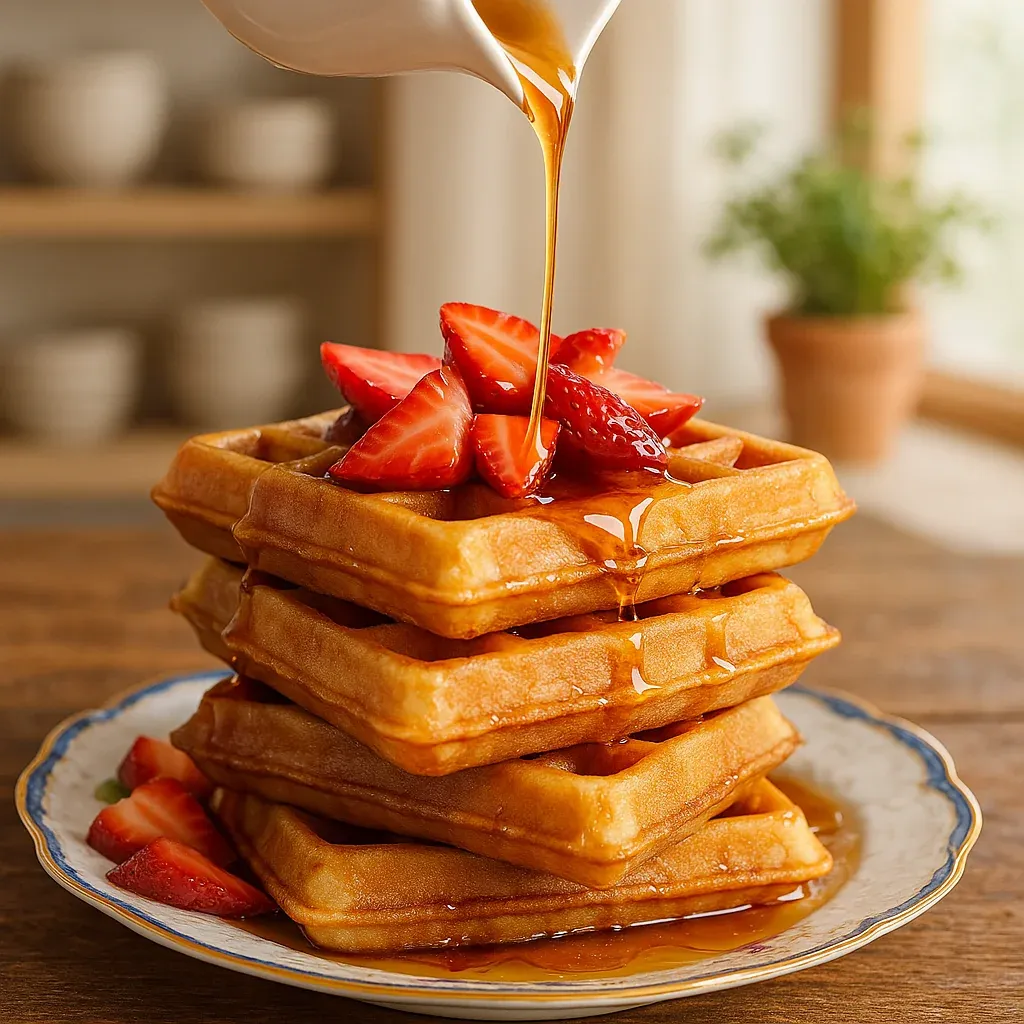
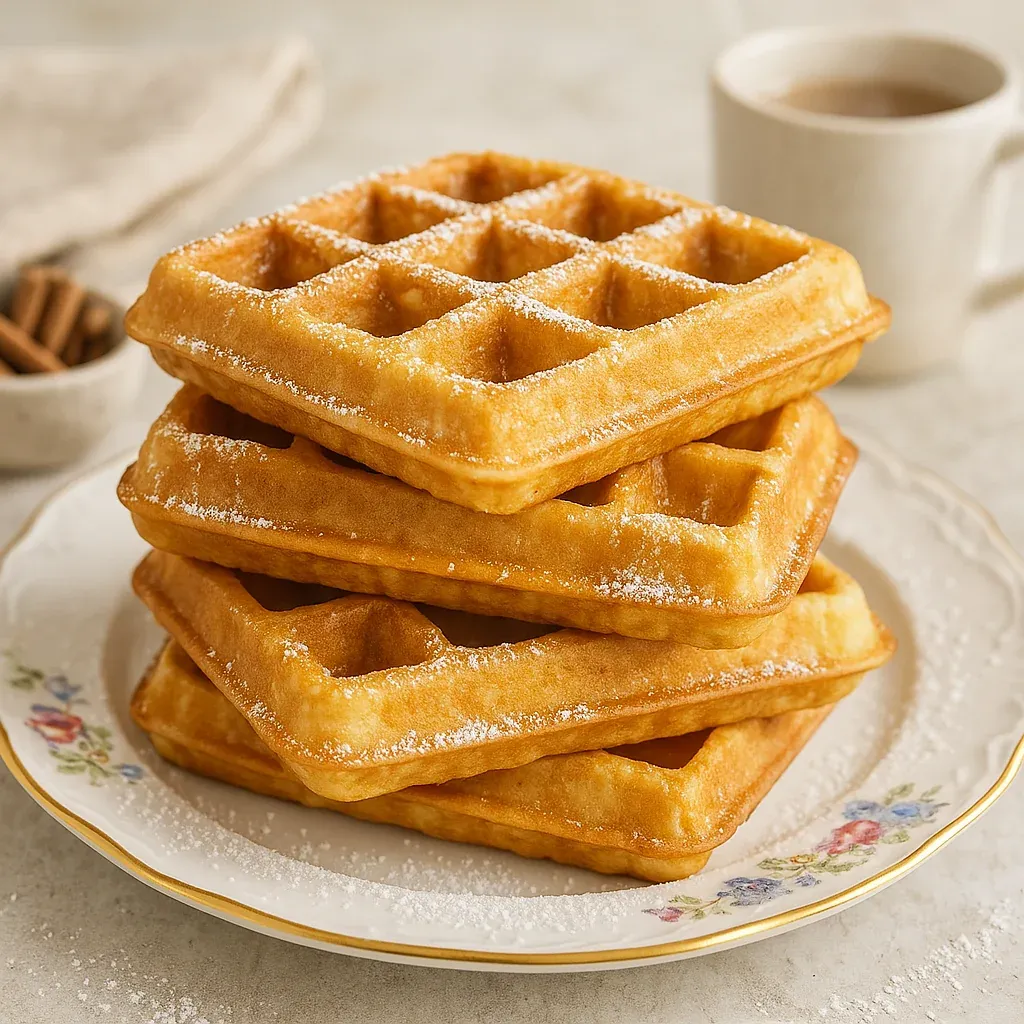
This waffle mix turns regular mornings into fun events with crunchy outsides and soft insides that are better than what you'd get at most diners. I've spent years tweaking different methods and finally nailed this family hit that always gives you golden, top-notch waffles straight from your own kitchen.
I stumbled on this mix during a blizzard when we couldn't go to our favorite breakfast place. What began as making do has turned into our weekend ritual, and my kids now like these homemade waffles better than anything we could buy elsewhere.
Ingredients
- All purpose flour: Forms the main structure of your waffles grab 270g for ideal consistency or check out measuring advice to get it right
- Granulated sugar: Brings mild sweetness without going overboard cut to 2 tablespoons if you want them less sweet
- Baking powder: The key to airy waffles makes your mix expand and hit every corner of the iron for top results
- Salt: Boosts other tastes and cuts the sweetness giving you a well-rounded flavor
- Milk: Go for whole or 2 percent for best taste adds wetness and helps make that soft middle
- Unsalted butter: When melted adds richness and helps you get that beautiful brown color and crunchy outside
- Eggs: Give firmness and flavor room-temp eggs mix better but cold ones work fine too
- Vanilla extract: Just a bit adds depth and turns your waffles from basic to fantastic
Easy Preparation Steps
- Get Your Waffle Iron Hot:
- This must-do first step makes sure your mix hits a good hot surface. Pick a higher temp for crunchier results. While it warms up put all dry stuff in a big bowl mixing flour sugar baking powder and salt together. This mixing puts air in the flour and spreads the rising agents around for evenly cooked waffles.
- Blend Wet Stuff:
- In another bowl stir milk eggs and vanilla then pour in cooled melted butter while stirring. Using slightly cooled butter stops it from cooking the eggs and stirring helps spread fats throughout the mix for even texture.
- Join Wet and Dry Parts:
- Pour wet stuff into dry stuff and mix just until it comes together. Stop when you don't see dry flour even if some small bumps remain. Too much mixing makes tough waffles not soft ones. The mix should look a bit lumpy but even with no obvious dry spots.
- Make The Waffles:
- Oil your hot waffle iron well even if it's nonstick. Add about a third cup of mix per waffle spreading it a little before shutting the lid. The exact amount changes based on your waffle maker size. Cook until golden and steam slows down which shows moisture has gone and made that perfect crunchy outside.
 Pin it
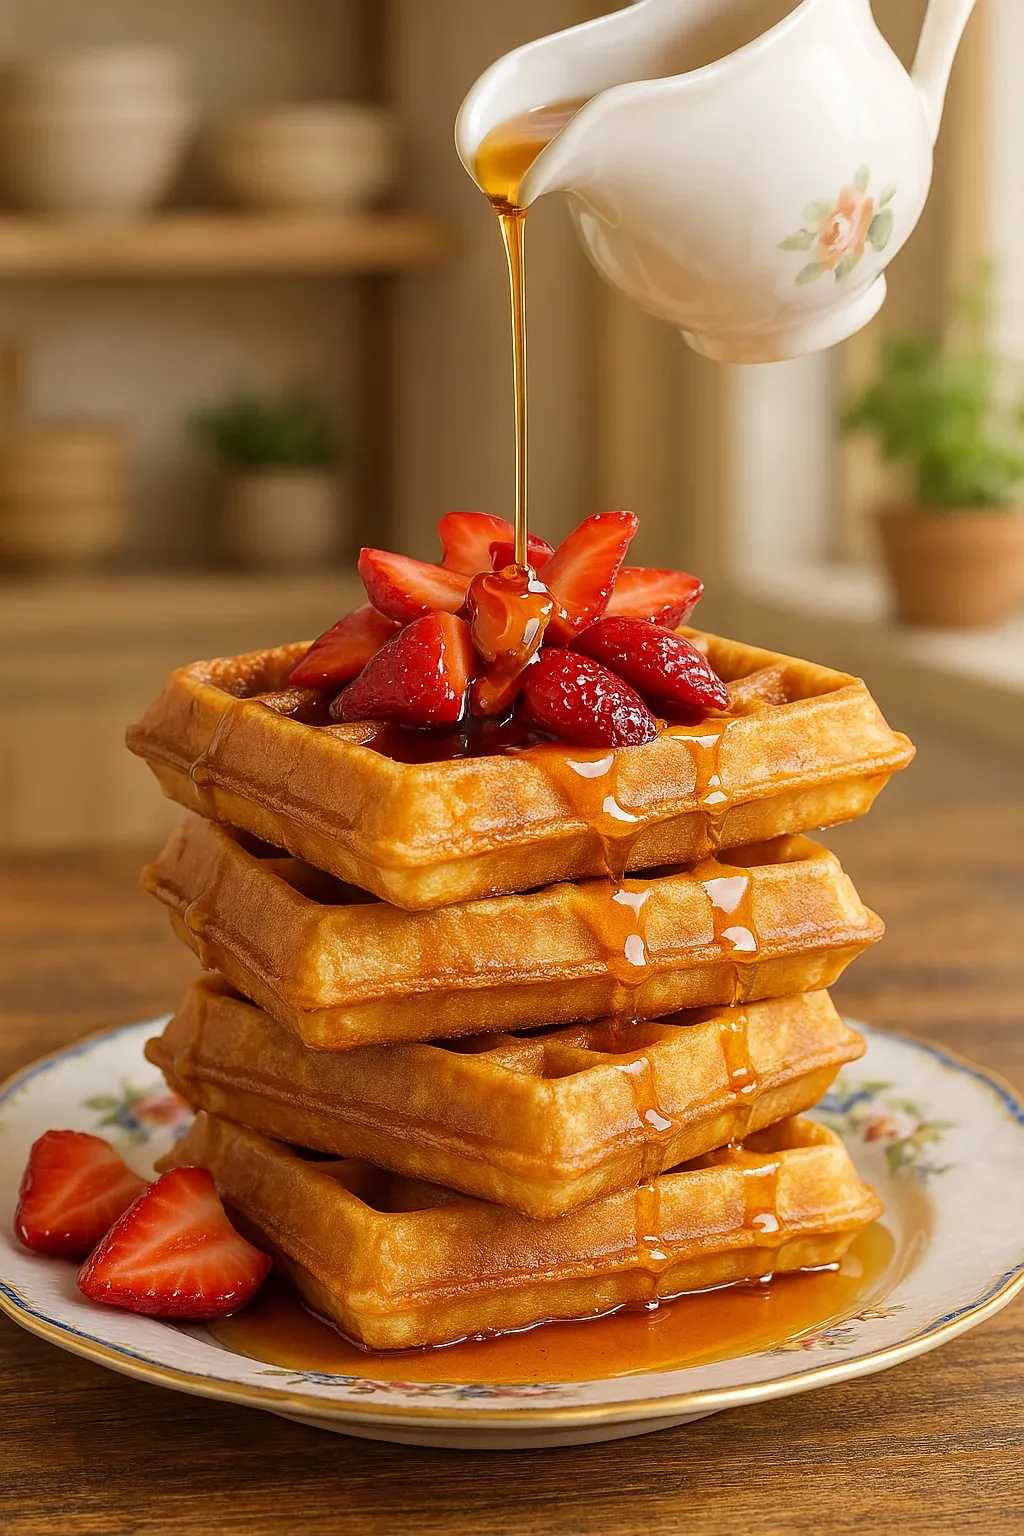
I love eating these waffles with fresh strawberries and real maple syrup. The mix of the crunchy waffle soaking up syrup while tart berries add brightness makes breakfast perfect. When my kids were little we started weekend waffle bars where everyone picked their own toppings – we still do this now even though they're older.
Keeping Them Fresh
These waffles freeze super well for quick weekday meals. After they cool completely lay them flat on a baking sheet and freeze until hard about an hour. Move them to a freezer bag with baking paper between each waffle so they don't stick together. They'll last up to three months frozen and heat up perfectly in a toaster on medium heat.
Switching Ingredients
For non-dairy waffles use plant milk and vegan butter in the same amounts. They'll taste almost the same just a tiny bit less rich. If you want more nutrition swap half the white flour for whole wheat flour which gives a nutty taste and extra fiber. If you can't eat eggs try a quarter cup of plain applesauce for each egg though your waffles won't be quite as fluffy.
Topping Ideas
While butter and maple syrup work great these waffles can handle lots of different toppings. For something fancy try whipped cream and chocolate sauce. Fresh fruit and yogurt make a lighter choice with more protein. For dinner skip the vanilla and add fried chicken on top for homemade chicken and waffles. They also work great as breakfast sandwiches with egg and cheese between two pieces.
 Pin it
Where Waffles Came From
Waffles go back to middle ages Europe with the first waffle irons showing up in the 1200s. Early ones were cooked over fire using irons with pretty patterns. Belgian waffles with deeper squares and lighter texture got popular in America after showing up at the 1964 World's Fair in New York. This mix blends American and Belgian styles giving you waffles with the best parts of both kinds.
Frequently Asked Questions
- → How do I get crunchier waffles?
Make sure to preheat your waffle iron really well, and give it time to heat back up between cooking each one. Don’t stack the waffles—they’ll steam and soften. Use a cooling rack instead for better texture.
- → Can I use eggs straight from the fridge?
Yep, cold eggs are fine, but if you let them warm up a bit, they’ll mix in more smoothly for fluffier waffles. If you’ve got time, set them out for half an hour beforehand.
- → What are some good waffle toppings?
Go sweet with butter, syrup, or sliced fruit like bananas and berries. For a savory vibe, fried chicken, bacon, or even some vegetables work great too!
- → What’s the best way to keep leftover waffles?
Let them cool and pop them in a sealed container or freezer bag. Freeze for up to three months, then reheat in the toaster whenever you want.
- → How do I measure flour correctly?
Fluff the flour in its bag, then scoop it into your measuring cup lightly. Level it off with a knife without packing it down. If available, weigh it (270g for this recipe) for consistent results.
- → Can I prepare the batter ahead of time?
Batter is best freshly prepared since baking powder kicks in fast. For convenience, mix all the dry ingredients ahead, then add the wet ingredients when you’re ready to cook.