
 Pin it
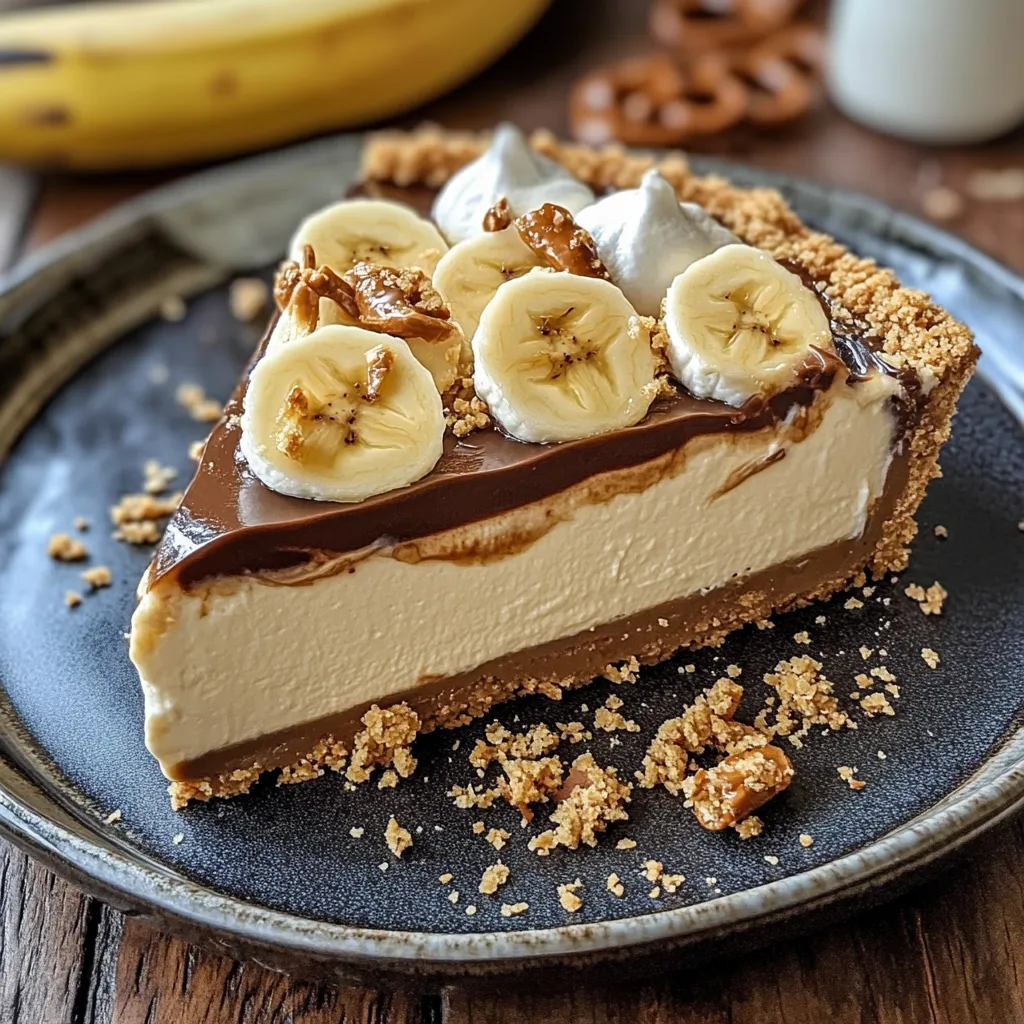
This hearty Banoffee Pie combines classic British flavors with a creamy no-bake cheesecake layer for an indulgent dessert experience that never fails to impress. The combination of buttery graham crust, smooth cream cheese, rich dulce de leche, fresh bananas, and decadent chocolate creates a symphony of flavors and textures that's impossible to resist.
So last week, I brought this to a potluck. You should've seen people's faces when they took their first bite. Even that guy who always says 'I'm watching my sugar' had seconds.
Essential Ingredients and Selection Tips
- Real Butter: For the crust none of that margarine nonsense
- Cream Cheese: Look for blocks that feel just right not too soft not too hard
- Dulce de Leche: Don't cheap out here store bought is fine but get the good stuff
- Fresh Bananas: Yellow with slight green at the stems means perfect ripeness
- Dark Chocolate: Use something you'd actually eat on its own
- Heavy Cream: The higher the fat percentage the better it whips
Detailed Cooking Instructions
- Prepare the Crust:
- Crush graham crackers until they're fine powder food processor works best but a rolling pin and bag works too. Mix with melted butter until it resembles wet sand. Press firmly into pie dish using the bottom of a measuring cup for even pressure.
- Make Cheesecake Layer:
- Beat softened cream cheese powdered sugar and vanilla until fluffy but don't overdo it. Fold in whipped cream gently to maintain airiness. Spread evenly over crust and refrigerate until firmed up about 30 minutes.
- Apply Caramel Layer:
- Warm dulce de leche slightly for easier spreading. Gently layer over set cheesecake filling using an offset spatula to create an even surface. Return to refrigerator for 15 minutes to set.
- Arrange Bananas:
- Slice bananas directly before using to prevent browning. Arrange in a single layer over caramel slightly overlapping. For extra protection against browning brush with a little lemon juice mixed with water.
- Create Chocolate Ganache:
- Heat heavy cream just until bubbles form at edges. Pour over chopped dark chocolate and let sit 2 minutes before stirring until smooth. Allow to cool until slightly thickened but still pourable.
- Add Ganache Layer:
- Pour ganache over bananas tilting pie to ensure even coverage. Refrigerate until ganache is set but not completely hard about 30 minutes.
- Final Decoration:
- Pipe whipped cream around edges using a star tip for bakery worthy presentation. Sprinkle with crushed pretzels just before serving for that perfect salty crunch.
- Chill Properly:
- Refrigerate assembled pie for at least 1 2 hours before serving for flavors to meld and layers to set completely.
- Perfect Slicing:
- Run knife under hot water wipe dry then slice. Repeat between each cut for photo worthy slices.
- Serving Temperature:
- Remove from refrigerator 15 minutes before serving the flavors bloom at just below room temperature.
Look, I've messed this up enough times to know all the tricks. Like that time I tried to rush the layers and ended up with what looked like banana pudding gone wrong. Now I know - good things take time. Each layer needs its moment, you know?
Kitchen Adventures
Some nights I get creative. Last Christmas I added a splash of bourbon to the caramel - don't tell my mother-in-law but that's why she kept coming back for more. Once I ran out of dark chocolate and used milk chocolate instead. My kids went nuts for it, so now that's our special version. The beauty of this recipe is how it welcomes experimentation - sometimes the best flavors come from happy accidents.
Temperature Tactics
Here's what nobody tells you - temperature matters. That cream cheese? Should be cool but soft. The ganache needs to cool just enough so it doesn't melt everything underneath. I usually make the ganache, then clean my kitchen. By the time everything's tidy, it's perfect for spreading. Each component needs to be just right for the layers to maintain their integrity while still melding together perfectly.
I've learned these tips through plenty of trial and error - like that time my crust completely fell apart because I didn't pack it firmly enough. Now I press it down like I mean it!
Final Thoughts
You know what's funny? This pie started as a mistake but turned into my signature dessert. Now it's what I make for birthdays, bad days, good days, or just because it's Tuesday. Sometimes the best recipes come from just playing around and not taking things too seriously.
The beauty of this banoffee pie isn't just in how it tastes but in how it brings joy to whoever eats it. It's proof that sometimes our kitchen mistakes turn into our greatest triumphs - a delicious reminder to embrace imperfection.
Frequently Asked Questions
- → What's dulce de leche?
- A rich, milk-based caramel spread with a distinctive taste.
- → Is this dessert okay to prep ahead?
- Yes, make it 1-2 days early and stash in the fridge.
- → What’s a good Truwhip swap?
- Use whipped cream, Cool Whip, or fresh homemade whip.
- → How do I stop the bananas from browning?
- Wait to add them until right before serving or brush with lemon.
- → Can I switch the type of pan?
- Sure, a 9-inch pie dish or springform pan is a great alternative.