
 Pin it
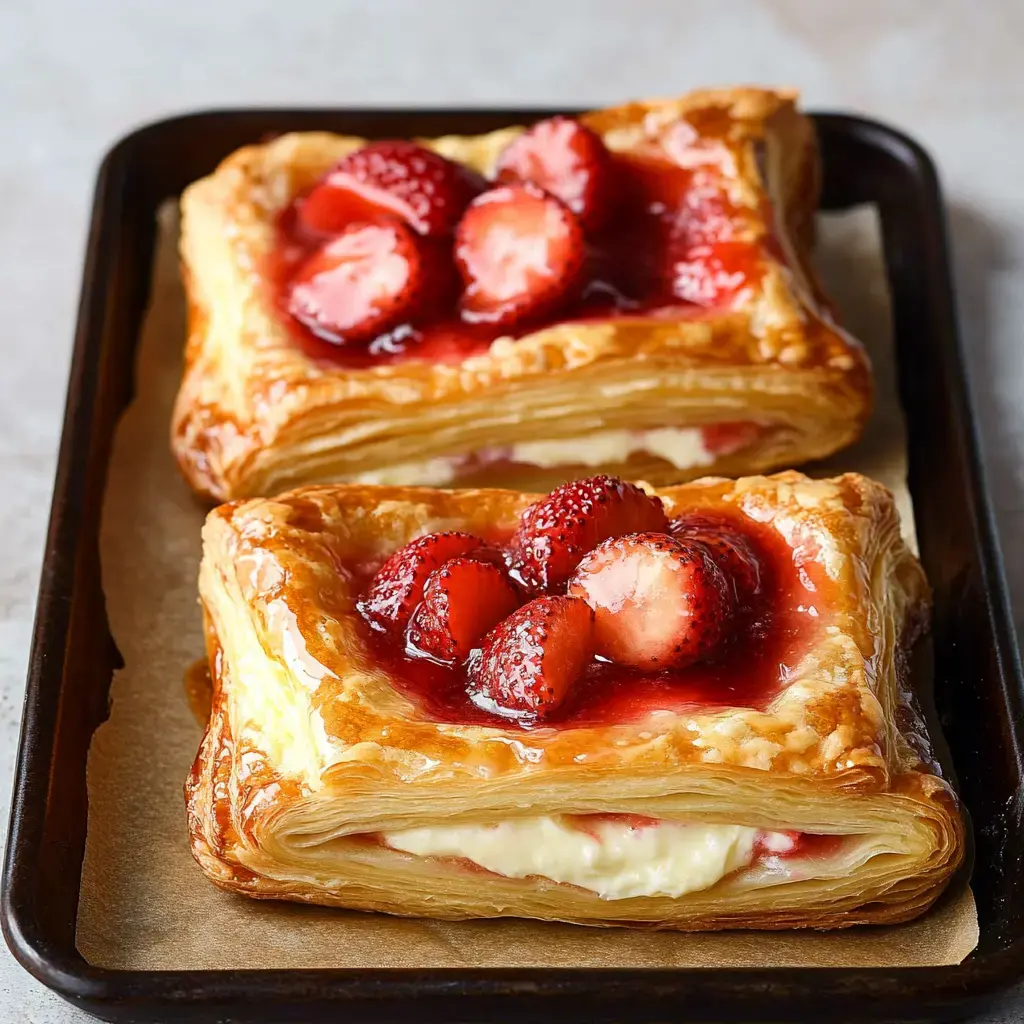
I whipped up these strawberry danishes when I wanted homemade treats that looked store-bought. After countless messy countertops and several disappointing batches, I nailed it! Nowadays my home smells of sweet butter every weekend, and my pals actually time their visits around when I'm baking. Believe me - after you get the hang of this easy technique, you'll turn your nose up at grocery store pastries forever.
What Makes This Danish Special
There's something magical about taking these crispy, layered goodies out of your oven! They seem super fancy but need basic stuff you'll find at any store. What's great? You can get them ready ahead and bake them fresh when guests arrive. I love seeing everyone's reaction with that initial taste - sheer happiness!
What You'll Need
- Main Components:
- 1 sheet quality puff pastry
- 4 oz softened cream cheese
- 2 cups strawberries, fresh
- 1 teaspoon extract of vanilla
- Finishing Touches:
- 1/2 cup sugar, powdered
- 1/4 cup jam made from strawberries
- 1 egg for brushing
- Equipment Needed:
- Knife with sharp edge
- Brush for pastry
- Sheet for baking
- Paper, parchment type
Creating Pastry Wonders
- Prep Work
- Let your puff pastry thaw in your refrigerator through the night - don't leave it out! Set your cream cheese out 60 minutes before you start. Slice strawberries while waiting - thin cuts work wonderfully. Put parchment on your baking sheet right away, you'll be glad you did!
- Forming Each Danish
- Divide pastry into squares then mark a frame around each square - like outlining a window, without cutting completely through. Add your smooth filling in each center, then arrange those gorgeous strawberries above. Coat edges with whisked egg - this creates that beautiful golden color.
- Achieving Baking Glory
- Stick them in your fridge for 15 minutes as your oven warms up - chilled dough makes those fantastic flaky bits! Then bake until they've risen and browned, roughly 20 minutes. It's fun watching them grow through the oven window!
Insider Tricks
Always keep things cool! Warm dough gets messy and won't rise correctly. Dry your strawberries with towels - wetness leads to floppy pastries, and that's awful! If you spot bumps in your cream cheese, just mix longer until they're gone. And don't rush past that cooling step before cooking - it's crucial for getting those perfect pastry layers.
 Pin it
Fun Variations
After mastering the standard version, swap in different fruits! Raspberries and peaches turn out great. I sometimes add a tiny bit of almond extract into the cream cheese mix - it brings something truly wonderful. During Christmas season, I dust them with powdered sugar containing a smidge of edible sparkles. They look like they've been covered in freshly fallen snow!
Storage Advice
You'll want to eat these the same day you bake them - that's when they're crunchiest. If you must save them, go with a paper sack instead of plastic, which makes them soft. To make them crisp again, warm them in a 325°F oven for about 5 minutes. Just don't forget to add any powdered sugar after you've warmed them, not before!
Frequently Asked Questions
- → Why isn’t it puffing right?
The dough needs to stay cool before baking. If it warms up, toss it back in the fridge for about 15 minutes.
- → Can these be prepped early?
They’re best fresh, but you can refrigerate for 2-3 days. Reheat slightly before digging in for the best result.
- → How does scoring help?
It creates edges that puff and hold the filling in place. Just lightly mark the dough, don’t cut through.
- → Will too many berries ruin it?
Yep, too much fruit turns it soggy. One neat layer is enough for better results.
- → Jam or glaze on top?
Both are awesome! Jam is fast, while glaze gives a touch of charm. Either way, they’re great extras.
Conclusion
Fluffy puff pastry paired with creamy cheese and juicy strawberries. A lovely choice for breakfast or brunch, and so simple to make anytime.