
 Pin it
Take regular canned tuna to new heights with these Asian-style Sriracha Tuna Cakes. They're wonderfully crunchy outside while staying soft and tasty inside, giving you just the right kick of heat and flavor with each bite. The tangy spicy tartar sauce makes these cakes even better, turning them into a quick but fancy meal that doesn't take much work. Perfect for a fast lunch or easy dinner, these tuna cakes show how simple pantry items can turn into restaurant-quality food with just a bit of prep time.
I first whipped up these tuna cakes while trying to find new ways to use my kitchen staples during hectic weeks. What started as just playing around has now become one of my go-to meals. Just a few weeks ago, I made these for some friends who swore they "couldn't stand canned tuna" - they ended up begging for my recipe before they left. The spicy kick mixed with that crispy outside totally changed their minds.
Key Ingredients and Smart Shopping Advice
- Canned Tuna: Go for solid white albacore in water for the nicest texture and taste. Make sure to drain it really well so your cakes don't turn out mushy.
- Rice Crumbs or Breadcrumbs: You can find rice crumbs at Trader Joe's to keep these gluten-free, but any breadcrumbs will do the job. Panko gives you an extra crunchy outside.
- Sriracha: Put in as much or as little as you want depending on how spicy you like things. The amount I suggest gives a medium heat most people enjoy.
- Mini Sweet Peppers: These add nice color, flavor, and a bit of sweetness that works well with the heat. Red bell pepper makes a great swap if needed.
What's so great about this dish is how easy it is to change up - you can make it spicier by adding more sriracha, or swap out ingredients based on what's in your kitchen. The first time I tried these, I threw in some diced jalapeño instead of sweet peppers for extra heat, and they came out just as tasty.
Step-by-Step Cooking Guide
- Step 1: Mix Up the Spicy Tartar Sauce
- Start by putting 1/4 cup mayo, 1/4 cup dill pickle relish, and 2 tablespoons sriracha in a small bowl. Throw in a tiny bit of ground ginger for extra flavor if you have it, then add salt and pepper how you like it. Mix everything together well, cover it up, and stick it in the fridge while you make the tuna cakes.
- Step 2: Put Together the Tuna Mix
- Drain two 5-ounce cans of tuna completely and put them in a medium bowl. Break up any chunks with a fork until it's all even. Beat one egg in another small bowl, then add it to the tuna and stir well. Now add 1/2 cup rice crumbs or breadcrumbs, 2 tablespoons mayo, 1 tablespoon sriracha, one minced garlic clove, and your seasonings. Carefully mix in your chopped sweet peppers and green onions until everything's evenly spread out.
- Step 3: Shape Your Patties
- Get your hands a little wet to stop sticking, then scoop about 1/3 cup of the tuna mix and roll it into a ball. Gently press it between your hands to make a patty about 3/4-inch thick. Put your shaped patties on a plate and keep going until you've used all the mix, making around five same-sized cakes.
- Step 4: Cook Until Golden Brown
- Warm up 1-2 tablespoons olive oil in a big skillet over medium-high heat until it's shimmering but not smoking. Carefully put the tuna cakes in the hot oil, making sure they don't touch each other. Let them cook for 3-4 minutes on the first side until they're golden brown and crispy, then carefully flip them with a thin spatula. Cook another 3-4 minutes on the second side until they're golden all over and hot through.
- Step 5: Dish Up and Dig In
- Move your hot tuna cakes to a plate lined with paper towels to soak up any extra oil. Serve them right away with a big spoonful of the spicy tartar sauce on top or on the side for dipping. For a complete meal, add a simple side salad with Asian dressing, cauliflower rice, or some roasted veggies. Sprinkle with more sliced green onions and add lime wedges for a fresh finish.
 Pin it
When I first tried making these tuna cakes, I learned a big lesson about being patient. I tried to flip them too soon before they had formed a good crust, and they fell apart into a mess. Now I wait until I can see golden edges forming before I try to turn them, and that makes all the difference in how nice they look when done.
Tasty Serving Ideas
These flexible tuna cakes go great with lots of different sides. For a light lunch, put them on top of some mixed greens with a simple dressing made from rice vinegar and sesame oil. For a bigger dinner, serve them with sesame cucumber salad and cauliflower rice. They also make great little sliders - just put each cake on a small bun with some spicy tartar sauce, sliced avocado, and microgreens for a fancy snack or game day treat that'll vanish in no time.
 Pin it
Prep Now, Eat Later Options
These tuna cakes work great for meal prep and can be made ahead in a few different ways. You can mix everything and shape the patties up to 24 hours ahead - just cover them and keep them in the fridge until you're ready to cook. You can also fully cook the cakes, let them cool completely, and keep them in the fridge for up to three days. When you want to eat them, warm them up in a 350°F oven for about 10 minutes or in an air fryer for 3-4 minutes at 350°F until they're hot. The spicy tartar sauce actually tastes even better after a day in the fridge as the flavors blend together.
Air Fryer Method
For an easier cooking option with less oil, these tuna cakes work great in an air fryer. Heat your air fryer to 350°F for about 5 minutes. Lightly spray both sides of each tuna cake with cooking oil, then place them in a single layer in the air fryer basket, leaving space between each one. Cook for 8-10 minutes, carefully flipping them halfway through, until they're golden brown and hot inside. This way makes super crispy outsides that many people like even better.
 Pin it
These Sriracha Tuna Cakes have become my favorite fix for those nights when the fridge looks empty but the pantry's still full. With just a few basic ingredients I always keep around, I can make a meal that feels special instead of thrown together. The mix of crispy outside, flavorful inside, and zesty sauce turns plain old canned tuna into something truly mouthwatering that I'm happy to serve to both family and guests.
Frequently Asked Questions
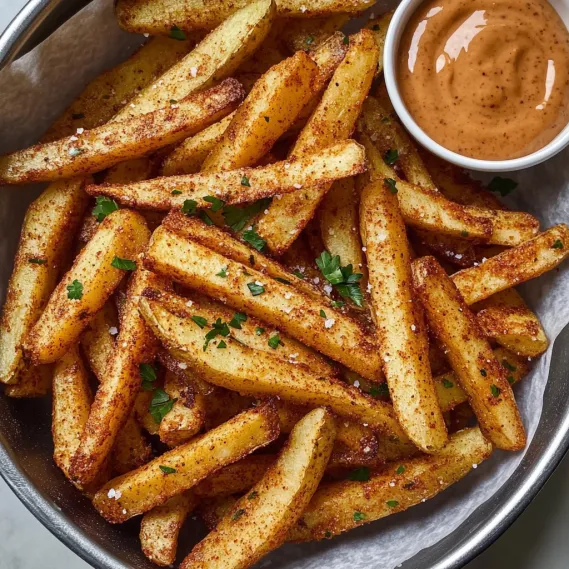
- → What’s the purpose of soaking the potato slices?
- Soaking cut potatoes in cold water makes a big difference. It rinses away surface starch that can make fries stick together or turn mushy. Plus, it prevents the spuds from browning while resting and helps the soaked water create steam inside as they cook, making them extra fluffy inside and crispier outside.
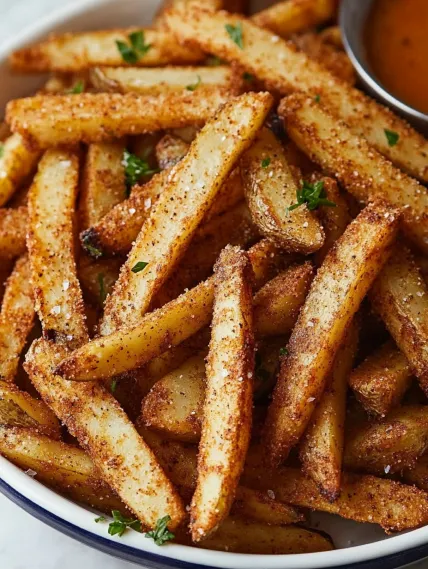
- → Can I make these fries less or more spicy?
- Of course! The cayenne pepper controls the heat. To make it milder, cut the cayenne to 1/4 teaspoon or skip it. For fries with a spicy punch, use up to a teaspoon of cayenne, or blend in some chipotle powder or red pepper flakes for a twist.
- → Why do the fries need a second fry?
- It’s all about that crunch! The first lower-temp fry cooks the middle through and locks in the texture. The second hotter fry takes care of getting that crispy, golden layer on the outside. Skipping it leaves the fries less crispy, and that’s no fun.
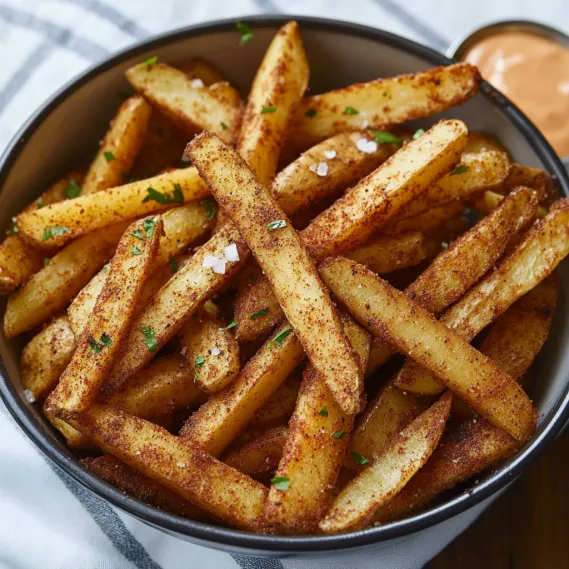
- → How can I make oven-baked fries just as crunchy?
- To nail that crunch in the oven, dry the potatoes thoroughly after soaking, give them space on the baking sheets, and heat the trays before adding the fries. Use a touch more oil, flip midway, and maybe let them hang out in the oven with the door cracked after cooking to shed moisture.
- → What are the best dipping sauces for these fries?
- So many! Stick with classics—garlic aioli, spicy mayo, or fry sauce. Or try something bold like tangy BBQ sauce, a yogurt-based dip to cool the spice, or remoulade for a Southern feel.
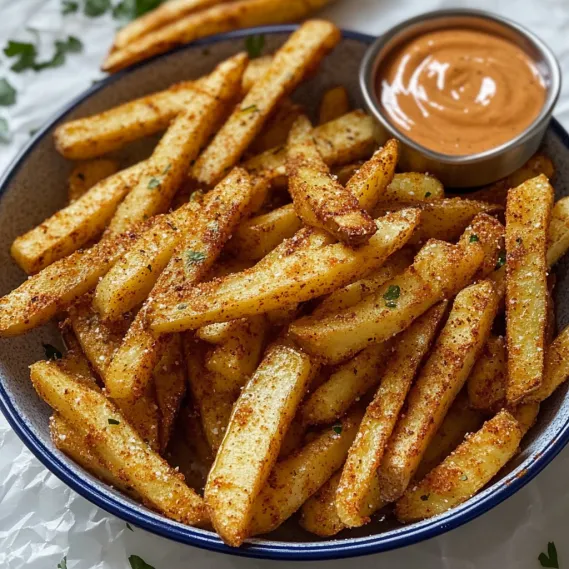
- → Can I prepare some parts ahead of time?
- Sure can! Cut-up and soaked potatoes can chill in water for up to a day. The seasoning mix stays fresh in a jar for months. You can also pre-cook potatoes by boiling, then cool and refrigerate them for up to 24 hours before the final bake or fry step.