
 Pin it
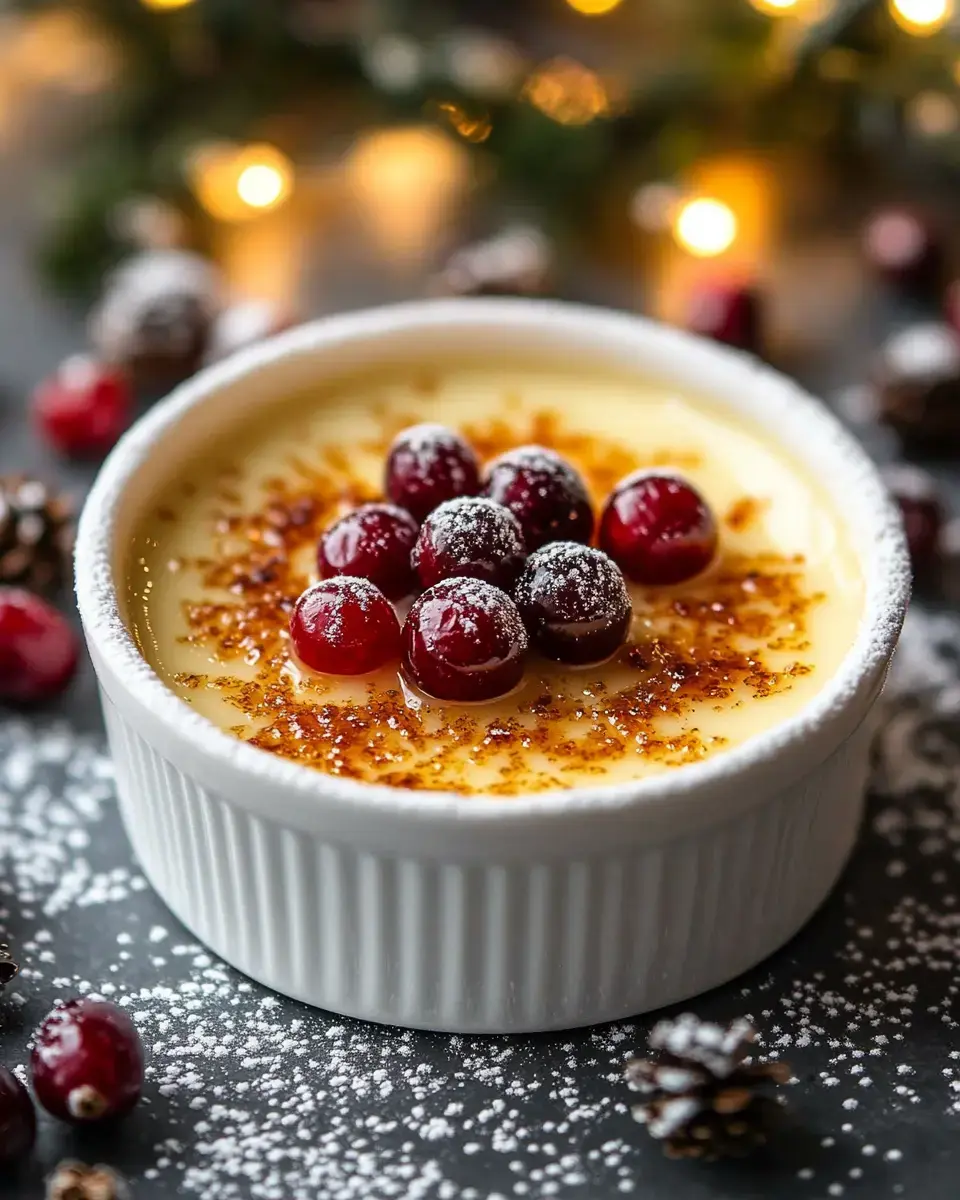
I'm gonna let you in on my holiday dessert shortcut that seems fancy but couldn't be easier. I stumbled onto this eggnog crème brûlée twist when Christmas leftovers were sitting in my fridge. These days my family won't let me skip it. There's nothing like breaking that sugar shell to find the velvety eggnog goodness waiting underneath—it's what holiday memories are made of.
What Makes This Work So Well
The best part about this dessert is how your store-bought eggnog works as both a flavor booster and thickener. Regular crème brûlée can go wrong easily, but eggnog actually makes the custard more forgiving. And you'll only need five things that are probably sitting in your kitchen already during December.
Your Ingredients List
- Main Components:
- 1 cup eggnog
- 1 cup heavy cream
- 5 large egg yolks
- 1/4 teaspoon ground nutmeg
- 1/4 cup granulated sugar (extra needed for topping)
- Tools You'll Want:
- Large measuring cup with spout
- Kitchen torch
- Fine-mesh strainer
- Large baking dish
- 4 (5-ounce) ramekins
Step-By-Step Instructions
- Prep Your Setup
- First off, warm your oven to 300°F. Put your ramekins in a baking dish and start some water boiling. In a bowl, mix those yolks and sugar until they turn light and fluffy—it'll take around 2-3 minutes.
- Mix Your Custard
- Warm the eggnog and cream until tiny bubbles form at the edges. Here's the important bit: pour this hot stuff into your egg mixture really slowly while constantly stirring. This keeps your eggs from cooking too fast. Throw in the nutmeg and run everything through a strainer.
- The Gentle Bake
- Fill each ramekin with your mixture, then carefully pour hot water around them, coming halfway up the sides. This gentle method is what gives you that dreamy texture everyone loves.
- Finishing Touches
- After they've cooled down, dust sugar evenly across the tops and use your torch to make them golden and crispy. Give it a minute to set up for that satisfying crack.
Pro Advice
Always strain your custard mixture—it catches any egg bits that might have cooked too soon. Don't try to skip the water bath or you'll end up with lumps. To check if they're done, tap the side—they should wobble slightly like jello, not slosh around. When you're torching the tops, use small circular motions so you don't burn any spots.
 Pin it
Custom Variations
I sometimes toss a bit of bourbon into the mix for extra coziness. Try different eggnog flavors too—the spiced rum version gives it an amazing kick. No kitchen torch around? Your broiler can do the job, just don't walk away while it's working. I've served these in shallow teacups for a cute holiday presentation, but you might need to tweak the cooking time a little.
How To Serve And Store
You can make these up to three days ahead, but save the sugar burning for right before serving. I like to top mine with some sugared cranberries and a tiny rosemary sprig for holiday flair. They'll stay good in your fridge with a cover, but remember that crispy top won't stay crunchy forever—try to enjoy them within an hour after torching.
Frequently Asked Questions
- → Why did my custard scramble?
You poured the hot cream too fast. Go slow and whisk non-stop. If it still lumps, run it through a strainer.
- → How do I check if it’s done?
Gently shake the dish. Custards should jiggle like jelly, not flow like liquid. They’ll firm up more as they cool off.
- → Can I prep these early?
Yep, you can make the custards up to two days ahead. Torch the sugar topping right before serving, though.
- → What if I don’t have a torch?
Use your oven broiler instead. Keep a close eye on it, as the sugar can burn really fast.
- → What to do if water seeped in?
Carefully pour the water bath, or add the dish to the oven before pouring water. If it’s watery, start fresh—it won’t set properly.