
 Pin it
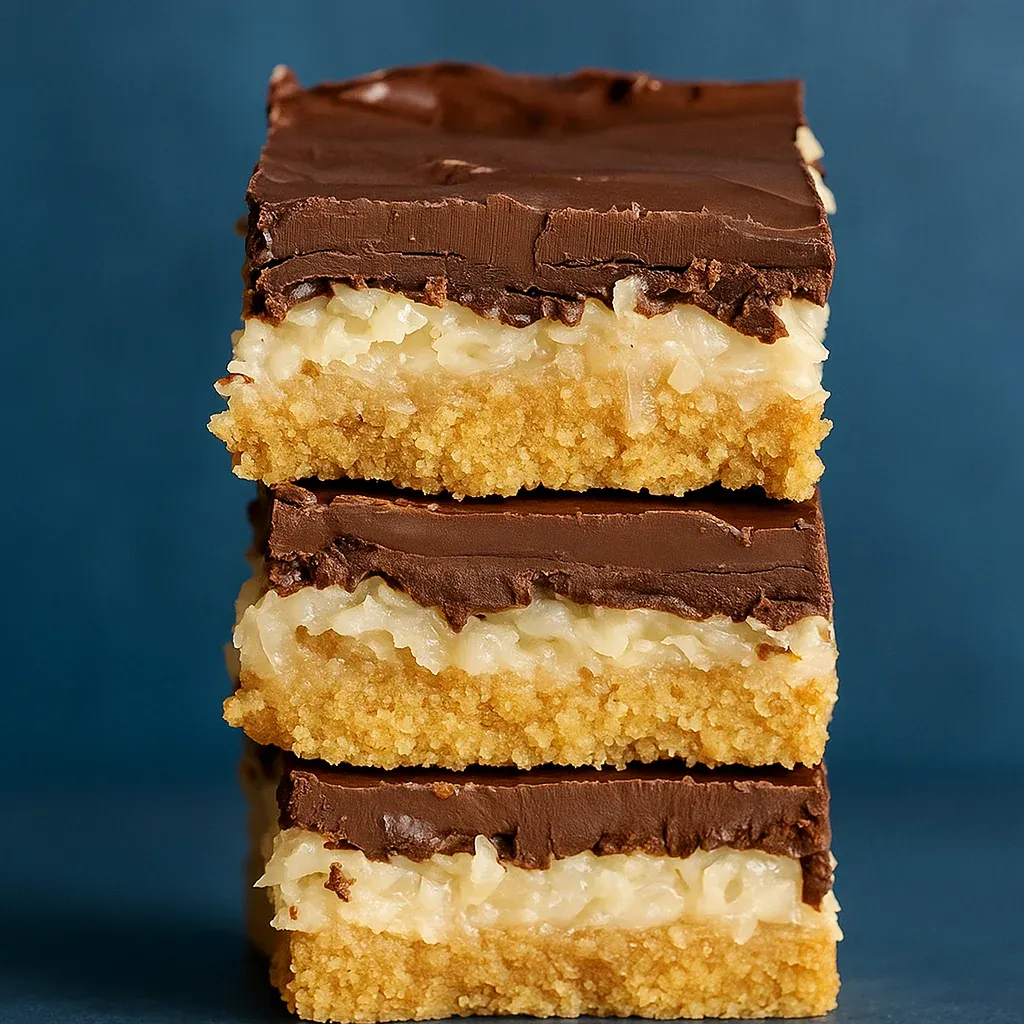
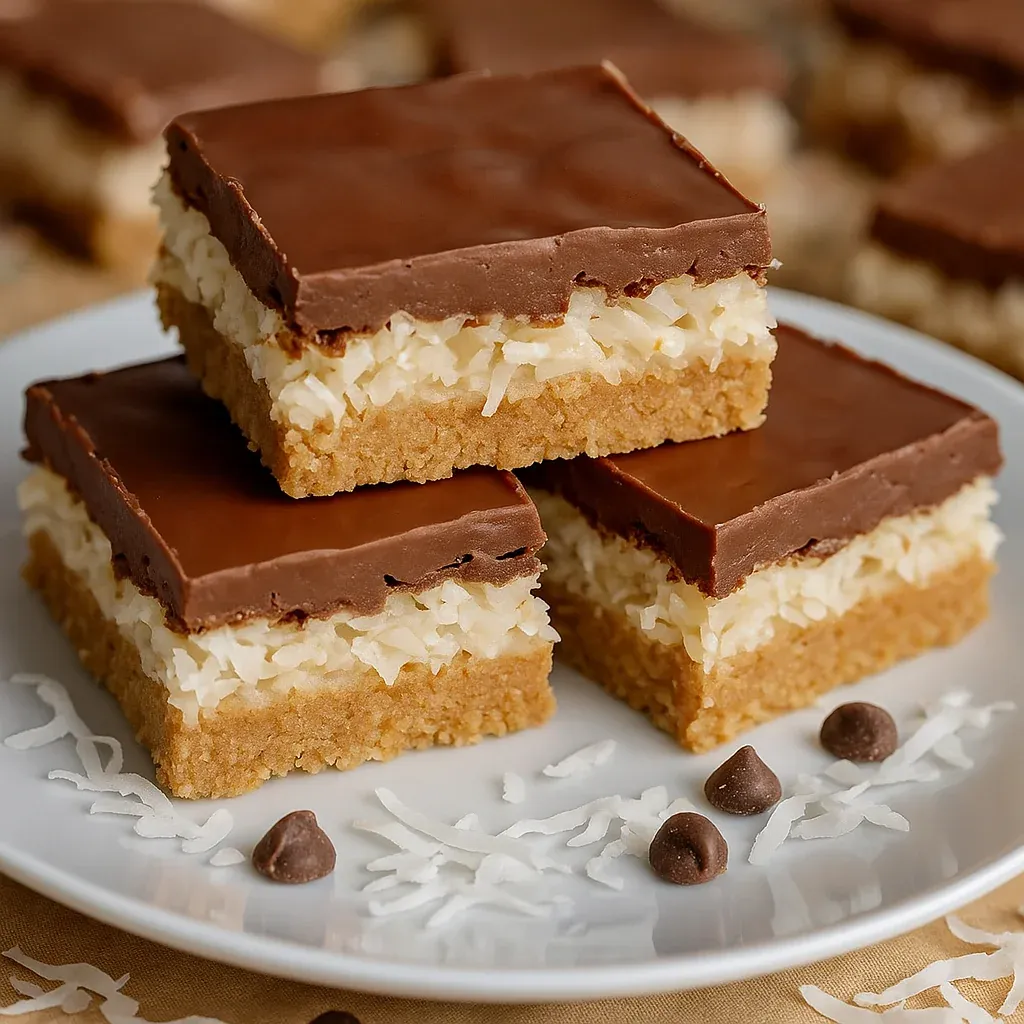
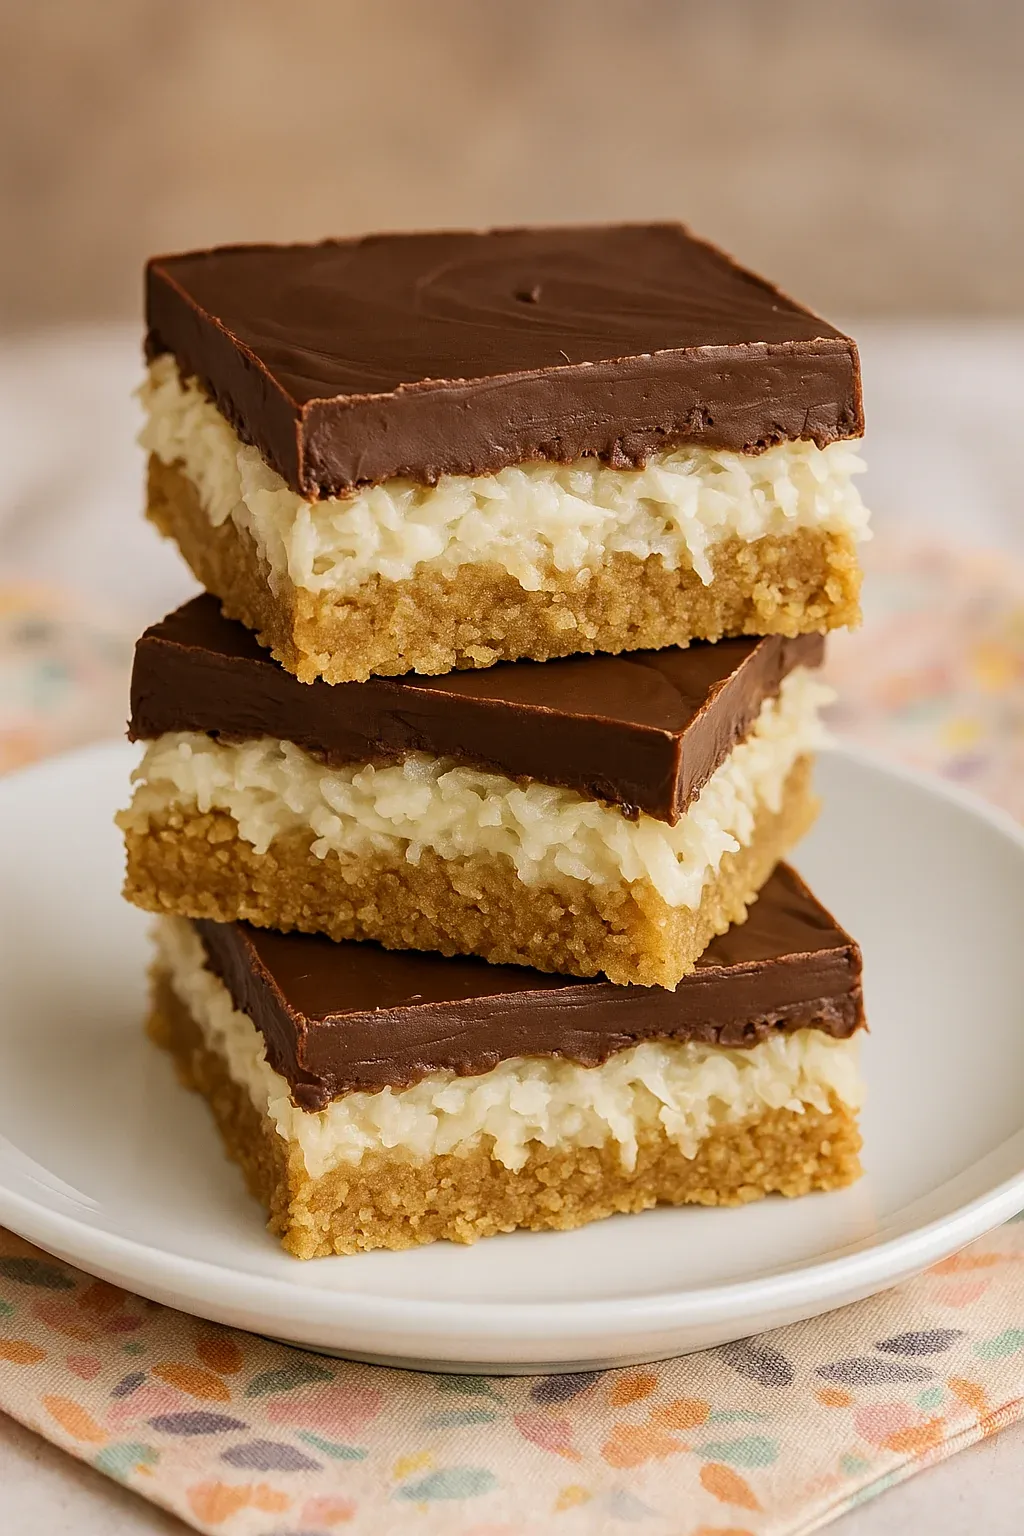
A buttery coconut chocolate square that's so good, it'll make store-bought candy bars seem boring. With graham cracker bottom, sweet coconut middle, and smooth chocolate on top, these treats vanish from my kitchen faster than I can whip up a new batch.
I came up with these squares when I wanted something easier than the classic seven-layer bars but still packed with nostalgic flavor. Now my family asks for them at every holiday, and my nieces say they're "way better than anything from the store."
Ingredients
- Graham crackers: They make a crunchy base that balances out the soft layers
- Melted butter: Holds the crust together and adds a rich taste
- Granulated sugar: Gives just enough sweetness to the base
- Sweetened flaked coconut: Brings that awesome chewy bite everyone loves
- Sweetened condensed milk: Turns into a sticky, sweet layer that binds everything
- Chocolate chips: Make the perfect top layer; go for good quality semisweet for best flavor
- Vegetable oil: Keeps the chocolate soft enough to cut without breaking
Step-by-Step Instructions
- Create the Graham Crust:
- Crush graham crackers in your food processor until they're fine crumbs. Mix in sugar and melted butter by pulsing until it looks like damp sand and sticks when you squeeze it. This makes sure your base won't fall apart after baking.
- Form the Bottom Layer:
- Pack the graham mix firmly into an 8×8 pan lined with foil or parchment. Try using a measuring cup's flat bottom to really press it down tight, which stops it from getting crumbly. Bake at 350°F for 15 minutes until you see the edges turning golden.
- Put on the Coconut Layer:
- Scatter coconut flakes all over the hot crust, making sure to cover every spot. Slowly drizzle condensed milk across the coconut, gently tipping the pan if needed to spread it evenly. The milk should get into all the coconut without making puddles anywhere.
- Bake Again:
- Put the pan back in the oven for another 15 minutes. You'll see the milk start to bubble a bit and turn caramel-like, while the coconut gets a nice light golden color. When you take it out, the filling should be set but still a touch soft.
- Make the Chocolate Layer:
- Put chocolate chips and vegetable oil in a bowl you can microwave. Heat them in 30-second bursts, stirring well each time until it's totally smooth. The oil helps keep the chocolate from getting too hard, which makes cutting easier later.
- Top it Off and Cool Down:
- Pour your melted chocolate over the warm coconut, spreading it quickly for an even layer. Let everything cool completely at room temp for the best-looking chocolate, though you can stick it in the fridge if you're in a hurry.
- Cut and Enjoy:
- Once fully cooled, use the foil edges to lift everything out onto a cutting board. With a sharp knife, cut into 16 squares, cleaning the blade between slices for the prettiest results.
 Pin it
My favorite moment when making these squares is watching the coconut change in the oven. My kitchen fills up with that amazing toasty coconut smell that takes me back to summer trips to Florida where my grandma would make treats just like these. I've seen even the biggest coconut haters change their minds after trying these bars.
Storage Tips
These treats stay fresh surprisingly well. Keep them in a sealed container with parchment between layers so they don't stick together. They'll be good at room temperature for about 5 days, though they're really best in the first 3 days. If you want them to last longer, stick them in the fridge for up to 2 weeks – many of my friends actually like them better cold because they get this fudge-like texture.
Variation Ideas
Switch things up by adding a few extra ingredients. Want an Almond Joy feel? Just throw some toasted sliced almonds on top of the coconut before adding the condensed milk. For a sweet-salty mix, sprinkle some flaky sea salt over the warm chocolate. Going for a summer vibe? Add a teaspoon of lime zest to the coconut and a tablespoon of rum to the chocolate for a piña colada flavor that's perfect for backyard parties.
 Pin it
Serving Suggestions
These rich squares taste great on their own, but the right pairings make them even better. Warm them slightly and add a scoop of vanilla ice cream for a fancy dessert. Put them on a platter with fresh berries to add color and balance out the sweetness. When friends come over for coffee, cut them into tiny squares and serve with strong espresso or cappuccino. The bitter coffee works really well with the sweet coconut and chocolate flavors.
Frequently Asked Questions
- → Can I swap sweetened coconut with unsweetened?
Sure! But keep in mind the bars will be less sweet. You can tweak the sugar in the crust or stick with sweetened condensed milk to balance things out.
- → Are these bars good for making in advance?
Yes! Store them in a sealed container at room temp for up to three days or in the fridge for about a week—they’ll hold up great.
- → What can I use instead of graham crackers?
You can crush up digestive biscuits, shortbread, or even chocolate cookies to get a different flavor. Feel free to experiment!
- → How do I make the chocolate layer look shinier?
Let the melted chocolate cool off at room temperature before adding it. Refrigerating can make it set faster but may lead to a duller finish.
- → How do I make this nut-free?
Simple—just skip the almonds or walnuts. They taste amazing without nuts too!