 Pin it
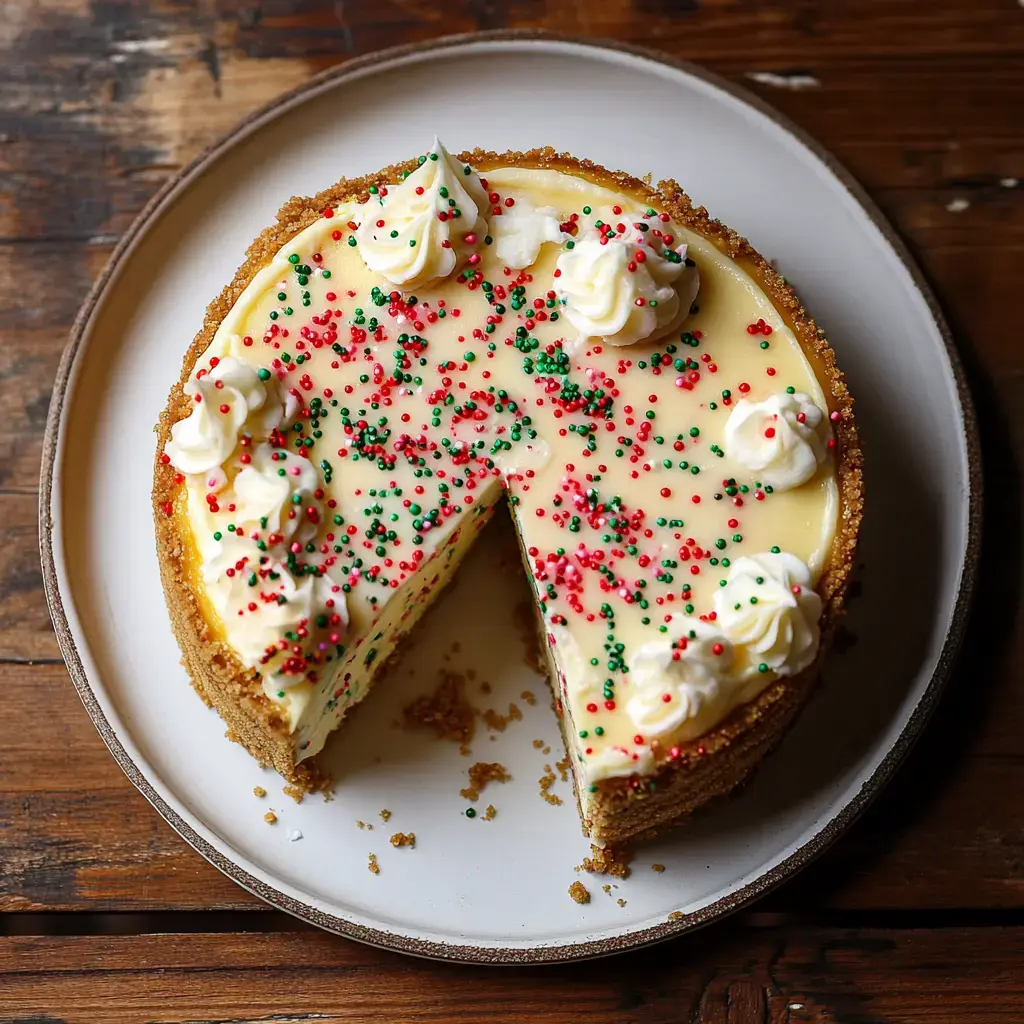
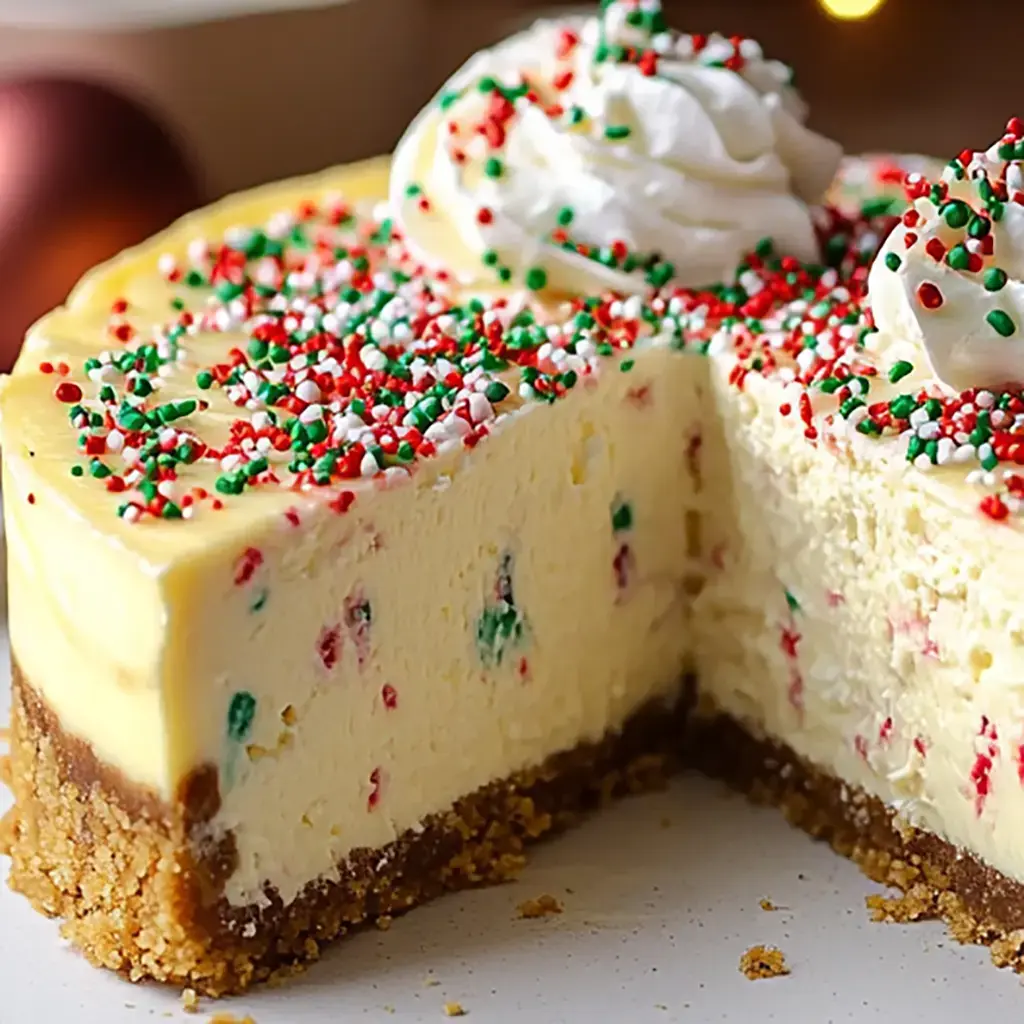
Picture a dessert that brings back memories of baking cookies with grandma while adding a grown-up twist. My Christmas Sugar Cookie Cheesecake takes those sweet childhood moments and turns them into something totally spectacular. The buttery sugar cookie base topped with creamy cheesecake and bright sprinkles makes everyone smile when they spot it on the dessert table.
What Makes This Recipe Special
When sugar cookies meet silky smooth cheesecake, something magical happens. I've lost count of how many times guests have gasped when I brought this out at parties. The combo of crunchy cookie base and creamy filling hits all the right spots. Plus those colorful sprinkles just make everyone happy.
Essential Ingredients for Perfection
- Cream Cheese: 16 ounces, softened to room temperature for smooth blending.
- Sugar Cookies: 1 ½ cups crushed into fine crumbs for a sturdy crust.
- Sour Cream: ½ cup full-fat for added richness and balance.
- Vanilla Extract: 2 teaspoons pure for deep, aromatic flavor.
- Sprinkles: ½ cup jimmies to prevent color bleeding into the batter.
Step-by-Step Preparation
- Prepare the Pan
- Wrap a 9-inch springform pan with foil to prevent water seepage during baking. Grease the inside thoroughly for easy release.
- Make the Crust
- Mix 1 ½ cups sugar cookie crumbs with 6 tablespoons melted butter. Press firmly into the bottom of the prepared pan to form an even layer.
- Create the Filling
- Beat cream cheese until smooth. Gradually add ¾ cup sugar, ½ cup sour cream, and 2 teaspoons vanilla. Mix in 2 eggs, one at a time, and fold in sprinkles gently.
- Bake the Cheesecake
- Pour the batter into the crust. Bake in a water bath at 325°F (160°C) for 50–60 minutes or until the center is set. Cool gradually before chilling for 4 hours or overnight.
 Pin it
The Story Behind My Recipe
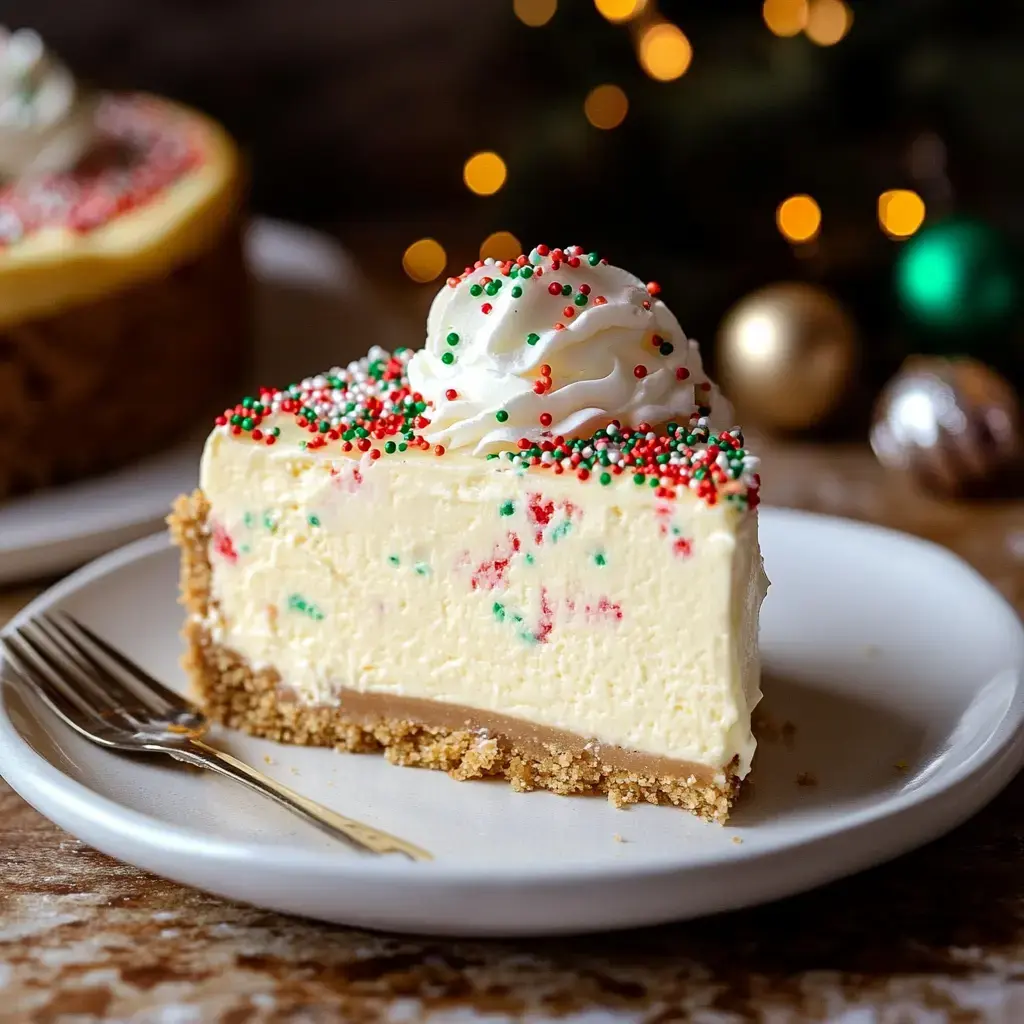
This recipe was born during one cozy December evening in my kitchen. I was baking sugar cookies with my kids when it hit me – why not turn our favorite Christmas cookie into something even more special? The moment I saw those sprinkles swirled into the cheesecake batter, I knew we'd stumbled onto something amazing.
Getting That Silky Smooth Texture
The secret to that dreamy texture? It's all about patience and paying attention to details. Room temperature ingredients, gentle mixing and slow cooling make all the difference. Trust me, your taste buds will thank you for taking your time with this one.
Watch Your Temperature
Let those ingredients come to room temp naturally. Your cream cheese should feel like butter on a warm day. And don't rush the cooling process. A slow cool down in the oven makes for the smoothest cheesecake you've ever tasted.
My Kitchen Secrets
Want to know what I've learned after making this countless times? Never skip the water bath. Make sure your cream cheese is super soft. And those sprinkles? Add them last so the colors stay bright and beautiful. Give the pan a gentle turn halfway through baking.
 Pin it
Mix It Up
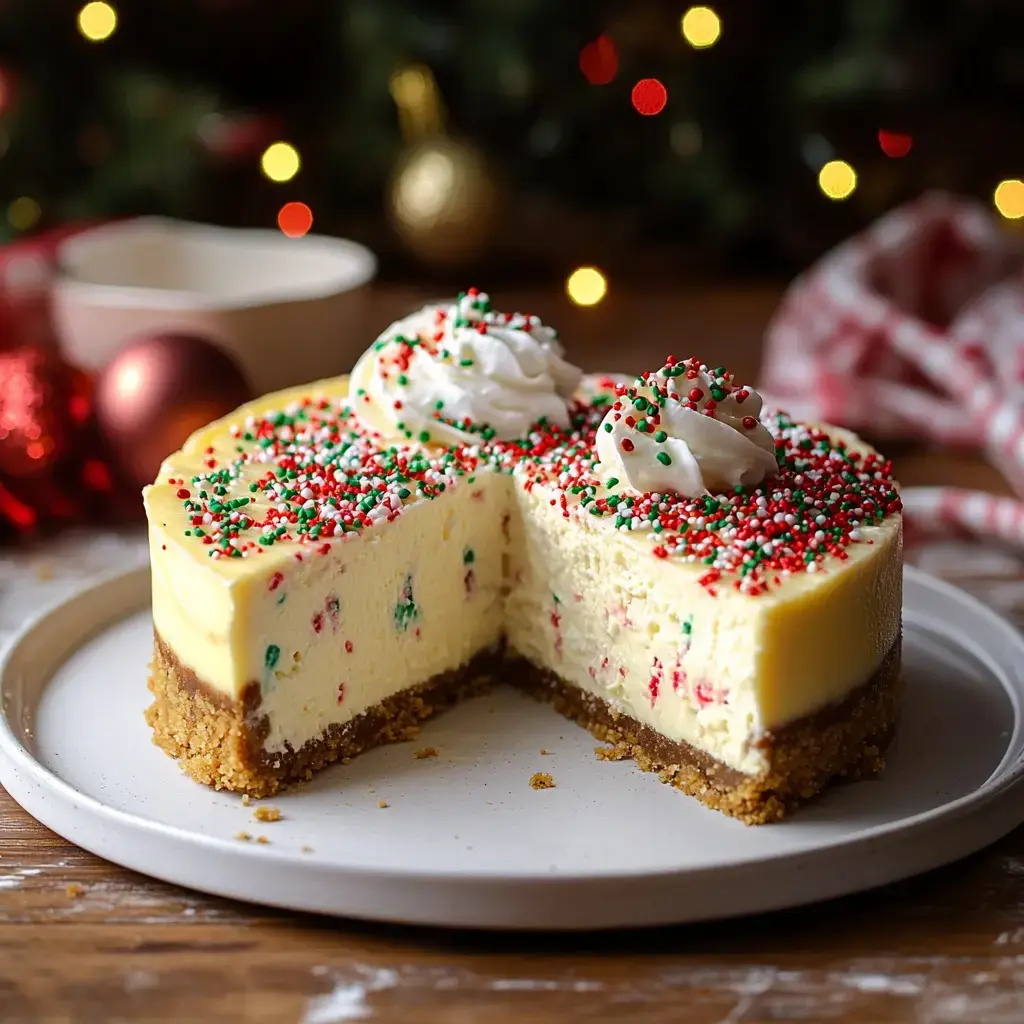
Sometimes I crush candy canes on top or swirl in some food coloring for extra pop. White chocolate snowflakes look gorgeous or try a drizzle of warm cranberry sauce. The possibilities are endless and so fun to play with.
Make It Look Amazing
Want to wow your guests? Try making a border with extra sprinkles or add some sugared cranberries around the edge. Sometimes I pipe little whipped cream snowflakes on top or make cute chocolate Christmas trees to decorate.
Common Fixes
Got a crack in your cheesecake? No worries. Usually happens from mixing too much or skipping the water bath. Keep your mixing gentle and even. If you do get a crack just cover it with some whipped cream. Nobody will ever know!
Fun Finishing Touches
Let your creativity shine with the toppings. Sparkly sugar crystals catch the light beautifully. Fresh cranberries dipped in sugar look like they're covered in frost. A ribbon of cranberry sauce adds such a pretty pop of color.
 Pin it
Time to Serve
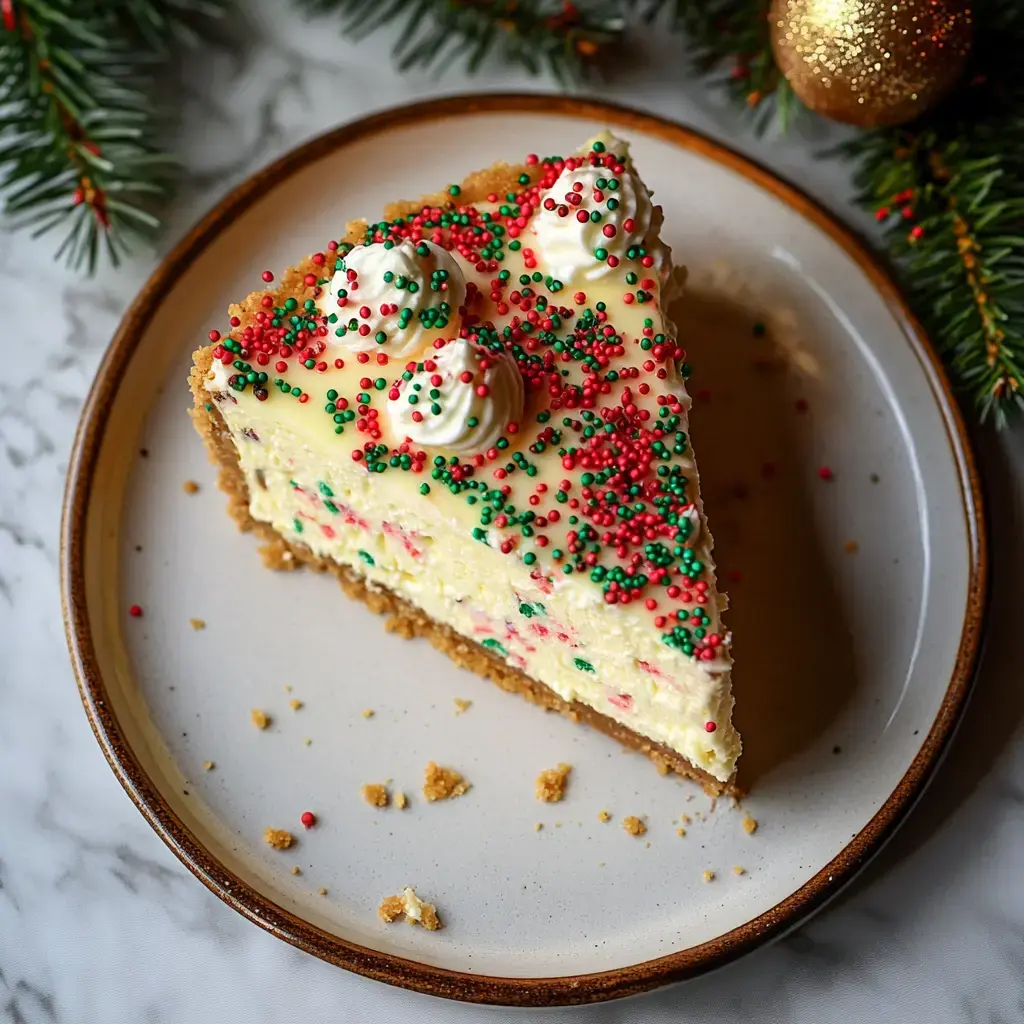
Bring this beauty out cold from the fridge. Grab your sharpest knife and wipe it clean between slices. Pour some coffee or spiced cider to go with it. Pure heaven!
Keeping It Fresh
Pop leftovers in an airtight container in the fridge. They'll stay good for about five days. Want to save some for later? Wrap individual slices really well and freeze them. They'll keep for a whole month.
Extra Flavor Tips
Sometimes I sneak a pinch of cinnamon into the crust. It gives such a warm cozy feeling. And don't forget that dollop of fresh whipped cream on top. The light fluffiness next to the rich cheesecake is just perfect.
Not Just for Christmas
You know what's great about this recipe? It works for any celebration! Switch up your sprinkle colors for different holidays. Red and pink for Valentine's Day? Orange and black for Halloween? The sky's the limit!
More Than Just Dessert
This cheesecake has become part of so many family stories. From birthday celebrations to holiday gatherings, it brings people together. Food has this amazing way of creating memories and this recipe definitely does just that.
A Slice of Joy
Sometimes the simplest things bring the most happiness. This cheesecake started as a random kitchen experiment and turned into something that makes people's eyes light up. That's what cooking is all about really creating those sweet moments of pure joy.
 Pin it
Frequently Asked Questions
- → Can I make this cheesecake ahead of time?
- Yes, you can make this cheesecake 1-2 days in advance. Store it in the refrigerator and add the whipped cream and sprinkle toppings just before serving.
- → How do I prevent my cheesecake from cracking?
- Avoid overmixing the batter as this adds extra air. Also, let the cheesecake cool slowly in the oven with the door ajar, then at room temperature before refrigerating.
- → Can I freeze this cheesecake?
- Yes, this cheesecake freezes well for up to 3 months. Wrap it tightly in plastic wrap and aluminum foil. Thaw overnight in the refrigerator before serving.
- → What kind of sugar cookies should I use for the crust?
- You can use either homemade or store-bought sugar cookies. Just make sure they're crisp rather than soft cookies for the best crust texture.
- → Why did my sprinkles bleed into the batter?
- To prevent color bleeding, gently fold in the sprinkles at the very end of mixing. Using higher quality sprinkles can also help prevent color bleeding into the batter.
