
 Pin it
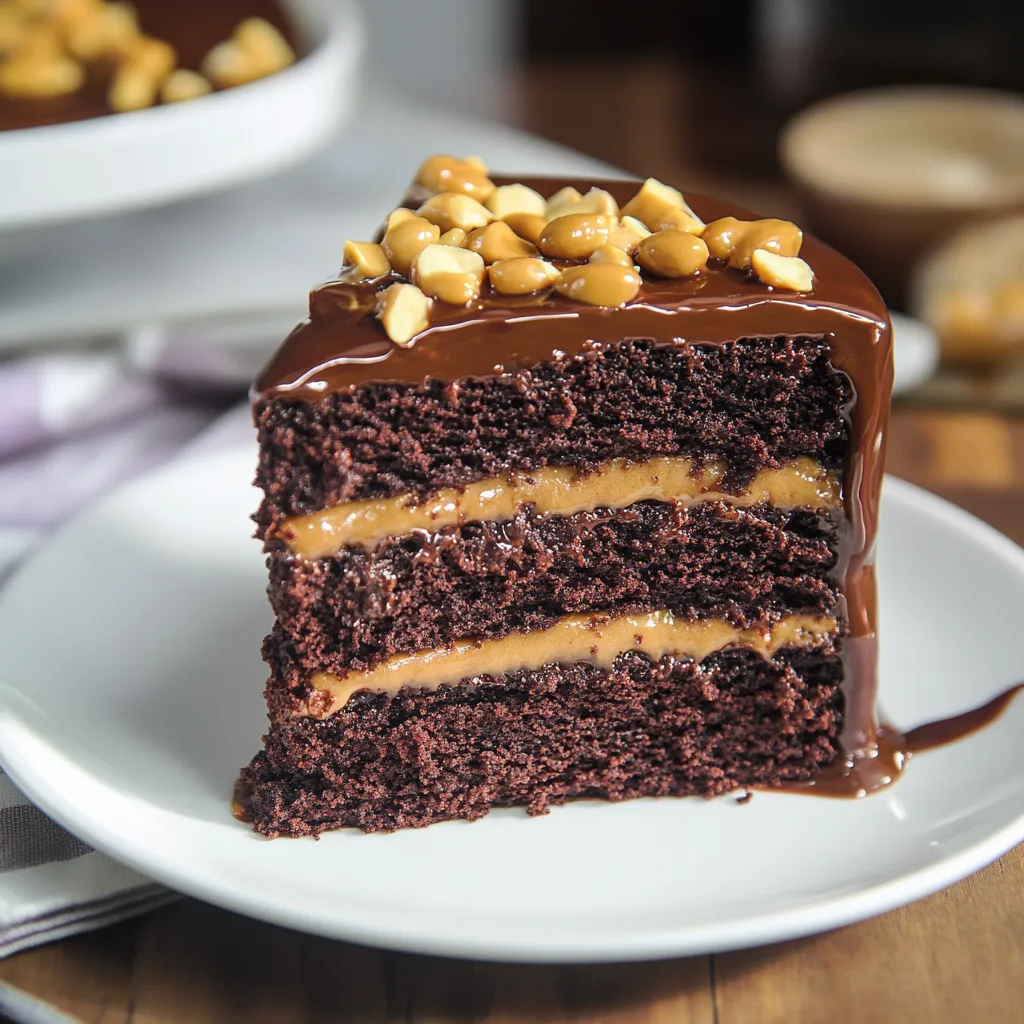
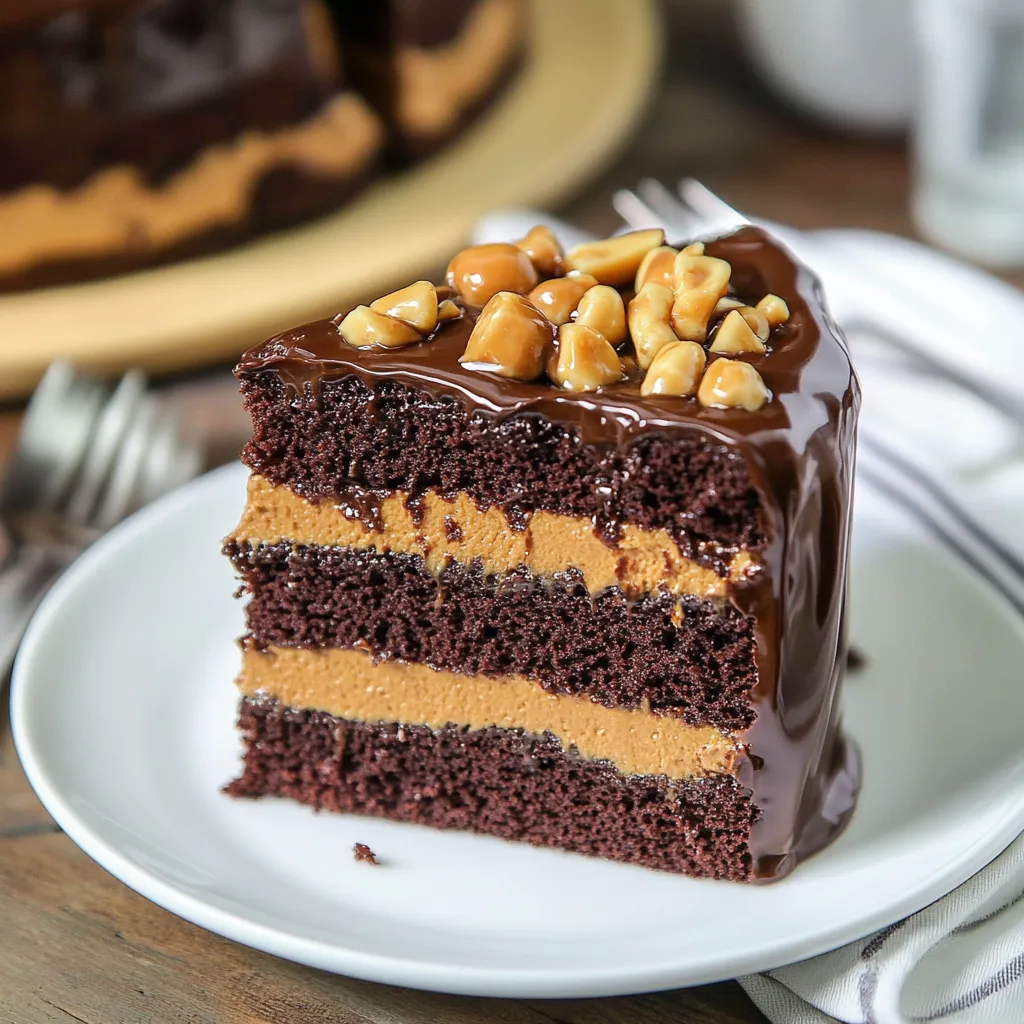
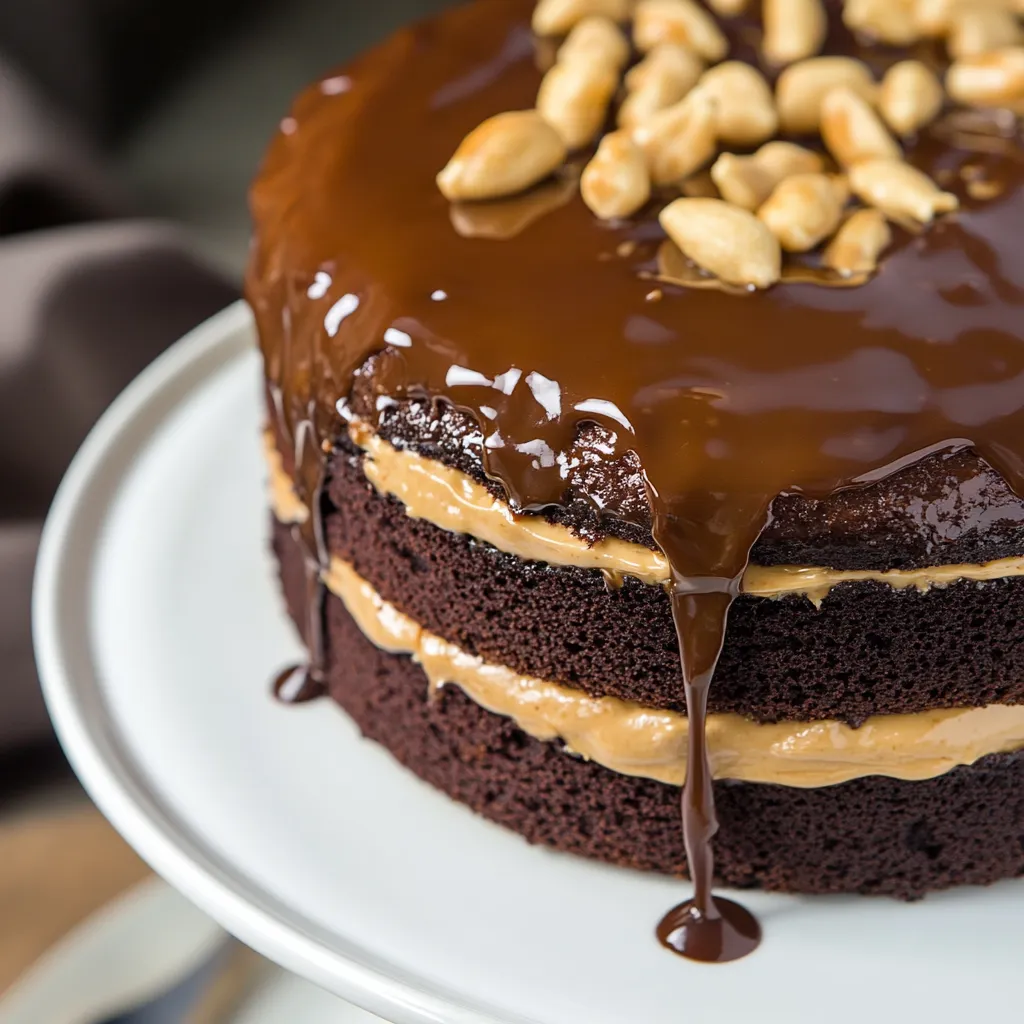
This over-the-top chocolate cake with smooth ganache and homemade salty peanut caramel isn't just dessert—it's an experience that sticks with you. The rich chocolate paired with gooey caramel and crunchy peanuts takes an ordinary cake to another level entirely. I came up with this when I wanted something fancy enough for big celebrations but still doable in your kitchen at home.
I've baked this cake so many times for birthdays and parties in my family. What gets me every time is watching people's expressions when they take that first bite with all the flavors coming together.
Key Ingredients Guide:
- Cocoa Powder: Go for Dutch-processed for a deeper color and stronger chocolate taste
- Sour Cream: Don't skimp on fat here—full-fat sour cream adds moisture and helps the baking soda work better
- Milk Chocolate: Buy good chocolate bars instead of chips for the smoothest possible ganache
- Heavy Cream: Pick cream that's at least 36% fat to get the right texture in your caramel and ganache
- Roasted Peanuts: The salted ones add nice crunch and make the caramel taste even better
Step-By-Step Making Guide:
- 1. Setting Up Before You Start
- - Pull everything out 30 minutes ahead so ingredients aren't cold
- Put parchment circles in your cake pans and grease the sides well
- Move your oven rack to the middle for even heat - 2. Getting Your Cake Batter Just Right
- - Mix the cocoa with boiling water until smooth—this wakes up the flavor
- Mix all dry stuff thoroughly so there aren't any lumps
- Slowly add wet ingredients, making sure everything's mixed in well
- Divide batter between pans, weighing them if you can for even layers - 3. Making Silky Ganache
- - Cut chocolate into same-sized pieces so it melts evenly
- Warm cream just until tiny bubbles show up at the edges
- Don't touch the mixture for 3 minutes after combining
- Stir from middle to outside until it looks silky - 4. Creating Perfect Caramel
- - Watch the color change carefully—it happens fast
- Gently swirl instead of stirring to avoid sugar crystals
- Have your cream measured and ready to go before starting
- Step back when you add cream to avoid getting burned by steam - 5. Putting It All Together
- - Cut cake layers flat with a bread knife for a professional look
- Cool layers in the fridge for 20 minutes to make handling easier
- Use a turning cake stand if you have one for smooth ganache spreading
- Keep a knife in warm water nearby for easy caramel drizzling
 Pin it
My family can't get enough of the caramel sauce—we usually make extra to pour over ice cream later. That sweet-salty mix always reminds me of making sticky caramel apples with my grandma when I was little.
Secrets To Amazing Moisture:
Getting this cake moist comes down to getting the ingredients just right. Using oil with sour cream makes a tender cake that doesn't dry out for days. After trying this recipe tons of times, I found this exact mix creates the perfect texture—sturdy enough for the ganache but still super soft.
Cutting The Perfect Piece:
There's something special about slicing into this cake and seeing caramel slowly drip down between layers. For really clean cuts, I always dip my knife in hot water and wipe it between slices. This simple trick gives you picture-perfect servings every time.
How Flavors Develop:
What's cool about this cake is how it changes over time. While it tastes great right away, it's actually best on the second day when the caramel has seeped slightly into the cake and the ganache has fully set.
Baker's Smart Tricks:
- Start with the caramel—if it goes wrong, you haven't wasted other ingredients yet
- Pop the whole cake in the freezer for 15 minutes before adding the final ganache coat for crisp edges
- Keep leftover slices standing up in a tall container to keep the layers looking nice
I'm still super proud of this recipe after all these years of baking. It hits that sweet spot between fancy and doable, making it perfect for special days or just when you're craving chocolate and caramel. The mix of textures and flavors creates something you'll remember—a cake that's as fun to make as it is to eat.
Smart Chocolate Picking:
Every amazing chocolate cake starts with picking the right chocolate. I've tried all kinds of brands and percentages over the years. Fancy chocolate is great, but mid-priced stuff works really well too. Just use chocolate you'd enjoy eating by itself. I found that mixing different percentages—like using 60% dark cocoa in the cake but milk chocolate in the ganache—gives you an interesting deep flavor.
Getting Timing And Temperature Right:
It took me years to figure out how temperature affects every part of this cake. Your layers must be totally cool before you stack them—even slightly warm cake can melt the ganache. But the ganache itself needs to be just right—too warm and it runs everywhere, too cool and you can't spread it. I now make the ganache while the cakes cool so both reach the perfect temperature at the same time.
Understanding Sugar Better:
After making this cake countless times, I realized using both white and brown sugar isn't just about sweetness—it helps keep moisture in and adds flavor complexity. The molasses in brown sugar gives subtle caramel notes that make the salted caramel taste even better, while keeping everything moist. That's why I never use only white sugar, even when I'm running low on brown.
Getting That Perfect Texture:
I'm really proud of this cake's texture. The crumb is tight enough to handle the heavy ganache and caramel but still soft and moist. This happens through careful mixing—too much mixing makes a tough cake, too little gives you uneven texture. I count my mixing strokes to keep things consistent between batches.
 Pin it
Adjusting For Different Heights:
Living in different places taught me how to tweak recipes for altitude. At higher elevations, using slightly less baking powder and more liquid helps the cake structure. I've successfully made this cake from sea level all the way up to 5,000 feet, changing things as needed.
Keeping It Fresh:
Storing this cake right keeps it tasting great. While it stays fresh on the counter for a few days, I've figured out how to store it longer. You can freeze single slices with parchment paper between them, then let them thaw in the fridge overnight. Surprisingly, the ganache and caramel stay just as good using this method.
Changing With The Seasons:
Throughout the year, I change this cake to match the season. In summer, I might add fresh raspberries between cake layers. During fall, I sometimes add bourbon to the caramel and use toasted pecans instead of peanuts. Winter holidays call for a hint of peppermint in the ganache, while spring might get some orange zest to brighten up the chocolate.
Fixing Common Problems:
After teaching this recipe to so many people, I've seen pretty much every possible issue. If your caramel gets grainy, you can save it with a splash of hot water and gentle reheating. If ganache separates, warming it gently while whisking hard usually fixes it. Even sunken cake centers can be saved by turning everything into a trifle with the same ganache and caramel.
Sharing The Fun:
What makes this cake truly special is how it brings folks together. I've taught this recipe in so many baking classes, and seeing students' proud faces when they make their first successful caramel sauce is amazing. This cake has become a favorite at family get-togethers, with relatives calling dibs on corner pieces way before the party even starts.
Tools That Really Help:
While you don't need fancy stuff, certain tools make everything easier. Good cake pans that heat evenly are super important. I've found light-colored aluminum pans work best, since dark pans can make the edges too brown. A reliable candy thermometer takes the guesswork out of making caramel, though I've taught many people to judge it by color alone.
Getting Everything Ready First:
One big lesson I learned early on was the value of getting prepared. Having all ingredients measured and ready before you start makes everything smoother and more enjoyable. This matters especially for the caramel sauce, where timing is crucial and you can't stop to measure ingredients once the sugar starts turning brown.
 Pin it
Custom Touches:
Though this recipe works perfectly as written, I always tell bakers to make it their own. Some of my students add espresso powder to boost the chocolate flavor, while others try different nuts in the caramel. These personal tweaks make the recipe more meaningful to each baker who tries it.
A Family Tradition:
This cake has grown beyond just another recipe in my collection—it's become something I pass down to my kids and countless students. It shows the perfect balance of technique and creativity, precision and flexibility. Each time I bake it, I think about all the celebrations it's been part of and all the joy it's brought to people who've tried it.
Frequently Asked Questions
- → Can I prepare the cake beforehand?
- Definitely! Make the layers a day early and assemble fresh.
- → Why is my caramel thick?
- It sets as it cools. Warm gently to smooth it out.
- → Do I have to use peanuts?
- Nope! Skip them for plain salted caramel.
- → What’s the best way to store it?
- Keep it chilled and covered for up to 5 days. Let it warm up a little before eating.
- → Can I pick dark chocolate instead?
- Sure, switch to dark chocolate for a bolder flavor punch.