 Pin it
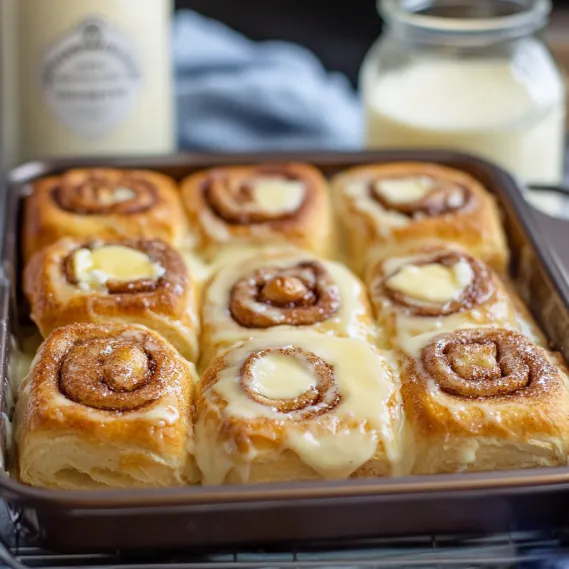
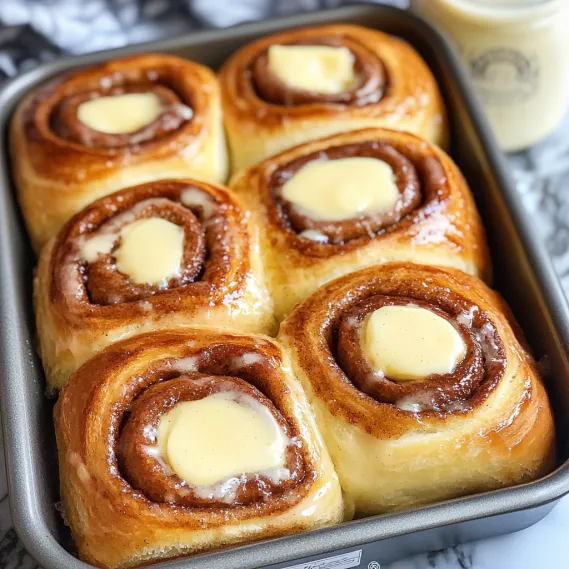
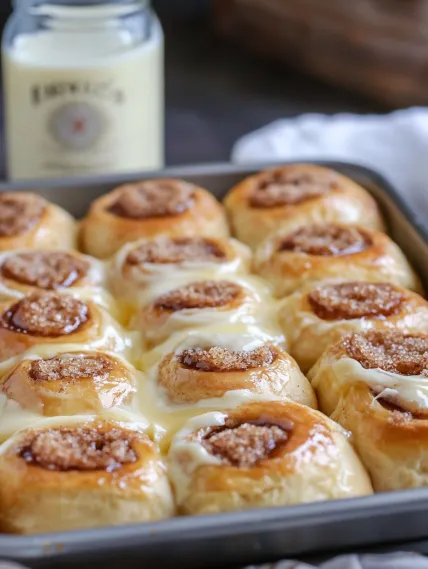
These heavenly cheesecake Danish rolls take ordinary King's Hawaiian bread and turn them into a mouth-watering morning delight that tastes like it's straight from a fancy bakery. You'll fall in love with how the soft, sweet rolls contrast with the smooth, rich cheesecake center, creating an amazing combo that'll have everyone wanting more.
The first time I whipped these up for a family get-together, my nephew said they were "way better than anything from a bakery" and now he begs for them whenever he stops by. What began as a quick fix when I forgot to make a proper sweet treat has turned into our go-to special breakfast.
Ingredients
- King's Hawaiian sweet rolls: The key foundation that gives just the right sweetness and softness
- Cream cheese: Go with full fat for the creamiest, richest result
- Butter: Pick unsalted to manage the saltiness yourself
- Brown sugar: The dark kind adds richer, deeper flavor
- Cinnamon: Grinding it fresh makes the taste pop more
- Nutmeg: Grate it yourself for a much stronger aroma
- Granulated sugar: Cuts through the tangy cream cheese perfectly
- Egg: Holds the cheesecake filling together
Step-by-Step Instructions
- Prepare the baking dish:
- Melt 1 tablespoon butter and brush it all over the bottom of a 9×13 baking dish. This stops sticking and adds flavor.
- Prepare the rolls:
- Place rolls on top of the melted butter and cut an X shape into each one about two-thirds of the way down but don't cut through the bottom. This makes pockets for filling while keeping everything together.
- Create butter mixture:
- Mix together melted butter, brown sugar, nutmeg and cinnamon until well combined. Pour this evenly over all the rolls, letting it soak into the cuts and around the edges for best flavor.
- Make cream cheese filling:
- Whip room temperature cream cheese until it's completely smooth, then add sugar and mix well before adding the beaten egg. You want a perfectly smooth mixture with zero lumps.
- Fill the rolls:
- A piping bag with a big tip works best here. Stick the tip into each X cut and squeeze a good amount of cream cheese mixture inside. Take your time so the filling goes inside rather than just sitting on top.
- Bake to perfection:
- Bake uncovered at 375°F for just 12 minutes to get soft, fluffy results. The filling should be set but still creamy, with rolls staying soft while getting slightly golden on the edges.
 Pin it
These always remind me of the Danish pastries my grandma would spend hours making every Christmas morning. Her version took forever, but these capture that same wonderful taste in way less time. I love how the cream cheese filling slightly melts into the sweet dough, giving you that classic Danish texture we all crave.
Storage Insights
These tasty treats stay fresh when kept in a sealed container in your fridge for 3-4 days. When you want to enjoy the leftovers, just warm them in the microwave for about 15 seconds to bring back that fresh-baked feel. Funny enough, the cream cheese filling actually tastes even better after sitting in the fridge overnight, making them possibly tastier on day two.
 Pin it
Creative Variations
The standard recipe makes an amazing classic Danish, but you can easily switch up the filling for different flavors. Try mixing in a spoonful of jam to the cream cheese for fruity options like strawberry or blueberry. If you want something more dessert-like, add mini chocolate chips or drizzle melted chocolate on top after baking. During autumn, mixing some pumpkin puree and pumpkin spice into the cream cheese makes a seasonal favorite that goes perfectly with coffee.
Serving Suggestions
These cheesecake Danishes go great with fresh fruit for a well-rounded breakfast. For a special brunch, serve them alongside a hearty egg casserole to get that perfect mix of sweet and savory. Coffee is the classic drink pairing, but they also taste wonderful with hot tea or even a mimosa for celebrations. As a dessert, try them warm with a small scoop of vanilla ice cream for an extra special treat.
Frequently Asked Questions
- → Can I get everything prepped early?
Sure! Make the cheese filling and butter topping ahead, then stash them in the fridge. When it’s time to bake, just assemble and pop them in the oven.
- → Are there other rolls that work?
You bet! Hawaiian rolls are perfect for this, but feel free to try other soft, sweet bread. Just know the flavor might shift some.
- → What if I don’t have a piping bag?
No piping bag? No problem. A zip-top bag with the corner cut off will do the trick, or just spoon the filling straight in.
- → How should I store leftovers?
Pop any extras into an airtight container and keep them in the fridge for 3-4 days. Heat them up in the oven or microwave for the best taste.
- → Can the filling be tweaked?
Of course! Try tossing in lemon peel, vanilla, or fruity spreads to switch things up a bit.
