
 Pin it
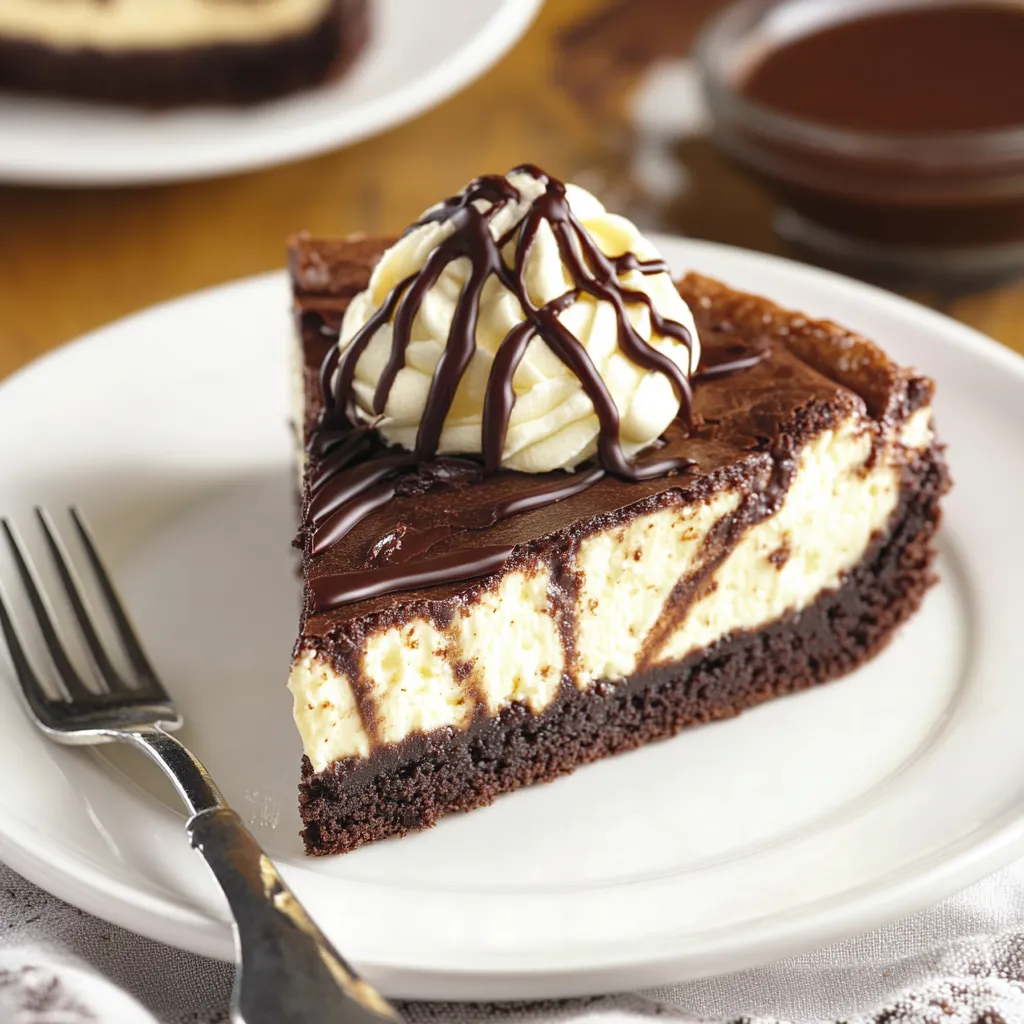
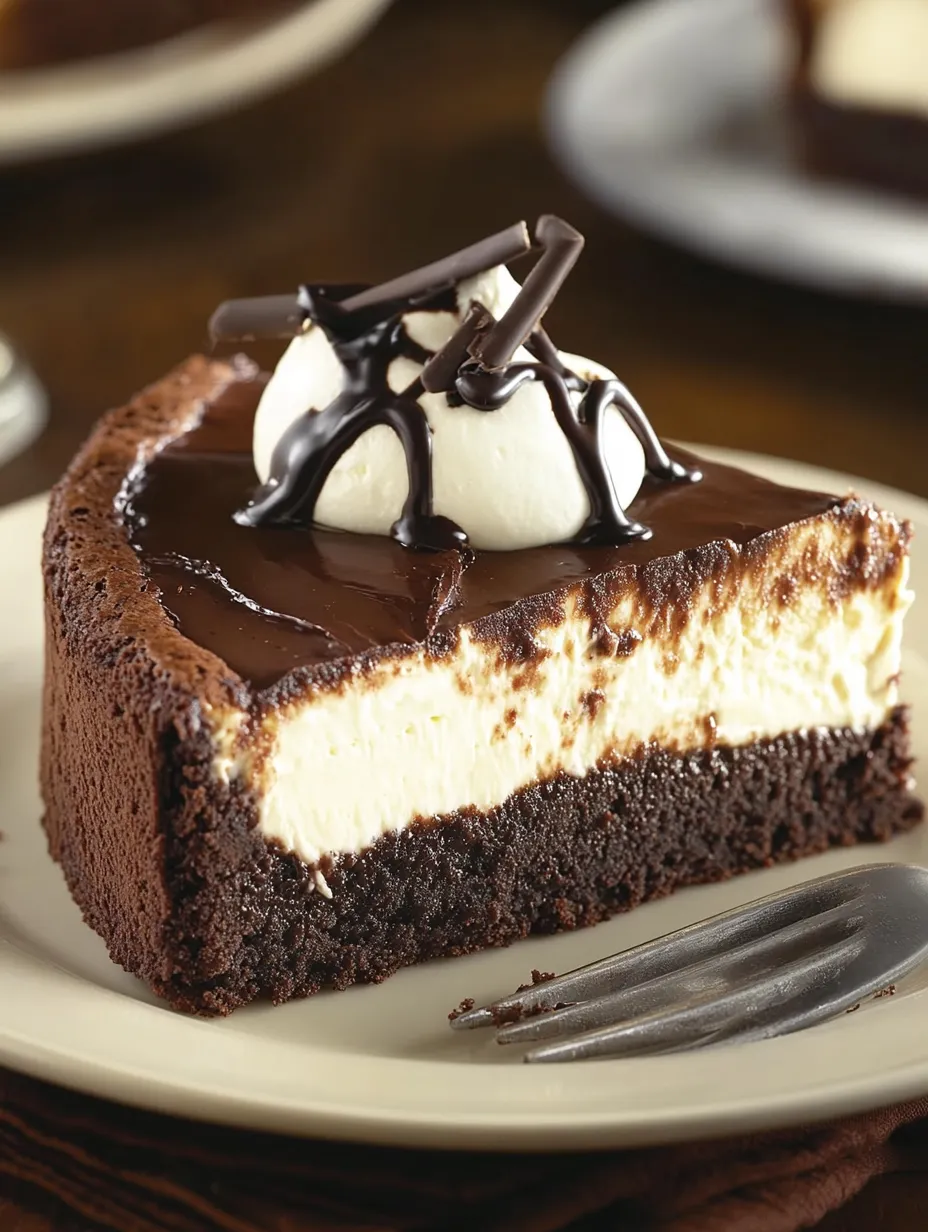
Smooth, dreamy cheesecake sits atop a gooey brownie in this show-stopping dessert that marries two favorite sweets into one mind-blowing creation. The interplay between the thick chocolate foundation and the creamy top layer works pure dessert magic. This brownie-topped cheesecake has turned into my ultimate pick for family gatherings, quickly becoming that dessert everyone fights over before it vanishes from the plate!
I whipped this cheesecake up for my sister when she turned thirty, and watching everyone's faces light up as we sliced into those perfect layers made my day. The brownie bottom had that amazing crisp edge but stayed soft inside - and just like that, our family parties were never the same.
Key Ingredients and Smart Shopping Advice:
- Cream cheese: I always grab Philadelphia - it just works better than other brands for the creamiest result. Don't skimp on fat content if you want that rich taste
- Sour cream: Brings a nice zing and helps nail that classic NY cheesecake feel. Get the full-fat kind and let it sit out till it's not cold anymore
- Heavy cream: The carton should say "heavy whipping cream" not just "whipping cream" - the extra fat makes your cheesecake hold together better
- Brownie mix: Go for one that promises fudgy results rather than cakey texture. Ghirardelli Double Chocolate has been my go-to winner
Clear Steps From Start to Finish:
- Getting everything ready
- Put your oven rack right in the middle so heat hits your dessert evenly
- Don't rush lining your springform pan - push that parchment into every corner
- Get that cooking spray everywhere on the sides, especially where the pan connects
- Cold ingredients need at least 2 hours on the counter to warm up completely
- Making your brownie foundation
- Stop mixing as soon as everything comes together - too much stirring makes tough brownies
- Knock the pan against the counter a few times to pop air bubbles
- Keep an eye on that first bake - you want it firm enough to hold cheesecake but still soft
- The top should look dry but feel soft when you touch it
- Whipping up perfect cheesecake
- Start by beating just the cream cheese until it's completely smooth and lump-free
- Keep stopping to scrape the bowl sides and bottom often
- Pour in each new ingredient slowly to avoid clumps
- Use a spatula to fold eggs in by hand, counting as you go to avoid overmixing
- Baking it right
- Keep that oven door shut the whole time - no peeking allowed!
- Your cheesecake is done when the outer 2-3 inches don't jiggle but the middle still wobbles
- Use timers for each cooling step - don't rush this part
- You'll know it's ready when it starts pulling away from the pan edges slightly
 Pin it
My grandma taught me the real trick to that perfect brownie base - pulling it from the oven when it's still a touch underdone. She always said slightly undercooked brownies keep the whole dessert moist during the long bake time, stopping the cheesecake from drying out.
Cutting Like a Pro:
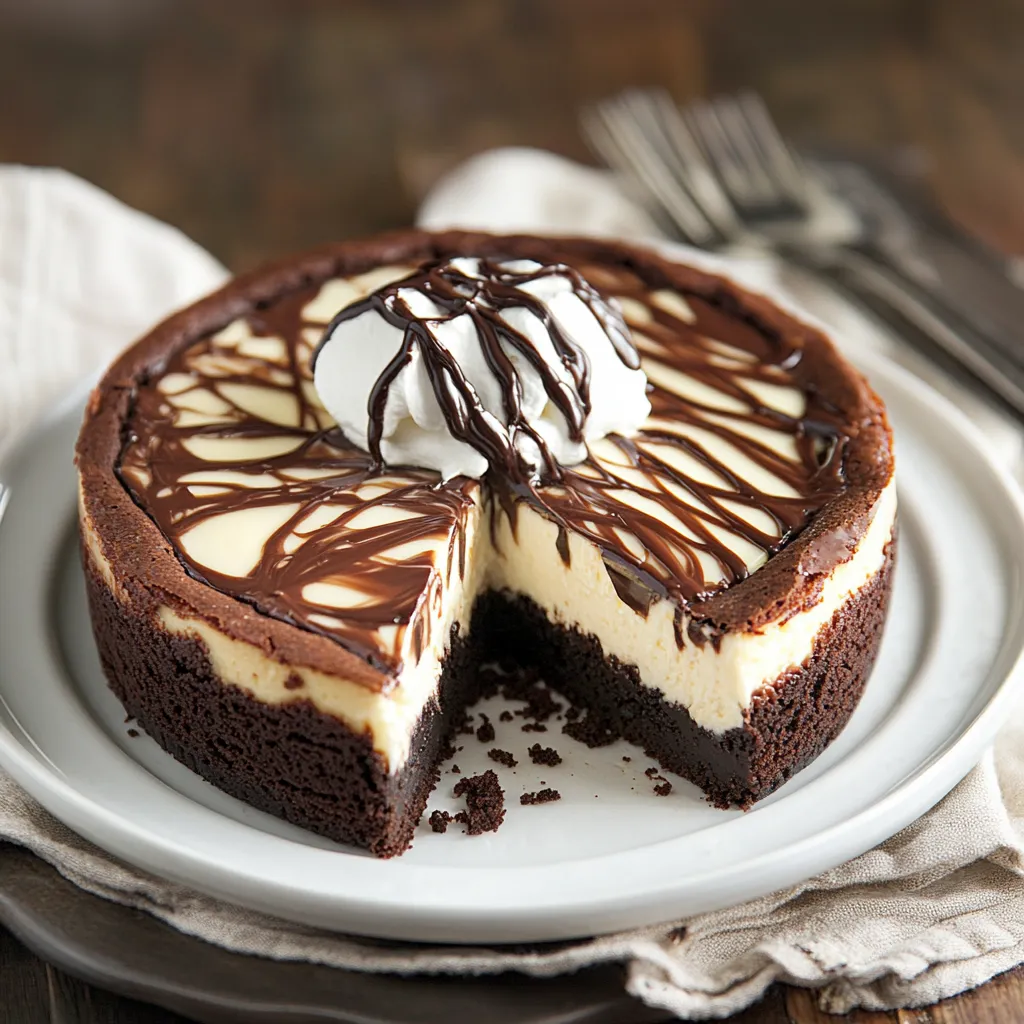
Getting those Instagram-worthy slices comes down to temperature tricks. I keep hot water in a tall glass nearby and dunk my knife between cuts, wiping it clean with a towel. This simple move gives you picture-perfect slices every time.
How It Changes Overnight:
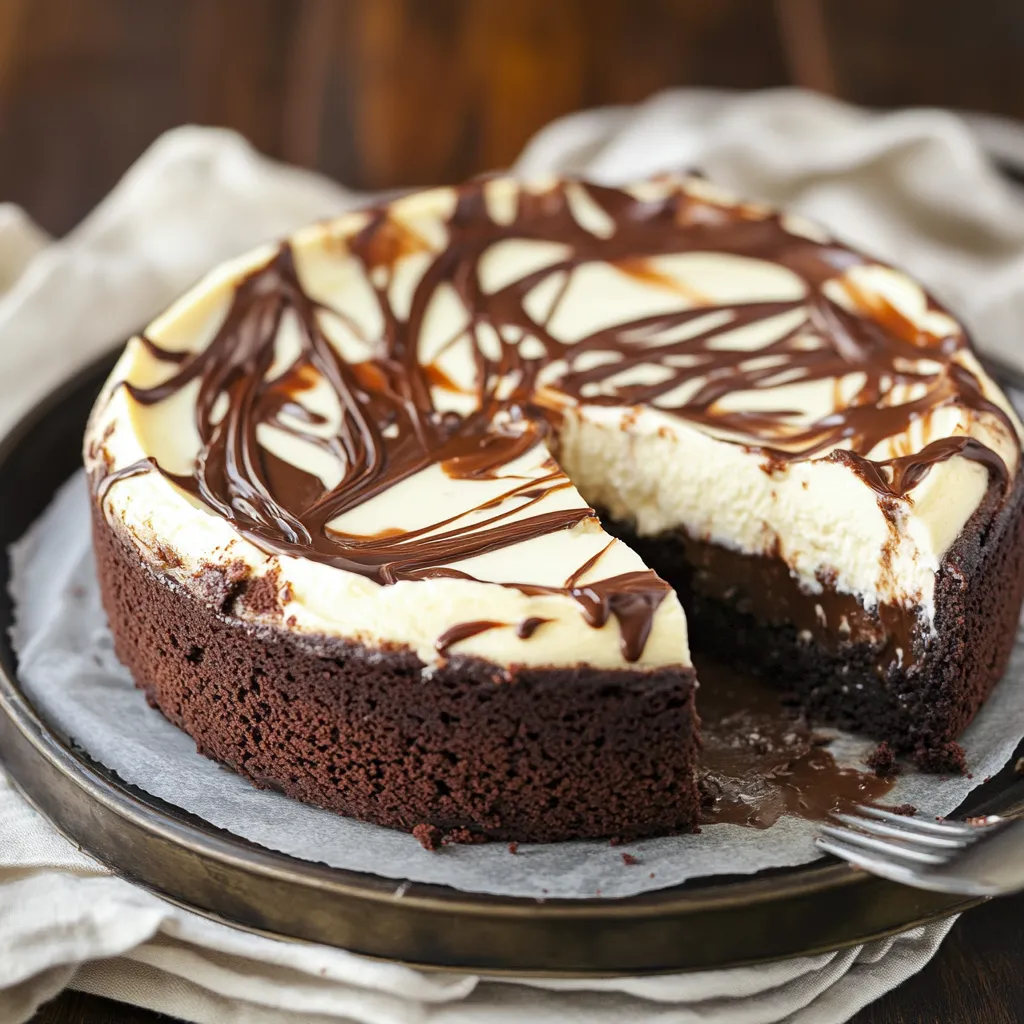
I love how this dessert transforms while it rests. The brownie gets even more fudgy as it sits, and the cheesecake becomes silkier than ever. That's exactly why I always bake it a day early - the waiting really pays off.
Ways to Serve It:
This beauty stands on its own, but I often set up a topping station with fresh berries, warm caramel, crushed nuts and chocolate curls so guests can dress up their own portions. Everyone at my last dinner went crazy for this hands-on approach.
Keeping It Fresh:
Storing this cheesecake right makes all the difference. After it cools completely, I lay a paper towel on top before wrapping with plastic. This trick catches moisture and stops those annoying water drops from forming on your perfect surface.
I've tried countless cheesecake recipes over the years, but this brownie-bottomed version remains my biggest triumph. The blend of fudgy chocolate base with smooth, vanilla-flecked cheesecake creates something truly special. It does take some patience and careful attention, but you'll find every minute worth it when you taste the results. And remember, if your top cracks a bit, just cover it with whipped cream – nobody will notice, and the flavor will still blow everyone away. From my experience, it's these slightly imperfect treats that somehow pack the most love and spark the best conversations around the table.
Tasty Twists to Try:
Feel free to play around with this basic recipe! Switch the brownie base for blondies or a cookie dough layer instead. The cheesecake part works great with different flavors too - try adding almond, lemon, or mint extracts for a fresh spin. You can also mix in fruit purees, chocolate chips, or chopped nuts for extra flavor and texture. Here are some combos I love:
- Peanut Butter Dream: Start with peanut butter brownie mix and swirl peanut butter through the cheesecake. Finish with chopped peanut butter cups on top.
- Cookie Craze: Add crushed Oreos to both the brownie mix and cheesecake batter. Sprinkle more cookies on top before serving.
- Sweet and Salty: Pour some caramel over the brownie layer before adding the cheesecake mix. Add a sprinkle of sea salt flakes right before serving.
 Pin it
Why Slow Cooling Matters:
Taking your time with the cooling steps really prevents those annoying cracks. When cheesecake goes from hot oven straight to cool room, it shrinks too fast and splits. The slow cool-down in a turned-off oven with the door cracked open lets it adjust to the temperature change gradually. Don't rush this part - it's what keeps your dessert looking flawless.
Making It Look Amazing:
A few finishing touches turn this from just tasty to totally impressive. I wait until it's fully chilled before taking off the springform sides, then run a thin knife around the bottom to free it completely. This gives clean edges that look super professional. Then I move it to a pretty serving plate and add fresh berries, a swirl of whipped cream, or chocolate shavings. A little drizzle of chocolate or caramel sauce across the top adds that wow factor.
 Pin it
No Gluten Needed:
If you can't eat gluten or have friends who avoid it, this dessert adapts easily. Just pick up a gluten-free brownie mix - there are plenty of good ones now. Double-check that all your other ingredients don't have hidden gluten too. You can even make a gluten-free base from scratch using almond flour, butter and sugar instead. These simple swaps mean everyone can enjoy a slice without worry.
From all my years in the kitchen, this brownie-based cheesecake stands out as a true winner. It brings together the best of both worlds - that rich, fudgy chocolate layer with the light, tangy cheesecake on top. While it does ask for a bit of patience and careful timing, what you'll get is absolutely worth every bit of effort. This dessert will surely impress anyone lucky enough to get a slice and might just become your signature bake. Just remember that baking isn't just about the food - it's about sharing something you made with love and creating moments people will remember long after the last crumb is gone!
Frequently Asked Questions
- → Why do I mix eggs by hand?
- It avoids adding too much air, keeping the cheesecake crack-free.
- → Is a water bath really unnecessary?
- Yep! Slow cooling stops cracks, so no water bath needed.
- → Can I prepare this ahead?
- Totally! It stays fresh in the fridge for up to 5 days.
- → What’s the point of pre-baking the brownie?
- It ensures the brownie layer stays moist, not overbaked.
- → Can I freeze leftovers?
- Sure can. Just wrap it up and freeze for 3 months. Thaw overnight in the fridge.