
 Pin it
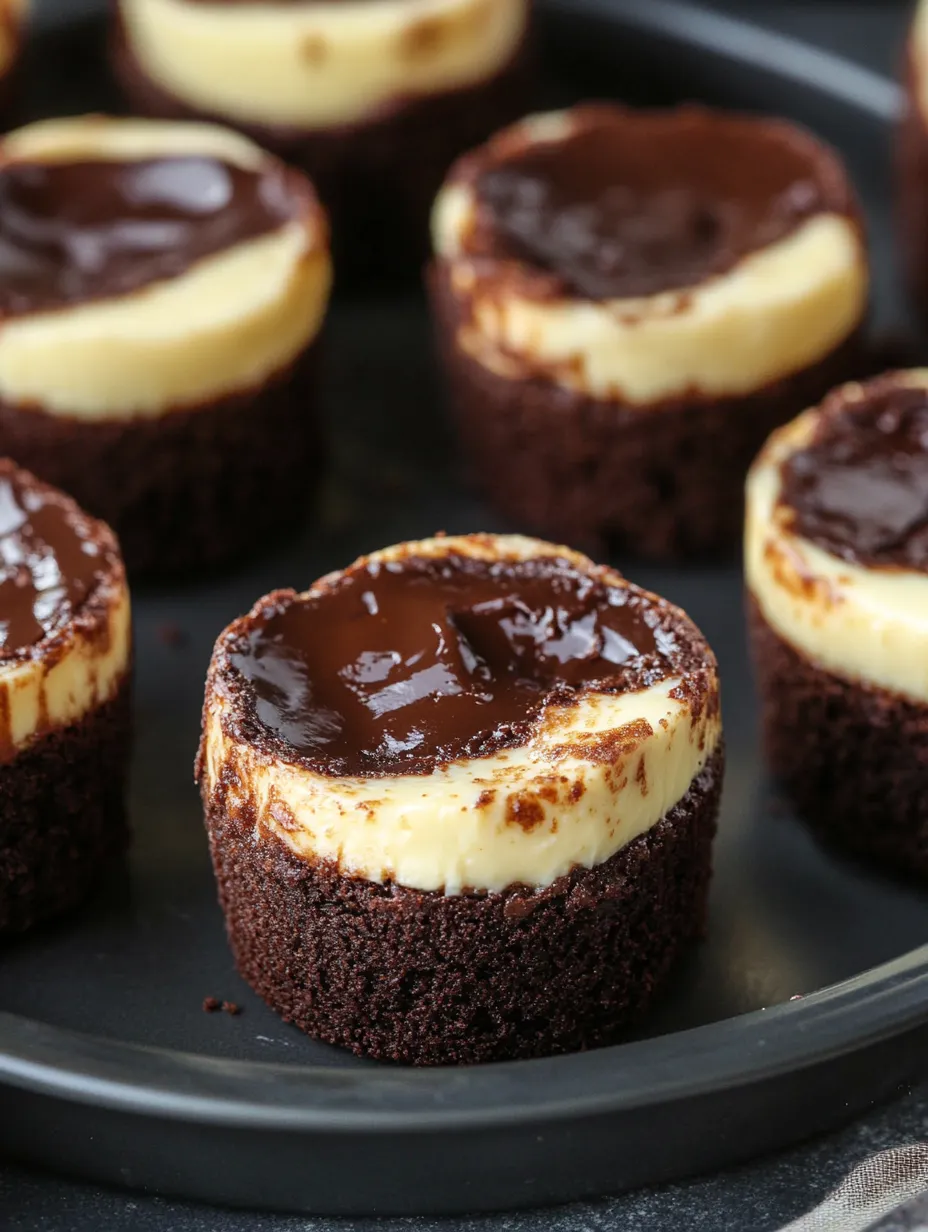
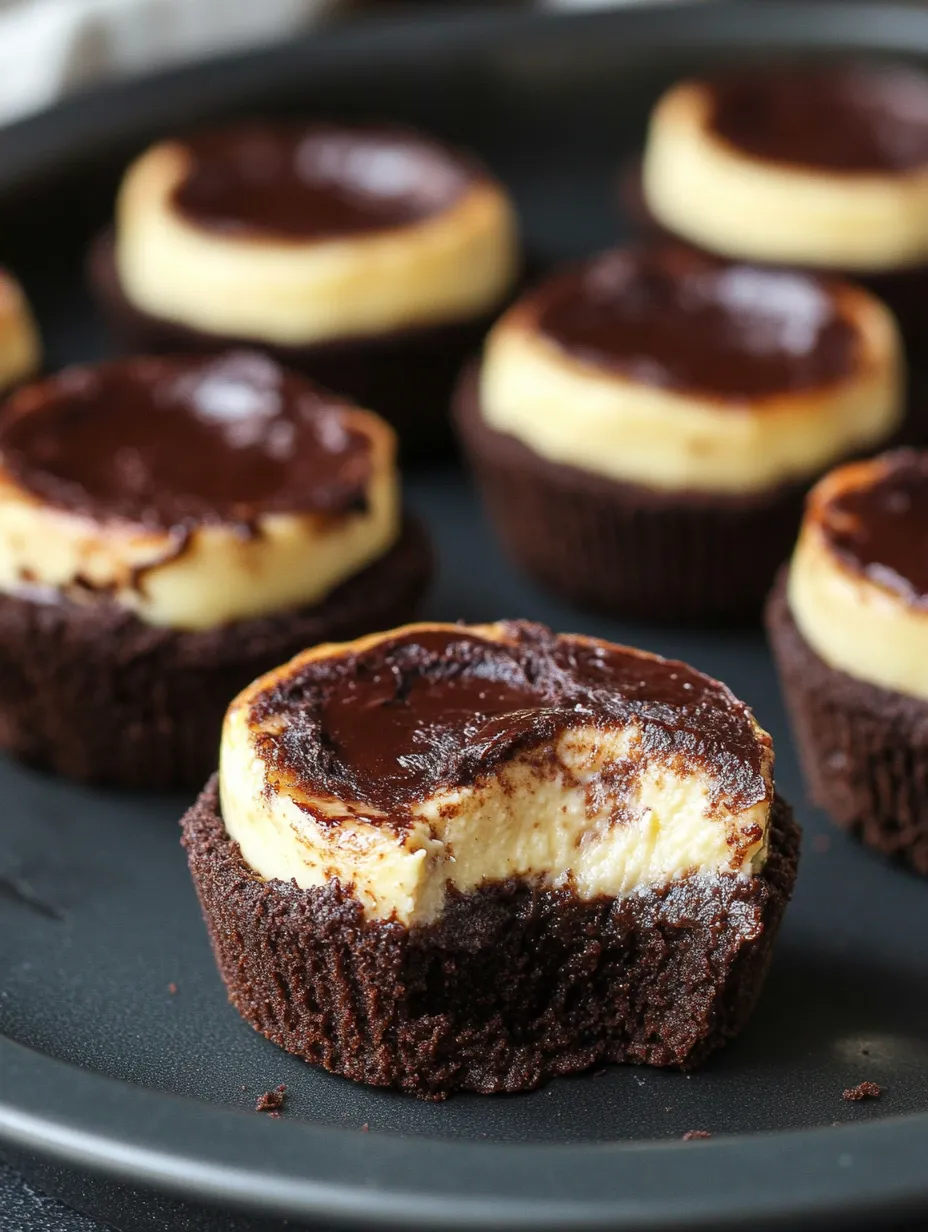
Getting ready for St. Patrick's Day this week? I've got something special for your sweet tooth! These Bailey's Cheesecake Brownie Bites combine fudgy, dense brownie bottoms with silky Bailey's Irish Cream cheesecake, all topped with rich chocolate ganache. Fair warning – they're so tasty you won't stop at just one!
I brought these to a friend's dinner once and they vanished within minutes! Everyone loves how the textures work together, and the single-serving size means nobody has to cut slices or deal with messy plates.
Key Ingredients You'll Need
- Semi-Sweet Chocolate: Go for chocolate bars instead of chips for smoother melting
- Cream Cheese: Stick with full-fat for the creamiest results
- Bailey's Irish Cream: This gives the signature flavor that makes these stand out
- Instant Espresso: A small amount makes chocolate taste more chocolatey without adding coffee flavor
- Sour Cream: Brings a nice tang and softness to the cheesecake
- Heavy Cream: Creates that smooth, glossy topping you can't resist
Step-by-Step Cooking Guide
- Mix Up Brownie Bottom: Slowly melt your butter and chocolate on low heat. Take your time here to avoid burning. While that's happening, whisk your eggs with sugar, and mix all your dry stuff in another bowl.
- Let Chocolate Cool Down: Give your melted chocolate time to cool before you mix it with eggs. Skip this step and you'll end up with scrambled eggs in your batter!
- Complete Your Brownie Mix: After blending in the chocolate, add your dry ingredients bit by bit, about half a cup at a time. You want a thick, smooth mix without lumps.
- Cook Brownie Layers: Drop two tablespoons of mix into each greased mini mold. Cook at 350°F for around 12 minutes until just done but still a bit soft.
- Whip Up Cheesecake Topping: Beat your room-temp cream cheese with sour cream until fluffy, then mix in sugar, salt and vanilla. Add eggs one by one, mixing gently. Dissolve your coffee powder in warm water, then fold it in with Bailey's and cinnamon.
- Top Your Brownies: Turn your oven down to 325°F. Pour about two tablespoons of cheesecake mix over each brownie base, filling almost to the top.
- Bake With This Trick: Cook for 12 minutes, then turn the oven off but leave them inside with the door shut for another 10 minutes. This helps them set without cracking or sinking.
- Give Them Time: Let them cool down completely, then put them in the fridge for at least 4 hours or overnight. Don't rush this step if you want them to come out of the molds cleanly.
- Create The Topping: Warm up heavy cream until it's hot but not boiling, then pour it over chopped chocolate. Let it sit for 10 minutes before stirring into a shiny, smooth topping.
- Put It All Together: Take your chilled treats out of the molds. Add half a teaspoon of your chocolate topping to each one. For a fancy touch, sprinkle some chocolate shavings on top.
 Pin it
I learned all this the hard way after messing up a batch for a party. I tried to pop them out while they were still warm and ended up with a crumbly mess! Now I always make them a day ahead so they have plenty of time to set up properly.
Wonderful Handmade Treats
These fancy little bites make amazing gifts for friends and family. During holiday season, I put them in colorful mini cupcake papers and pack them in small boxes with see-through lids to show off that glossy topping. For St. Patrick's Day celebrations, I tie the boxes with bright green ribbon and add little shamrock tags. People always think I bought them from a fancy bakery and can't believe I made them myself!
Prep Them Way Ahead
Hosting can be stressful when you're scrambling at the last minute, but these treats solve that problem completely. I often make them three days before a party and keep them cold until about half an hour before guests arrive. They actually taste better after a day or two as the flavors blend together. I've even frozen them without the ganache for up to a month, then thawed them overnight in the fridge before adding fresh topping right before serving.
Change Them Up For Any Time of Year
Bailey's makes the classic version, but I've tried tons of tasty variations. In summer, swap in coconut rum and top with toasted coconut flakes. For fall parties, use bourbon and a dash of cinnamon. Winter holidays call for peppermint liqueur with crushed candy canes on top. Spring events shine with limoncello and fresh lemon zest. The brownie and cheesecake base works with almost any flavor you can dream up.
Making Lots For Big Events
These little treats have been my go-to for feeding crowds. You can double or triple everything without changing anything else in the process. For my sister's engagement celebration, I made 120 of them using an assembly line approach: all brownie bases on day one, cheesecake layers on day two, and topping on the morning of the party. With a bit of planning, even making huge batches isn't too much work.
 Pin it
Wrapping Up
These Bailey's Cheesecake Brownie Bites have become my favorite treat for special moments. There's something truly incredible about how the sticky brownie, velvety cheesecake, and smooth ganache work together. That hint of Bailey's and coffee transforms them from basic brownies to a fancy dessert worthy of any celebration.
Frequently Asked Questions
- → Can I skip the Baileys?
- Sure! Replace it with coffee creamer, vanilla extract, or coffee flavoring.
- → What exactly is a mini cheesecake pan?
- It's a pan with tiny wells, typically 12 or 24, that have removable bases for easy release of your cheesecakes.
- → Could I turn this into a large cheesecake?
- Absolutely! Use a standard 8-inch springform pan and adjust the baking times longer for all layers.
- → Are these bites freezer-friendly?
- Yes, but leave off the ganache! Freeze them for up to 3 months, thaw in the fridge, and finish with ganache before serving.
- → Why is the cheesecake baking so quick?
- The tiny size lets them bake faster, plus they finish cooking as the oven cools down.